I love decorating. Often it is more crowded and organized chaos, nearly bohemian, than most people’s tastes. This time I decided to be more clean, straight forward and focused.
My mother-in-law generously offered to take the children for 6 days for Husband and I’s wedding anniversary present. Although we carved out some time for a date night (we saw “The Lunchbox” at Eau Claire theater and I HIGHLY recommend you go and see that movie) and night-time couch snuggling while we watched evening TV, I spent most of my time redecorating some of our rooms. It took me 5 of the 6 days but it was worth waking up at 7 am and working until 9 or 10 pm at night. A lot of my house is beautiful and organized now. The only thing that isn’t perfect is our main bedroom but I will have to wait to do that one. I have big plans. In the meantime, here are some before and after. After the photos I will put the cost and the store list. 🙂
Okay, we will start with the simplest transformation.
1. The Dining Room.
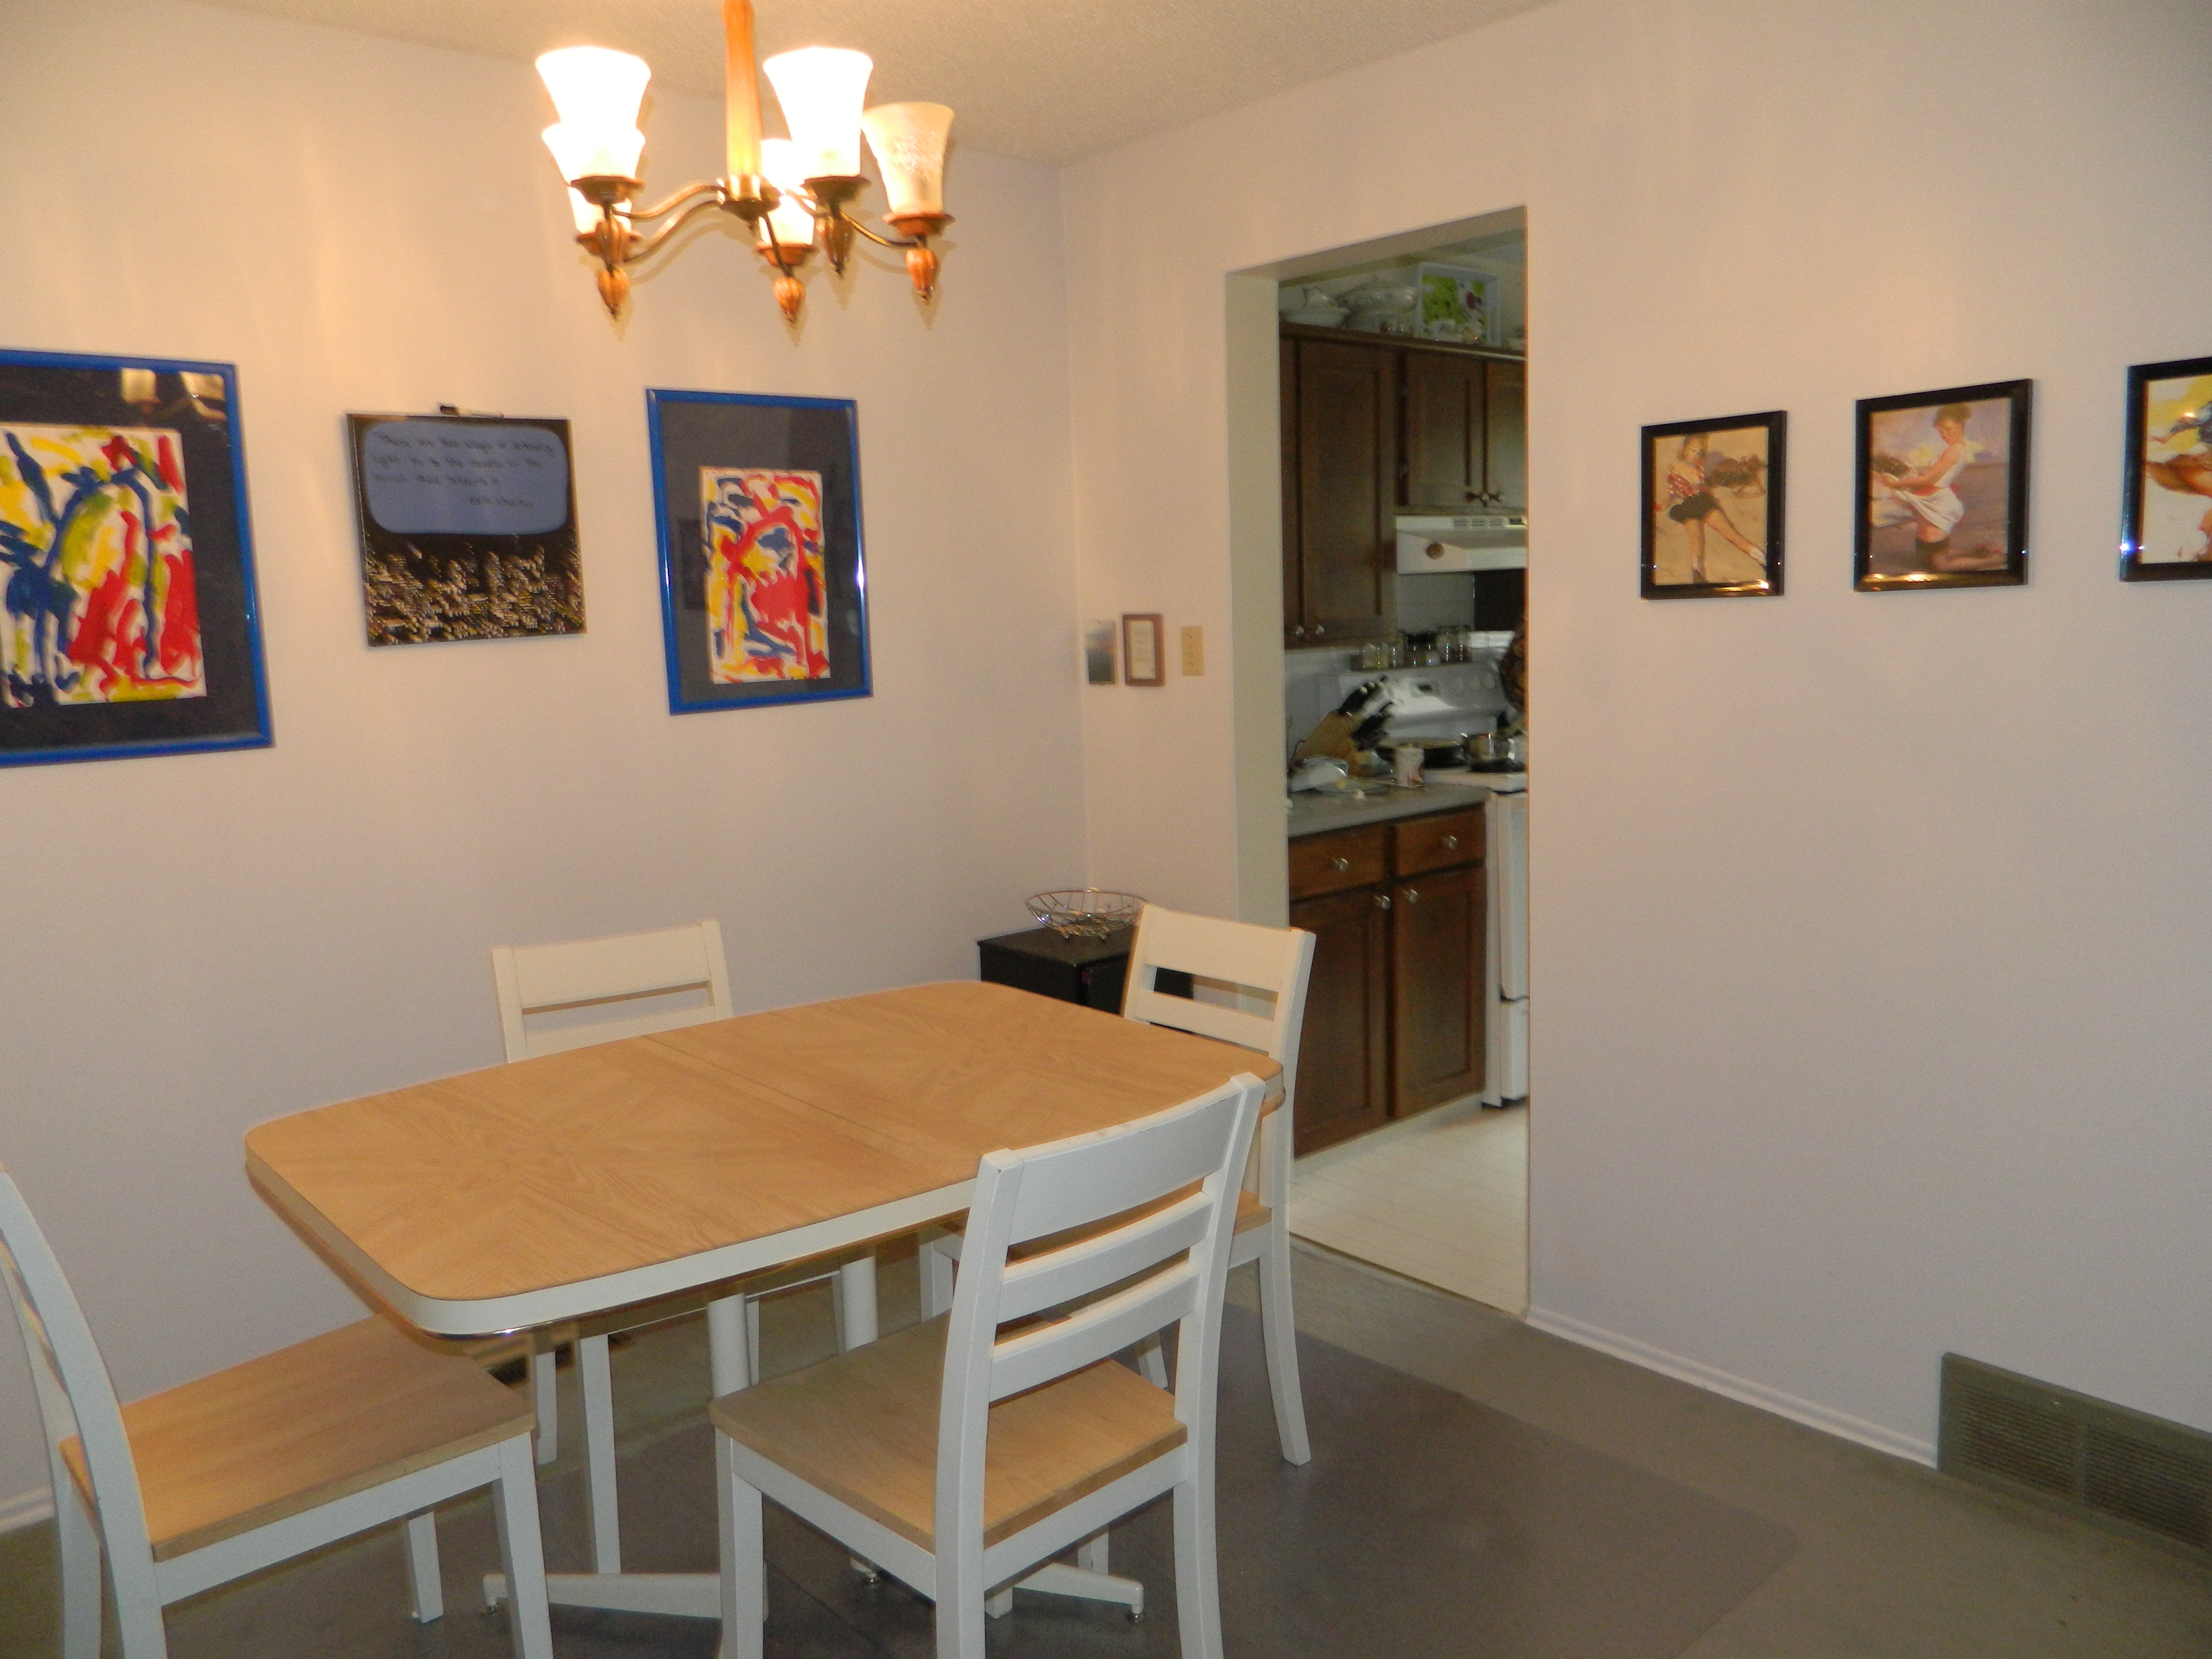
In our dining room the paint peeled a bit. We suspect the landlord didn’t prime before re-painting. The peeling paint in a couple small spots left a shadow and a place to grab. So of course the cats started to attack it, probably thinking it was a bug, and tore a small hole in the wall which they used their little paws to dig in to. Those needed to be filled and we used the opportunity to paint and freshen up the room. Our whole house is painted this awful taupe-ivory that always looks drab. I chose a pale, subtle blue called “Barcelona Rain”. It’s a gorgeous, clean, calming colour. I also took down all of the photos and started clean. Now there are few photos that are show-cased more beautifully. It’s silly, but I feel as if we will be able to digest more properly in such a calming environment. Here are the before and the after:
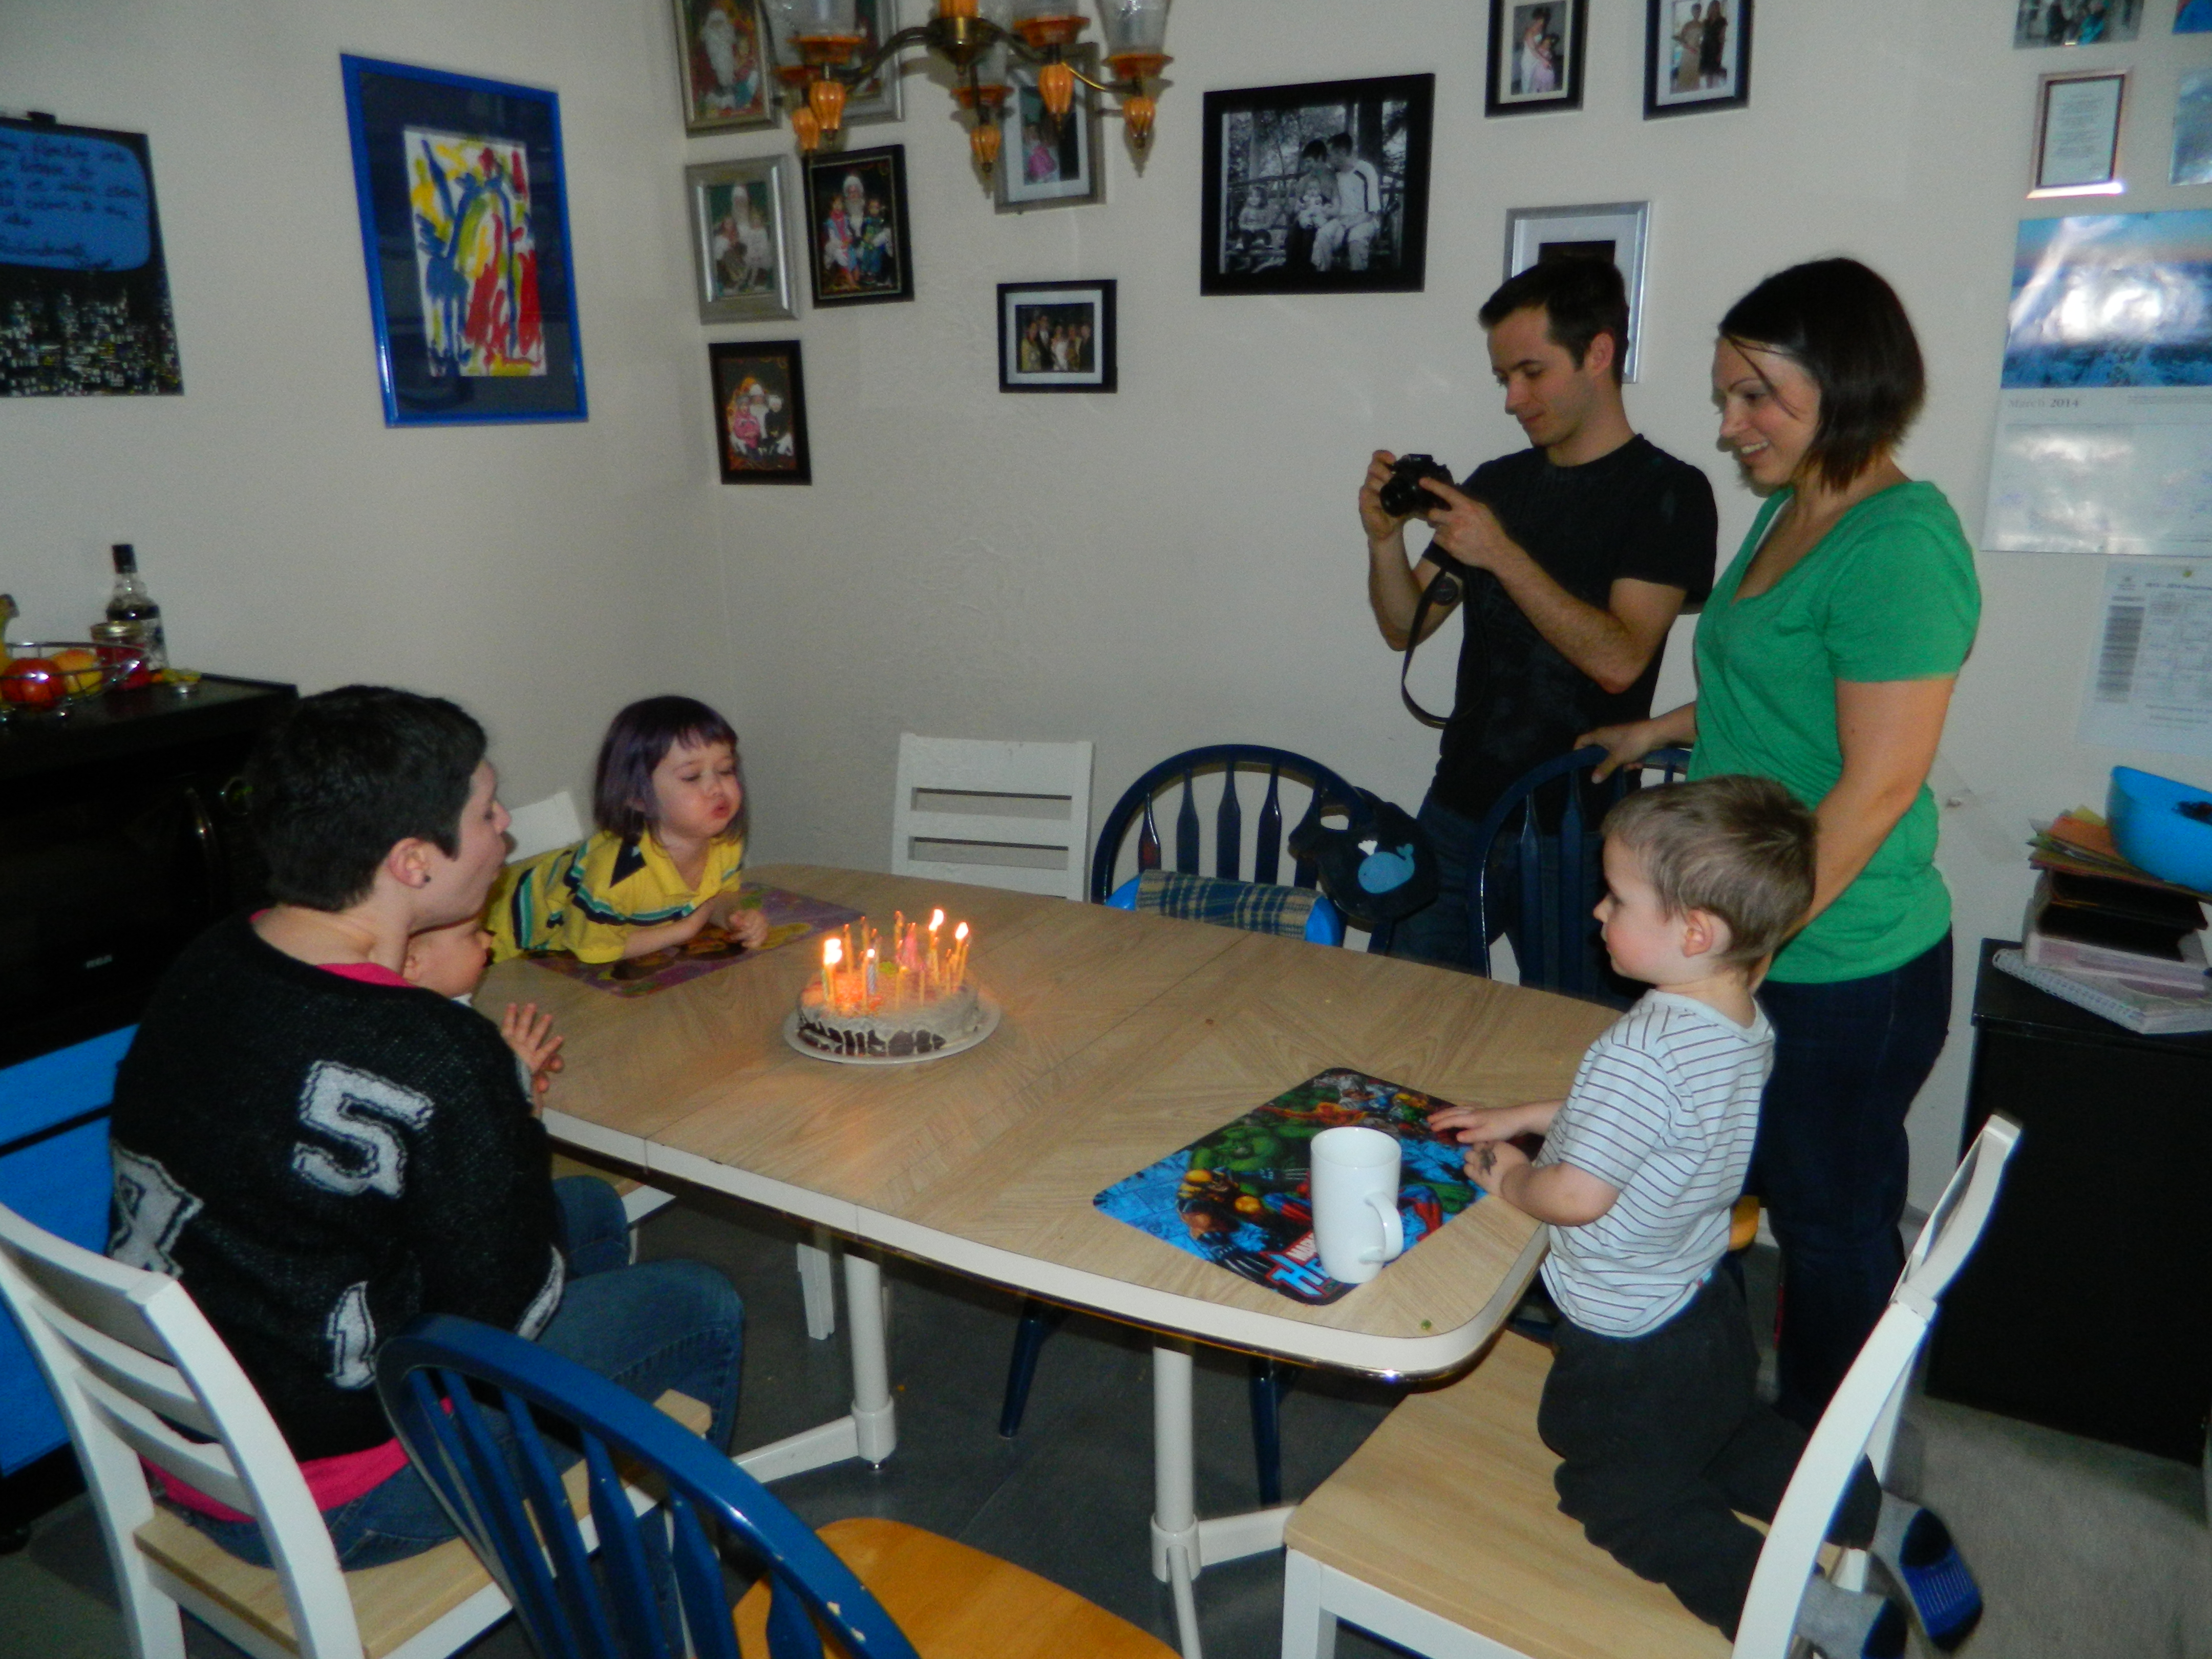
The before. This was taken during my birthday celebration. See the mess of photos on the wall?

The after. Simple and calm.
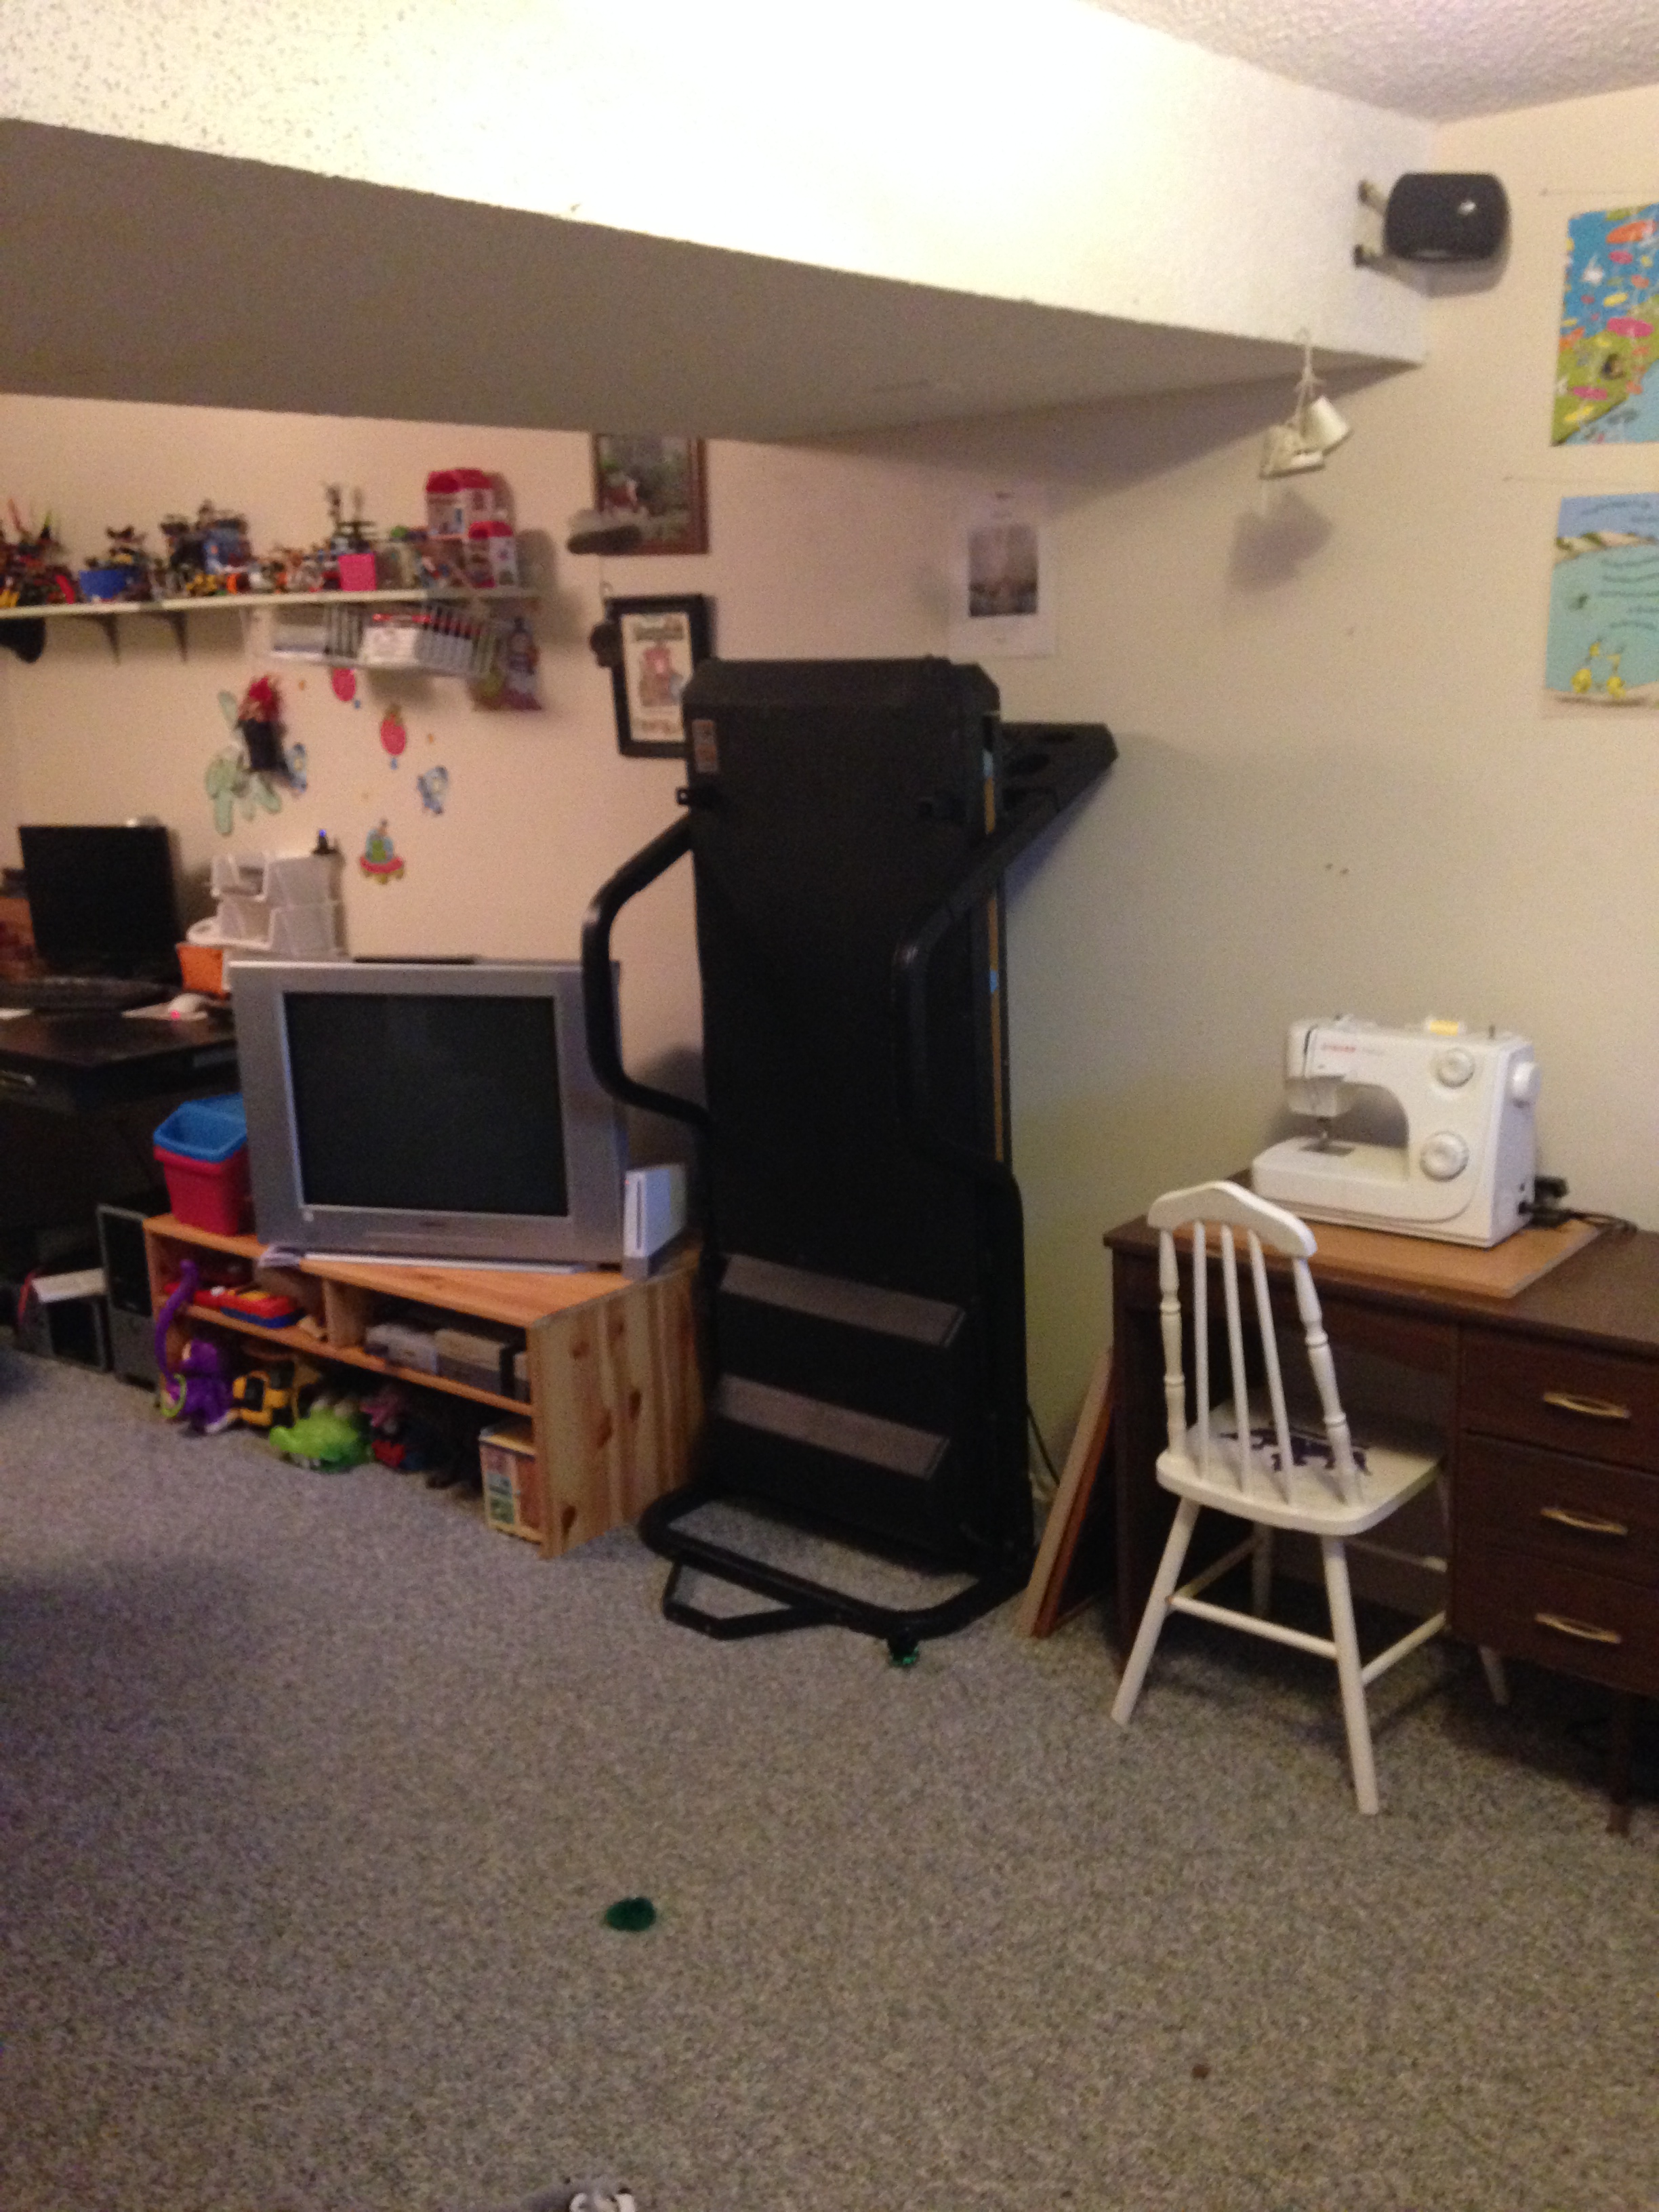
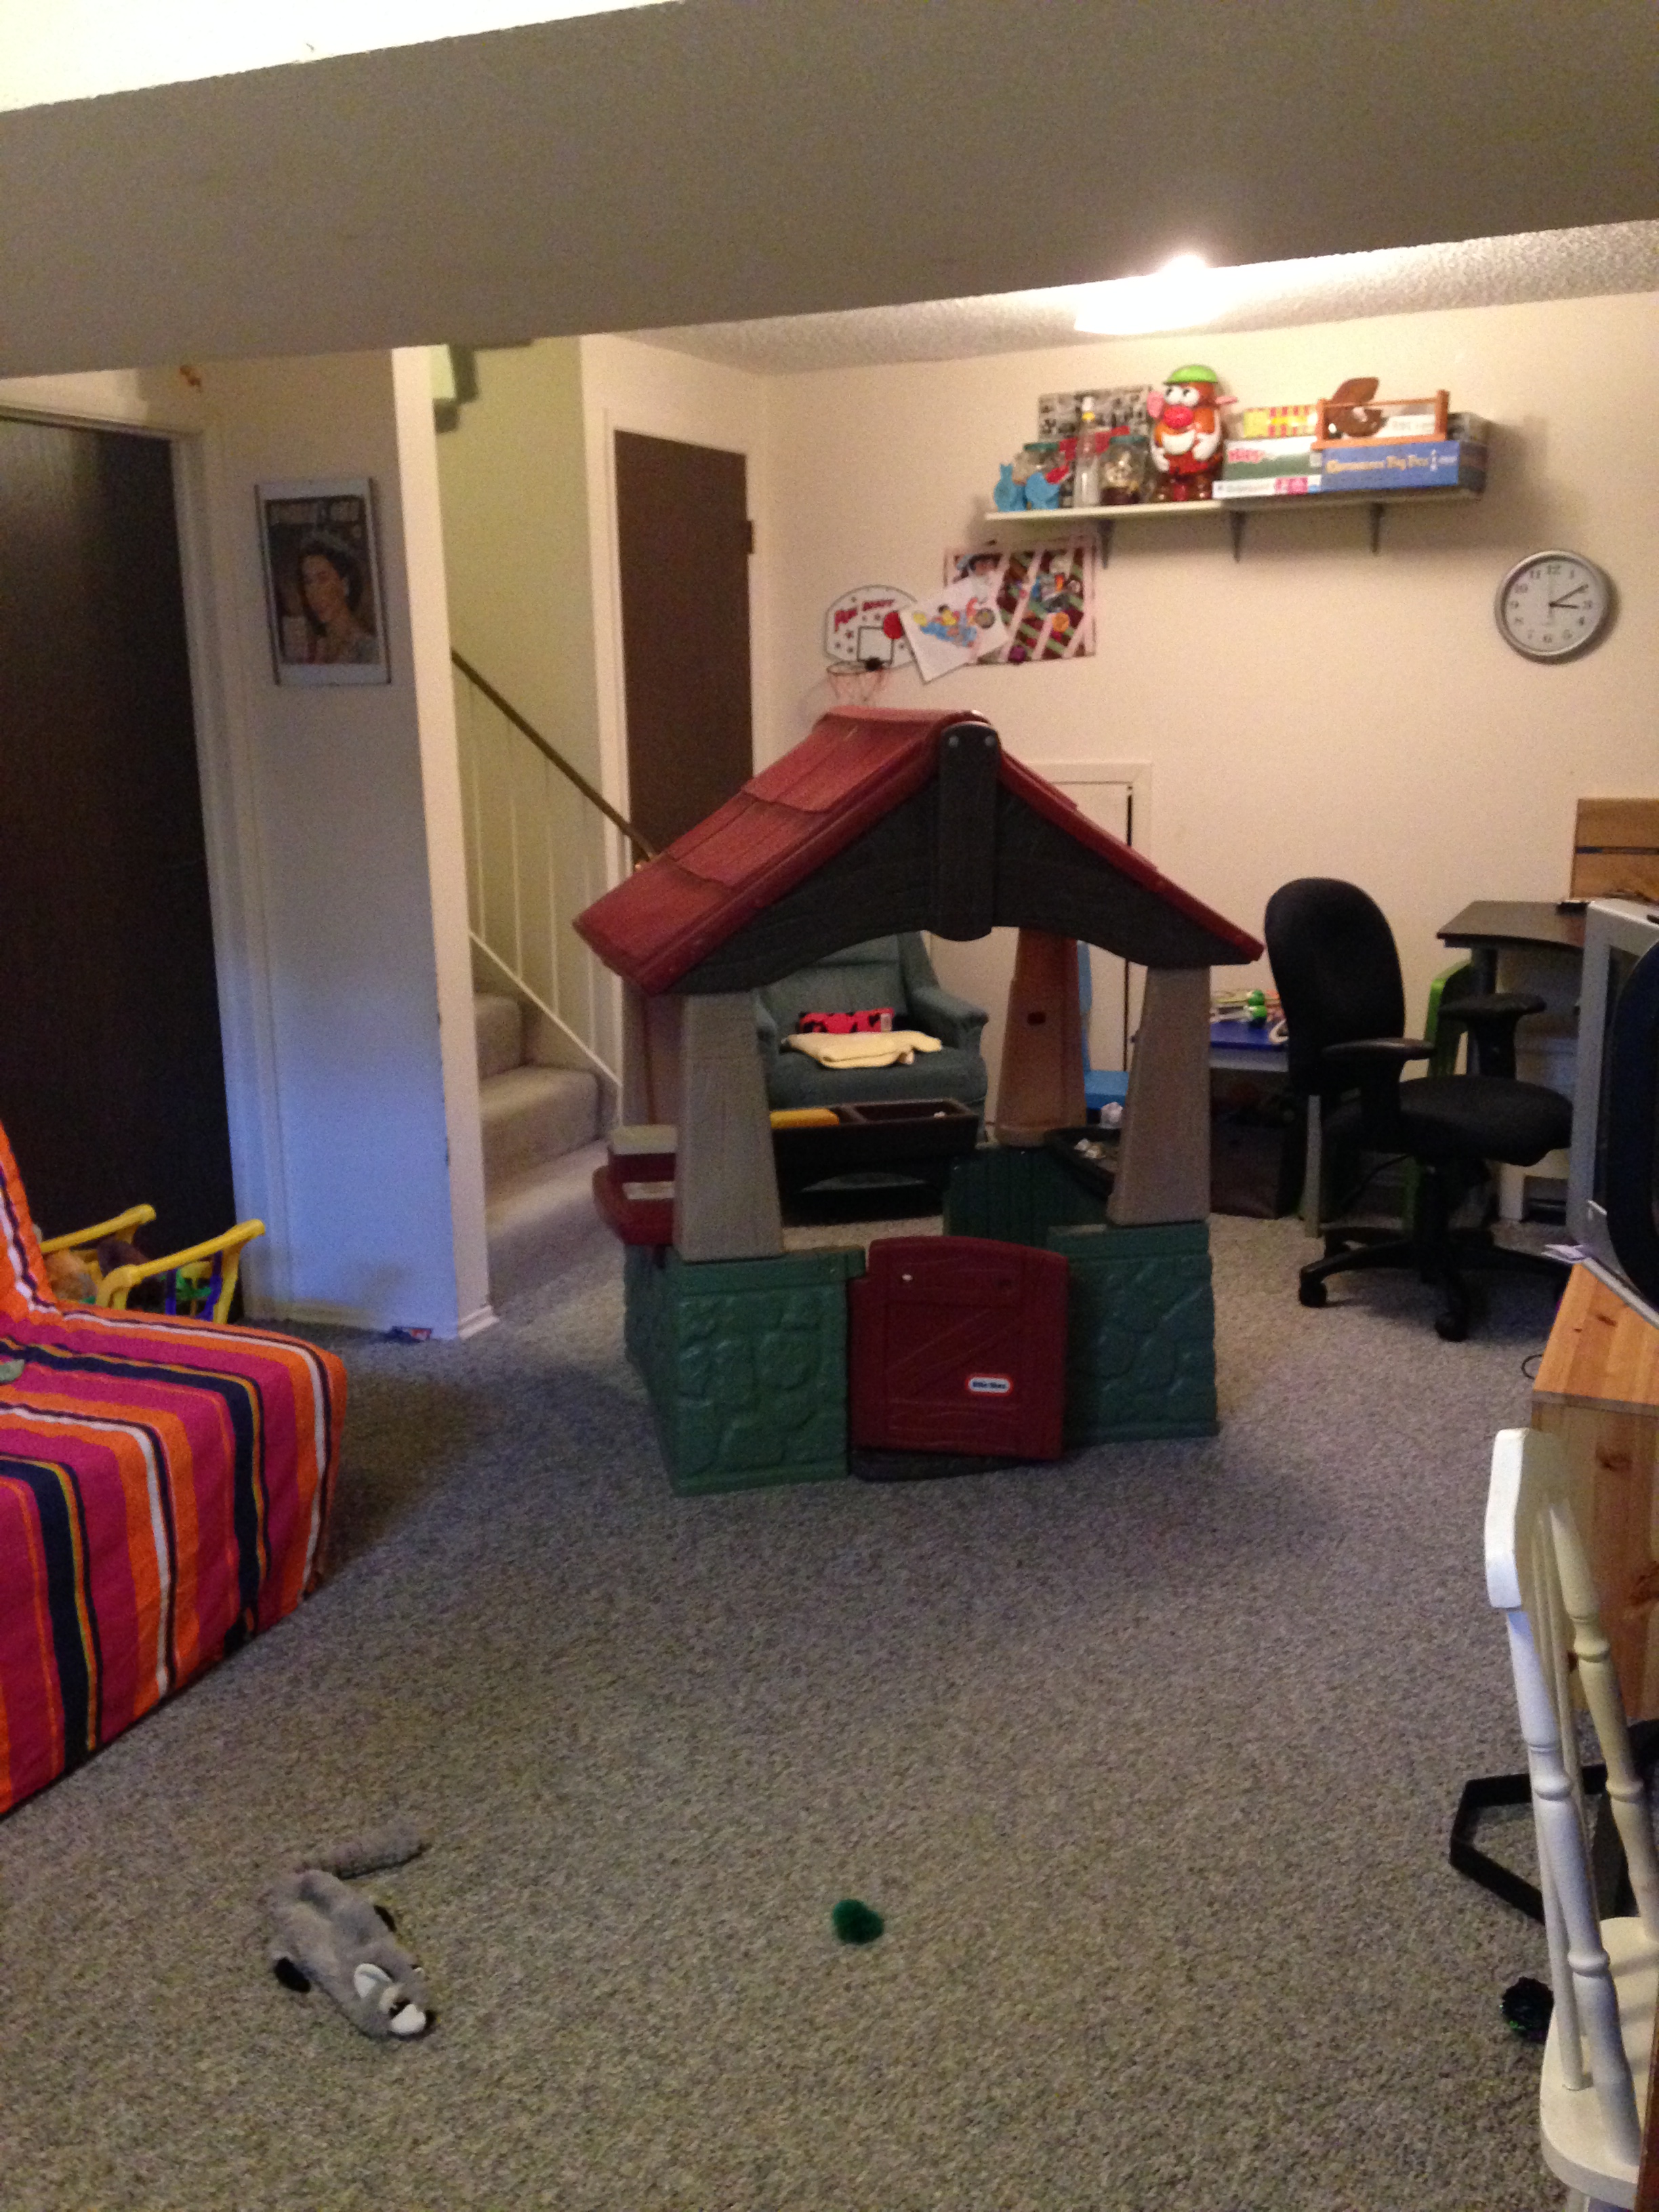
2. The Basement.
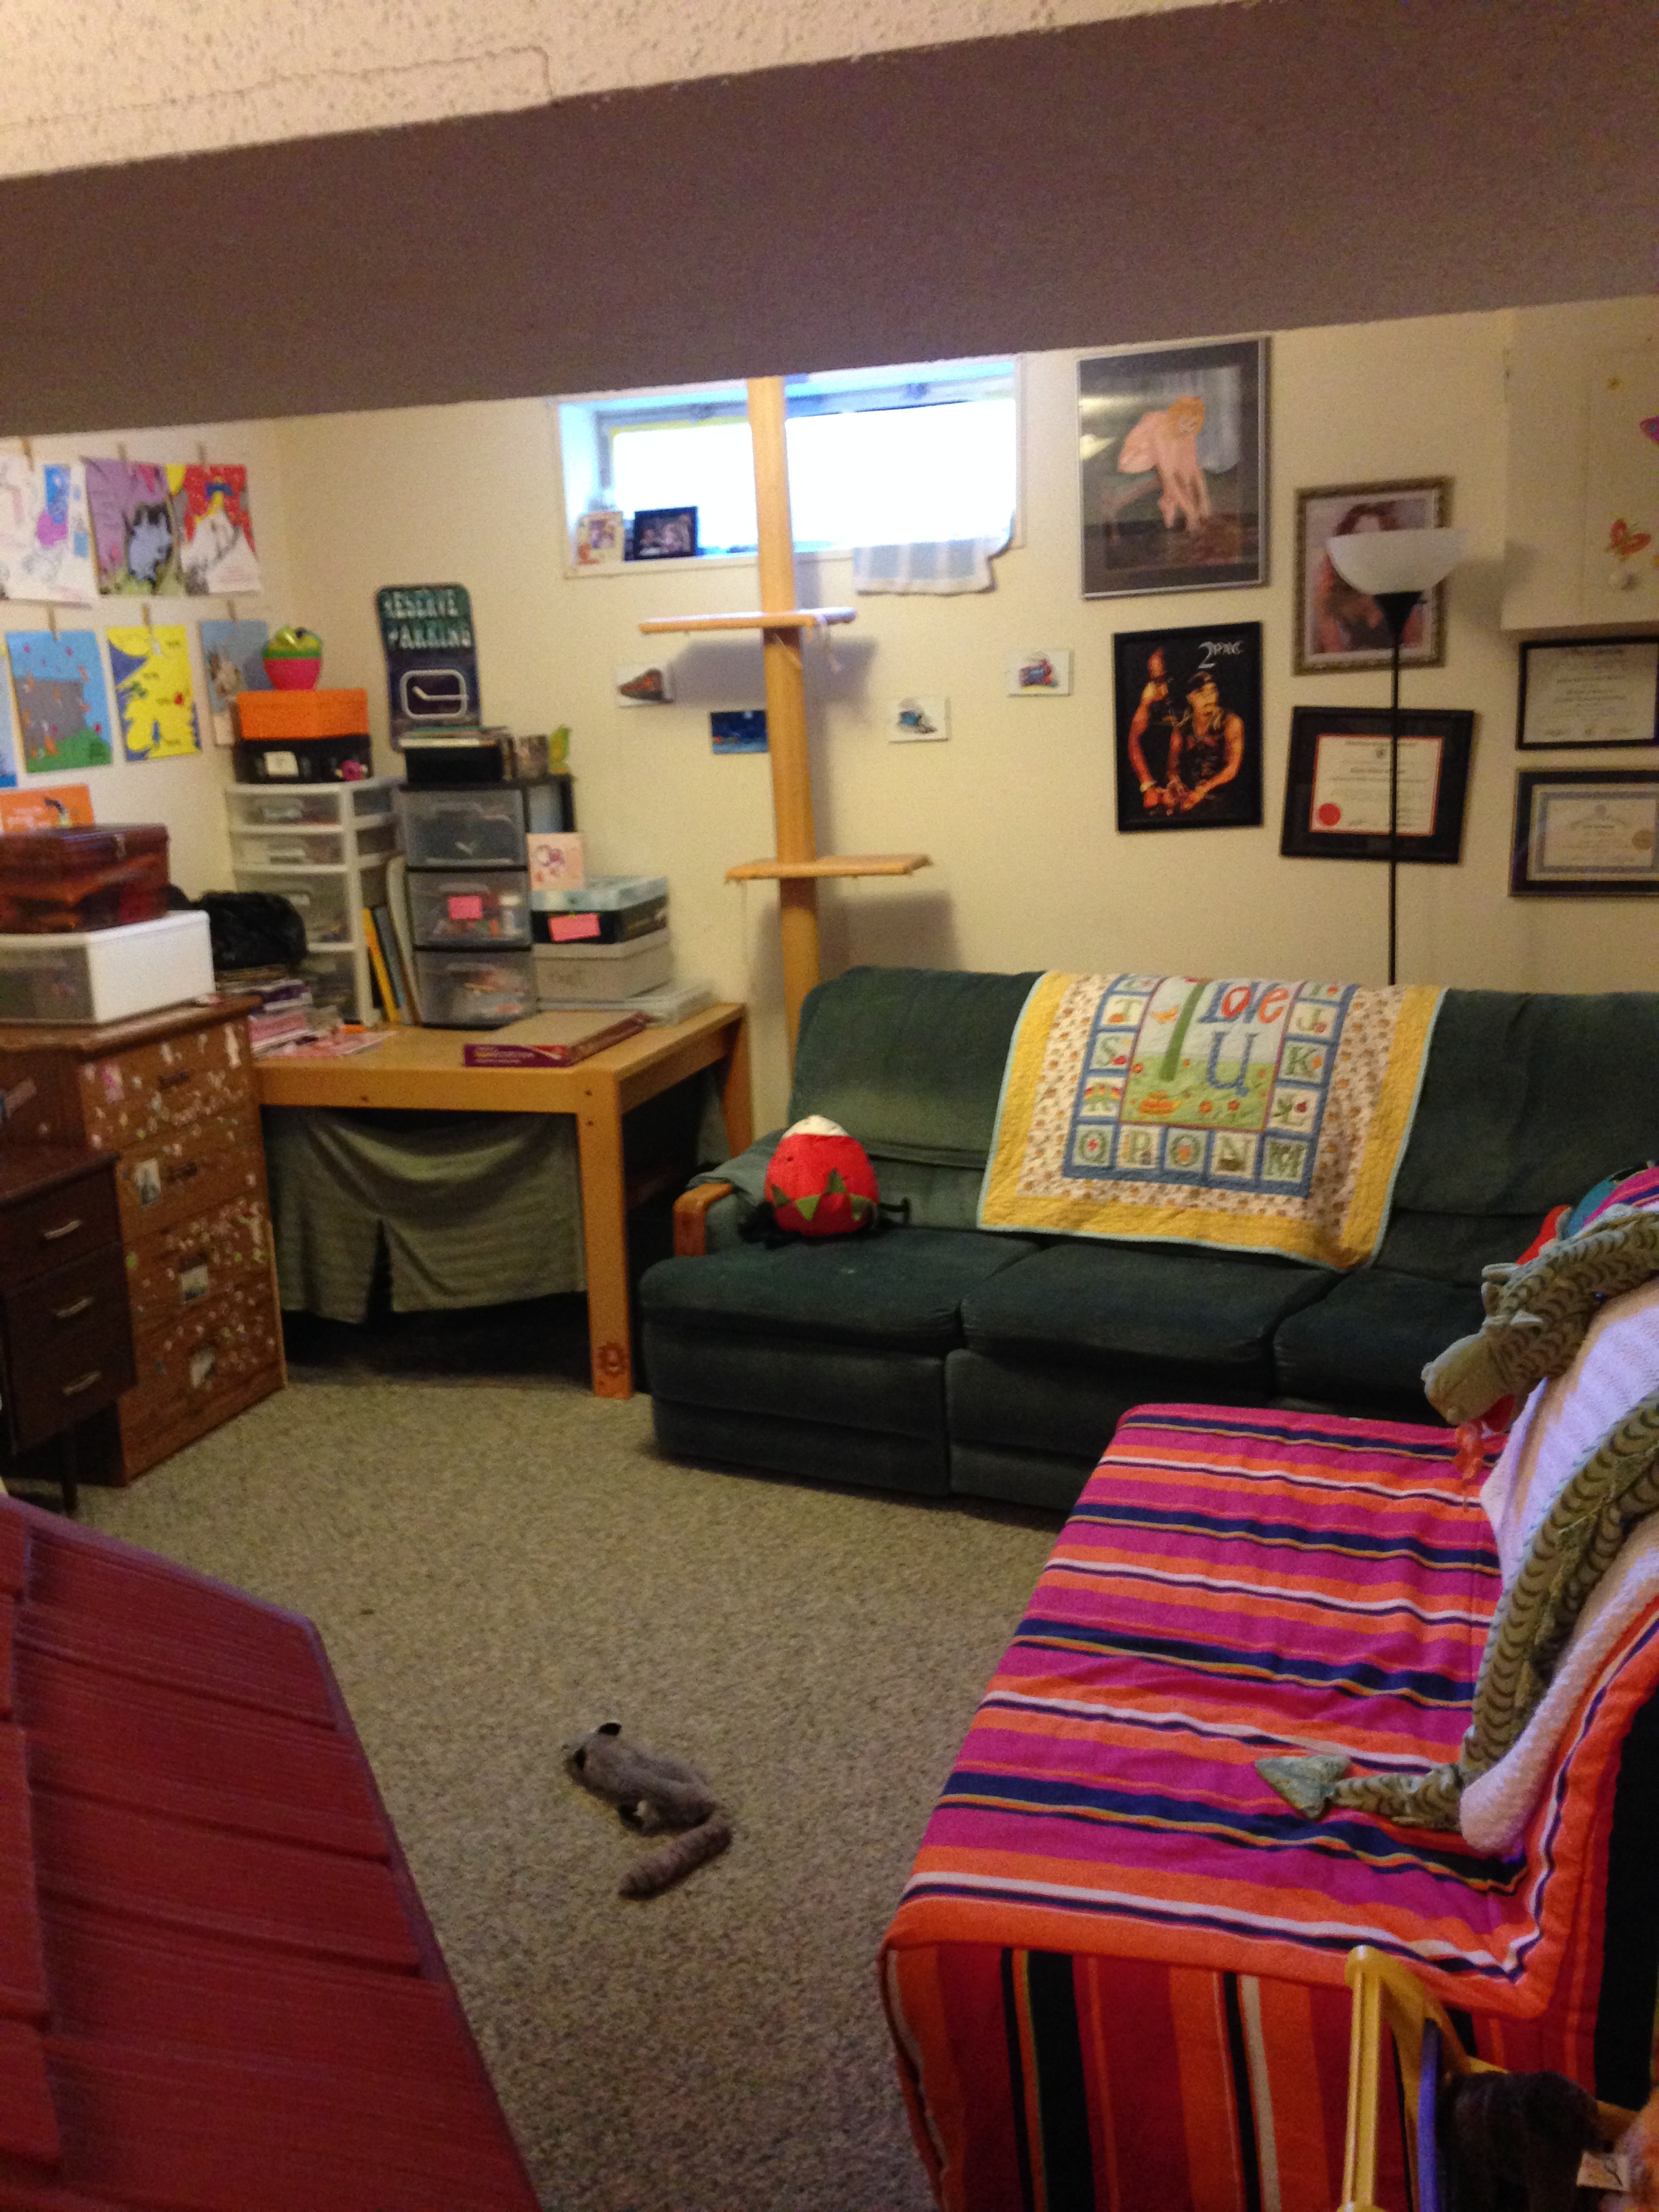
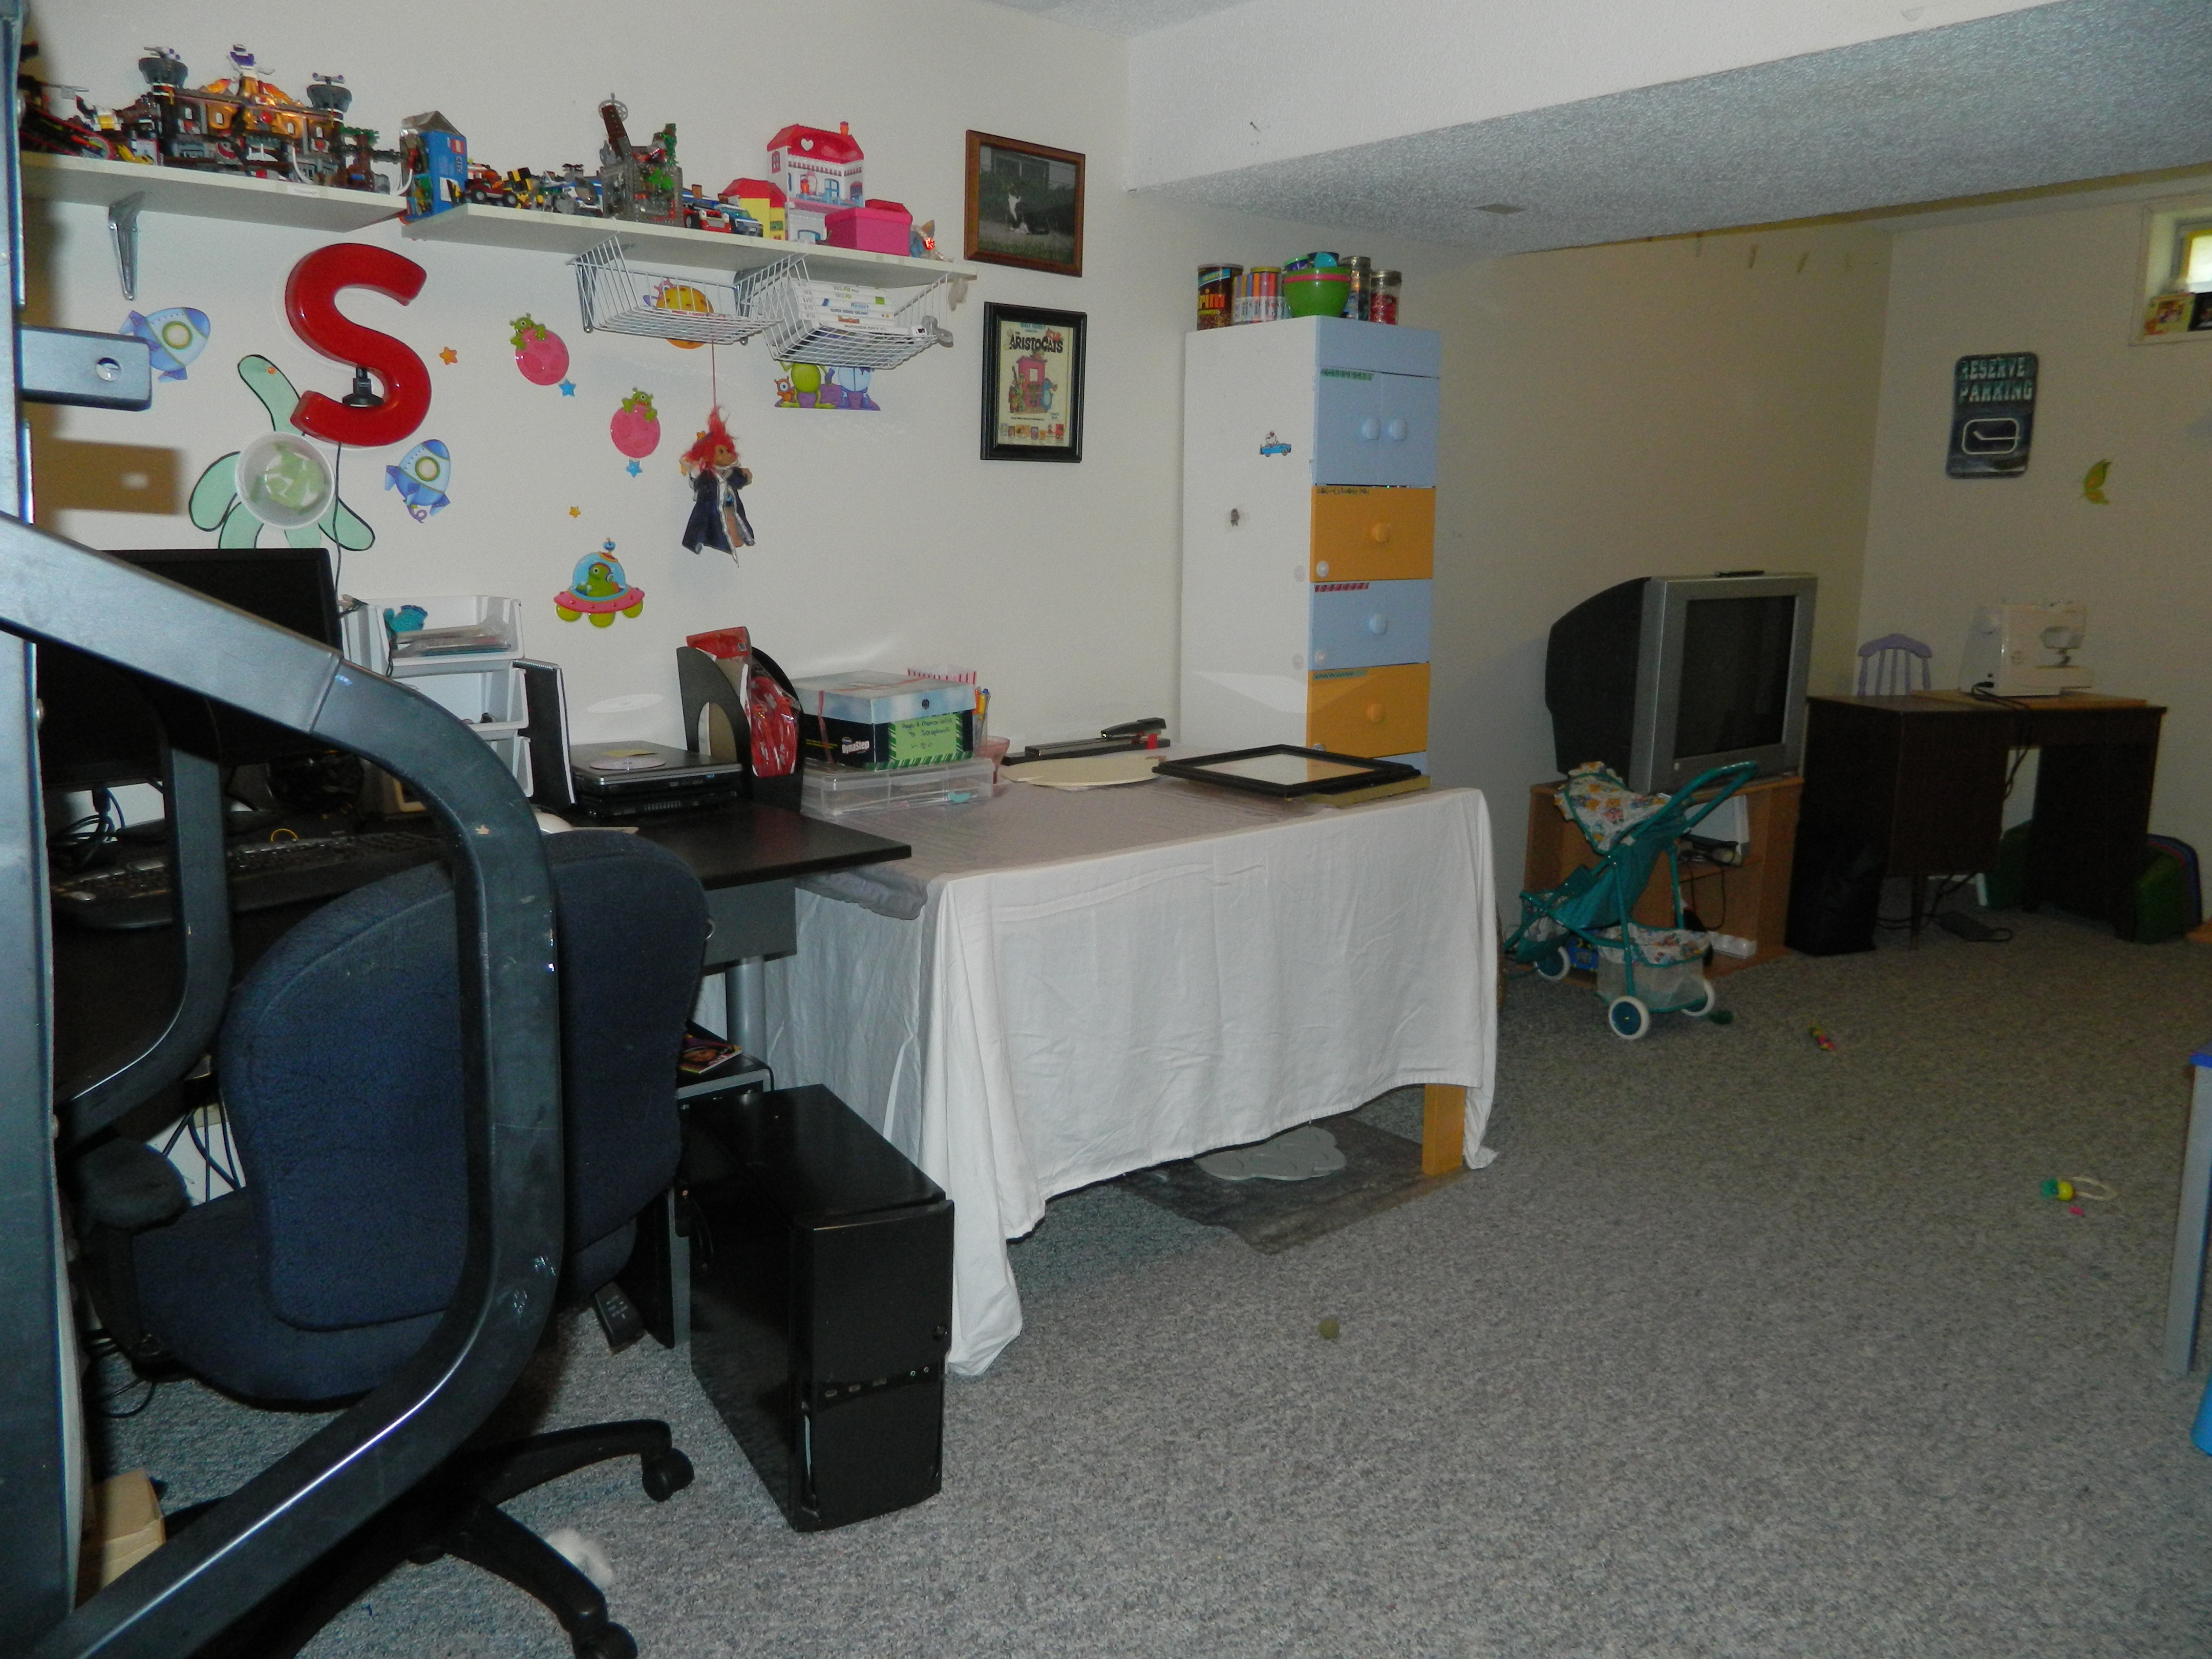
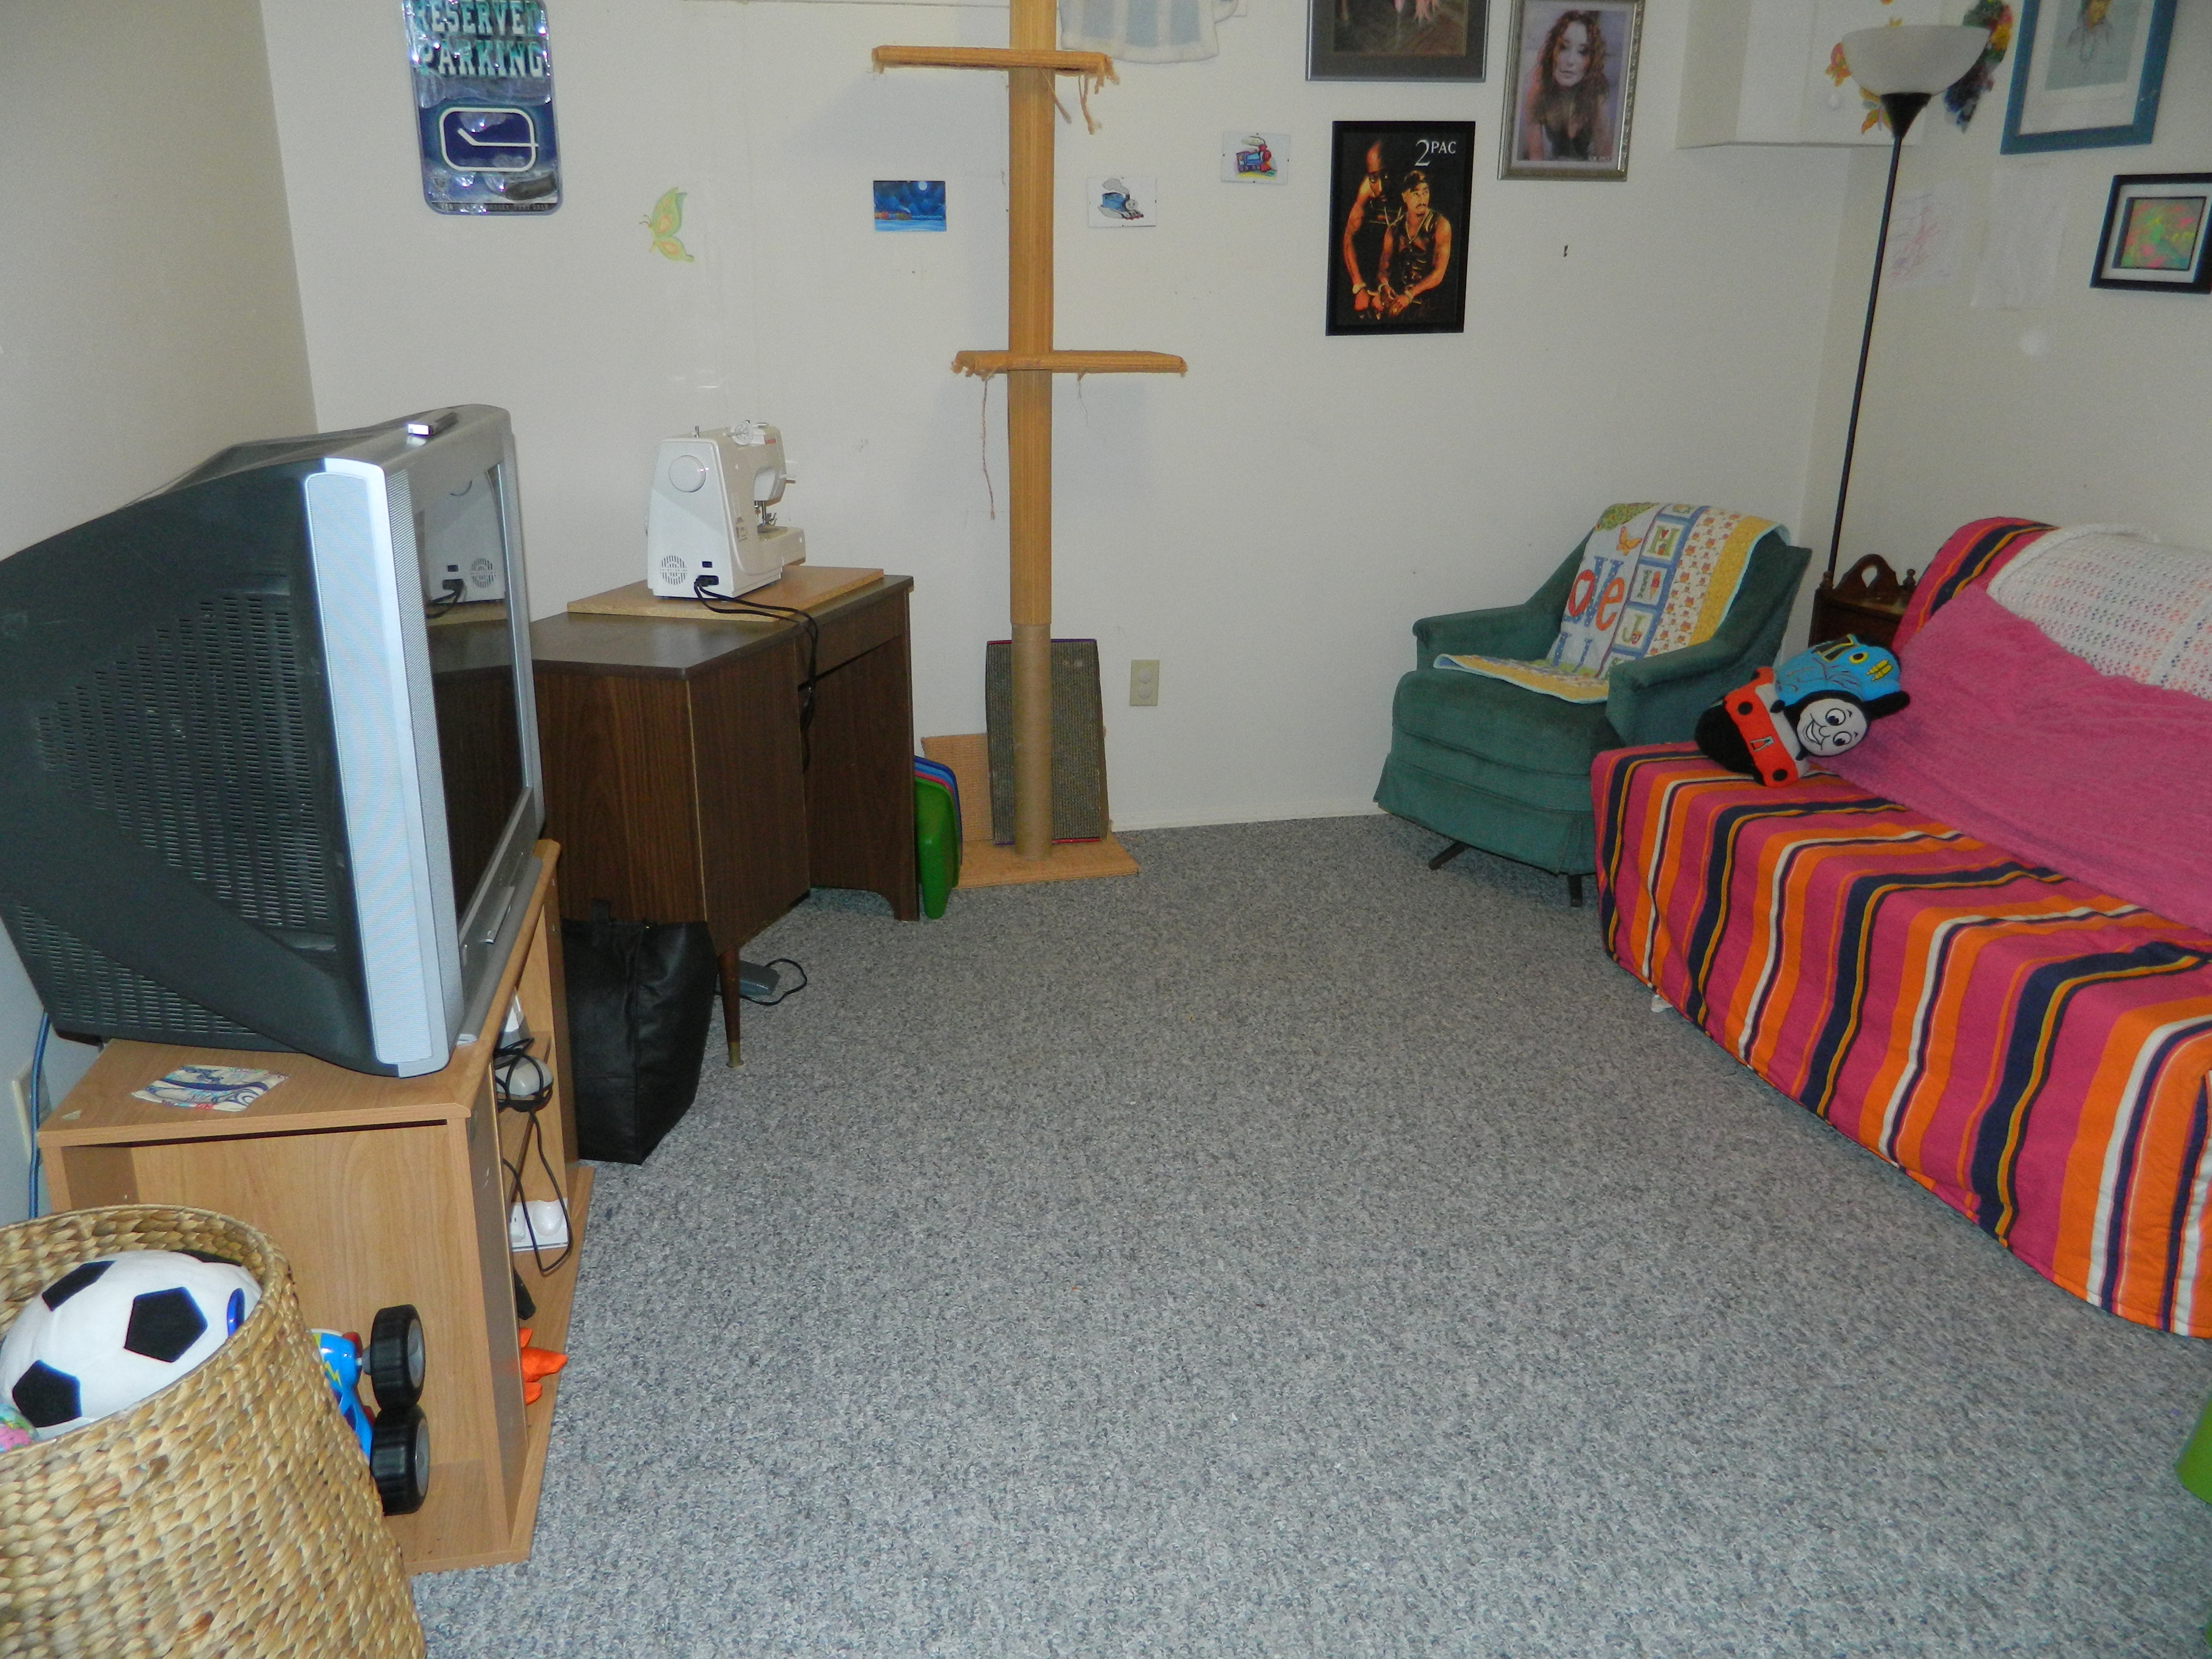
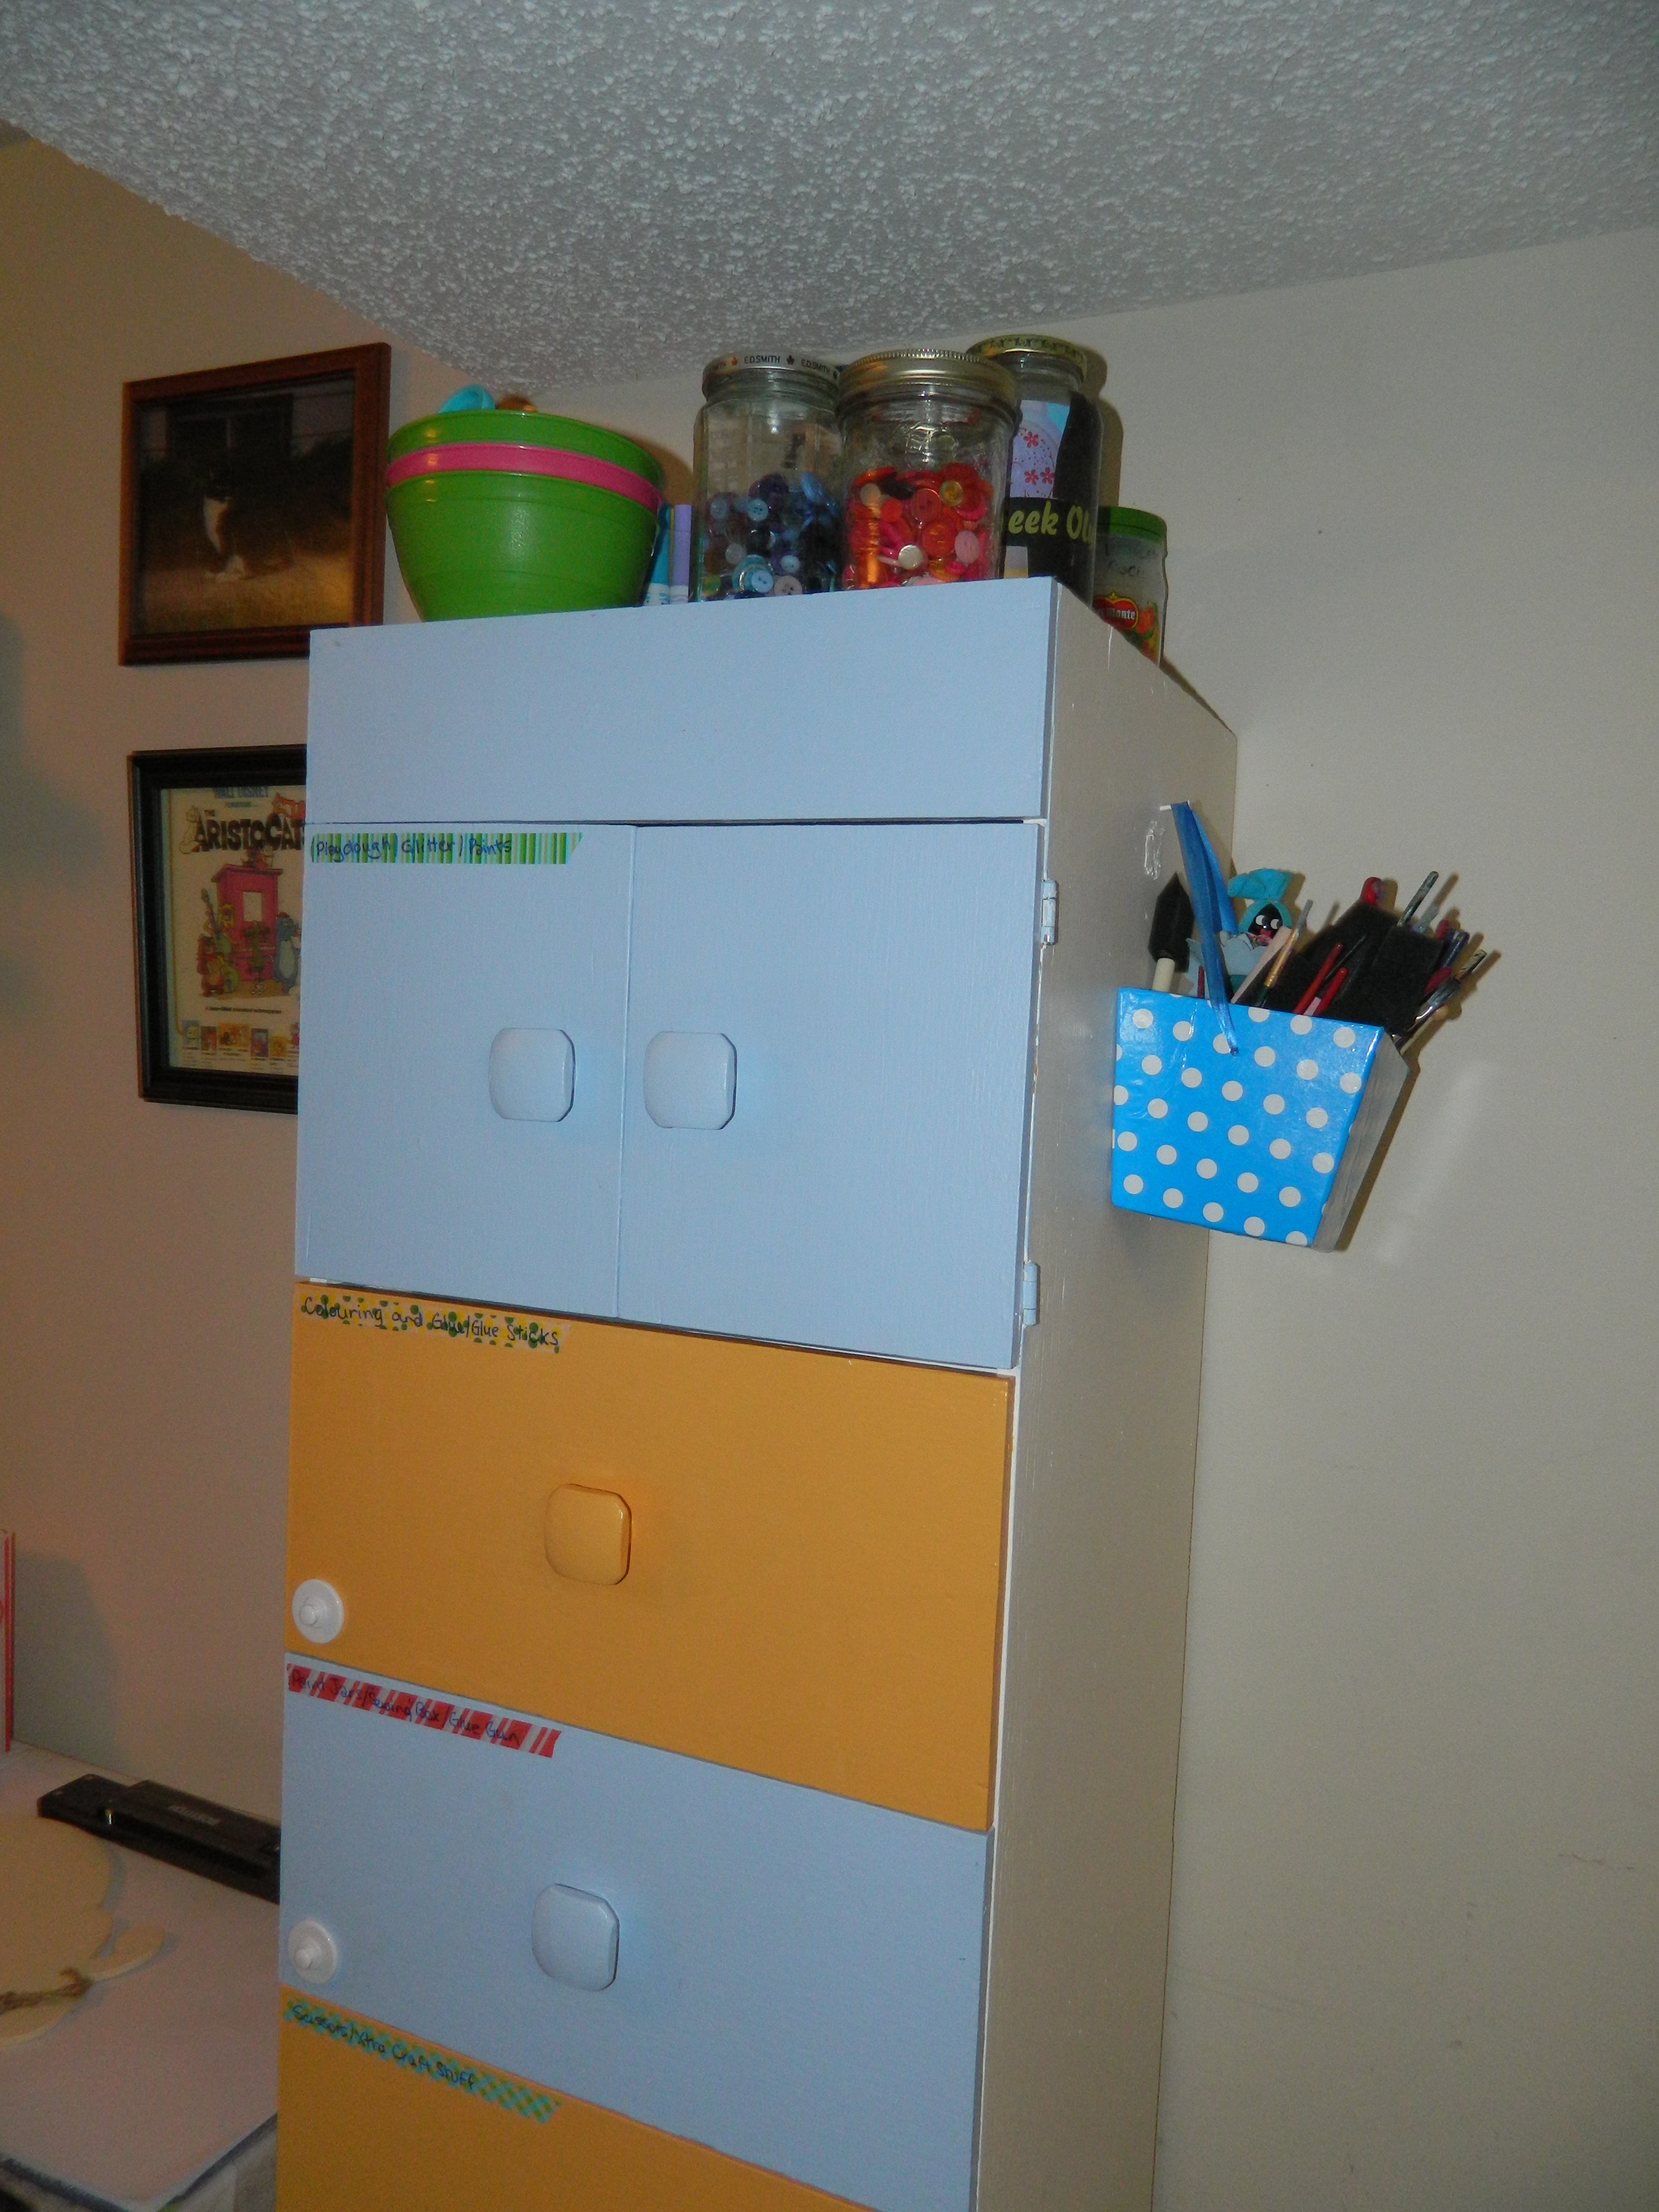
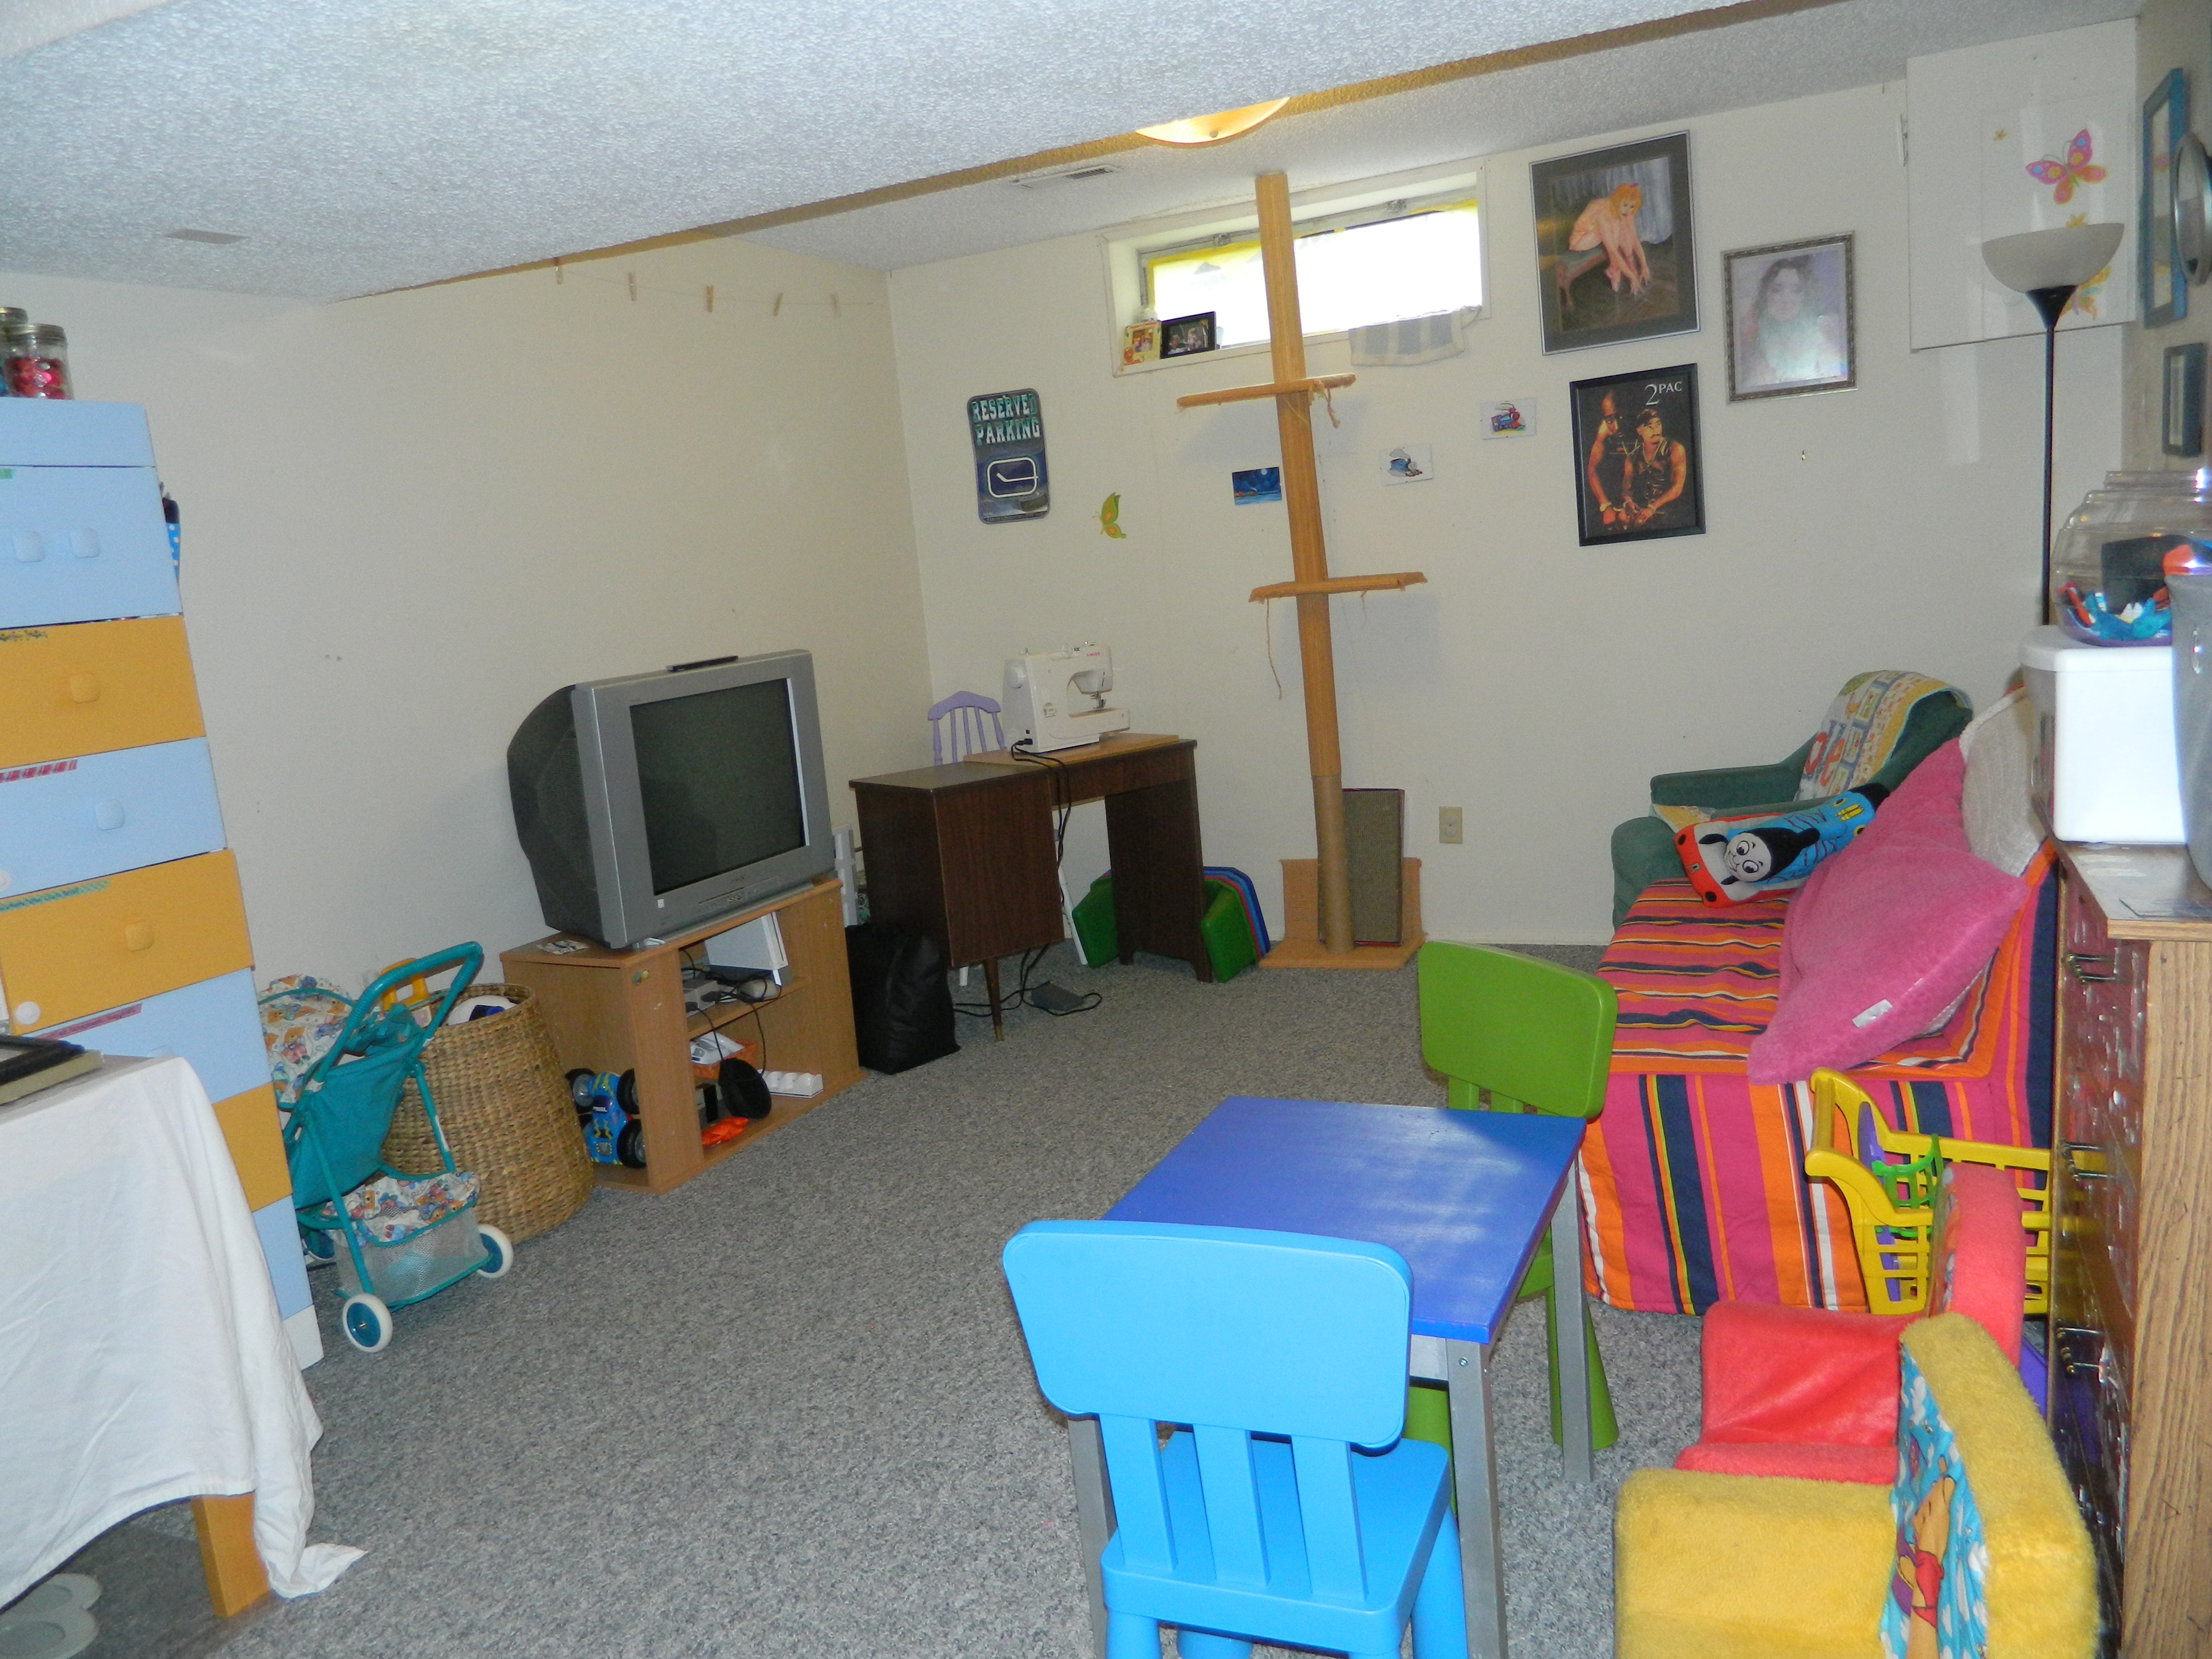
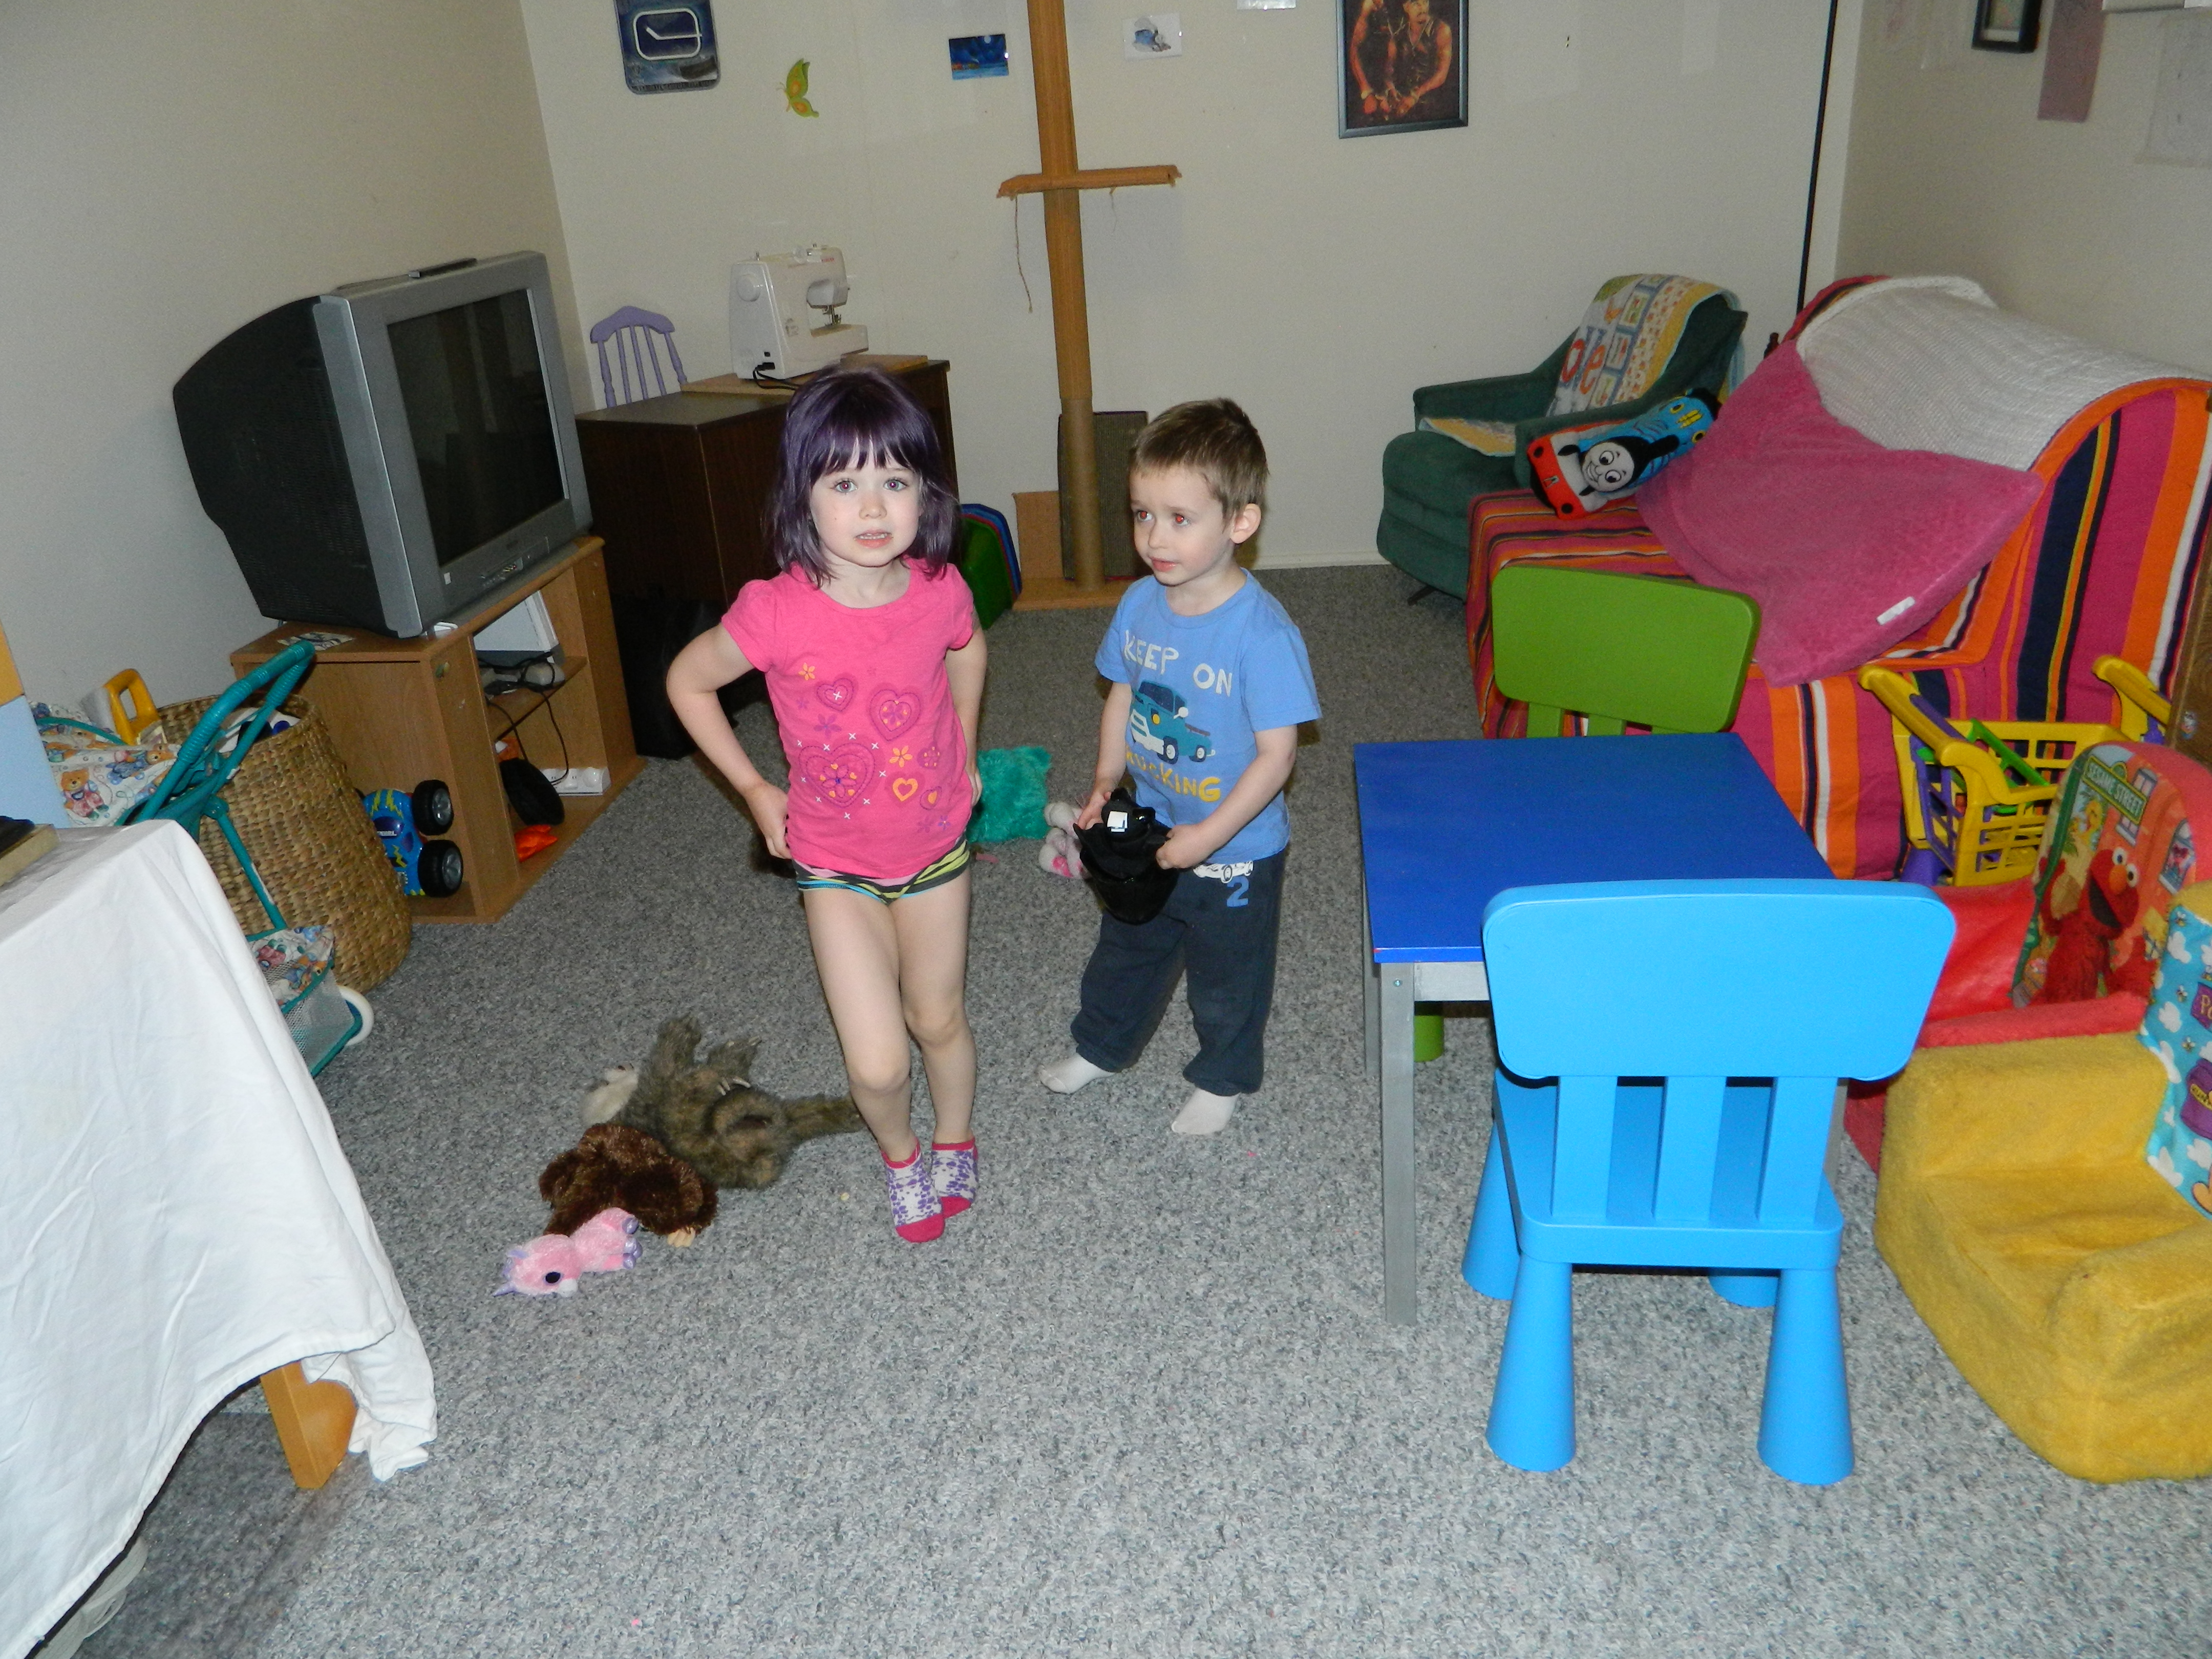
The basement used to be our everything room. Playroom, craft room and games room. Also, the computer that Josh does a lot of his work from home is down there as well. It looked like a dumping ground for unwanted furniture. The layout has changed. We got rid of one couch…almost. It is on the balcony waiting to be taken away someday. So we moved the big couch that no one used out of the room and rearranged the furniture. A dresser was moved downstairs and turned in to organized craft storage and the pull-out futon and chair were moved to one side of the room as our guest corner. It is still a work in progress. I have yet to change the pictures on the wall. I am also going to put up a curtain to divide the guest ‘room’ with the work area.
Before and ‘after’:
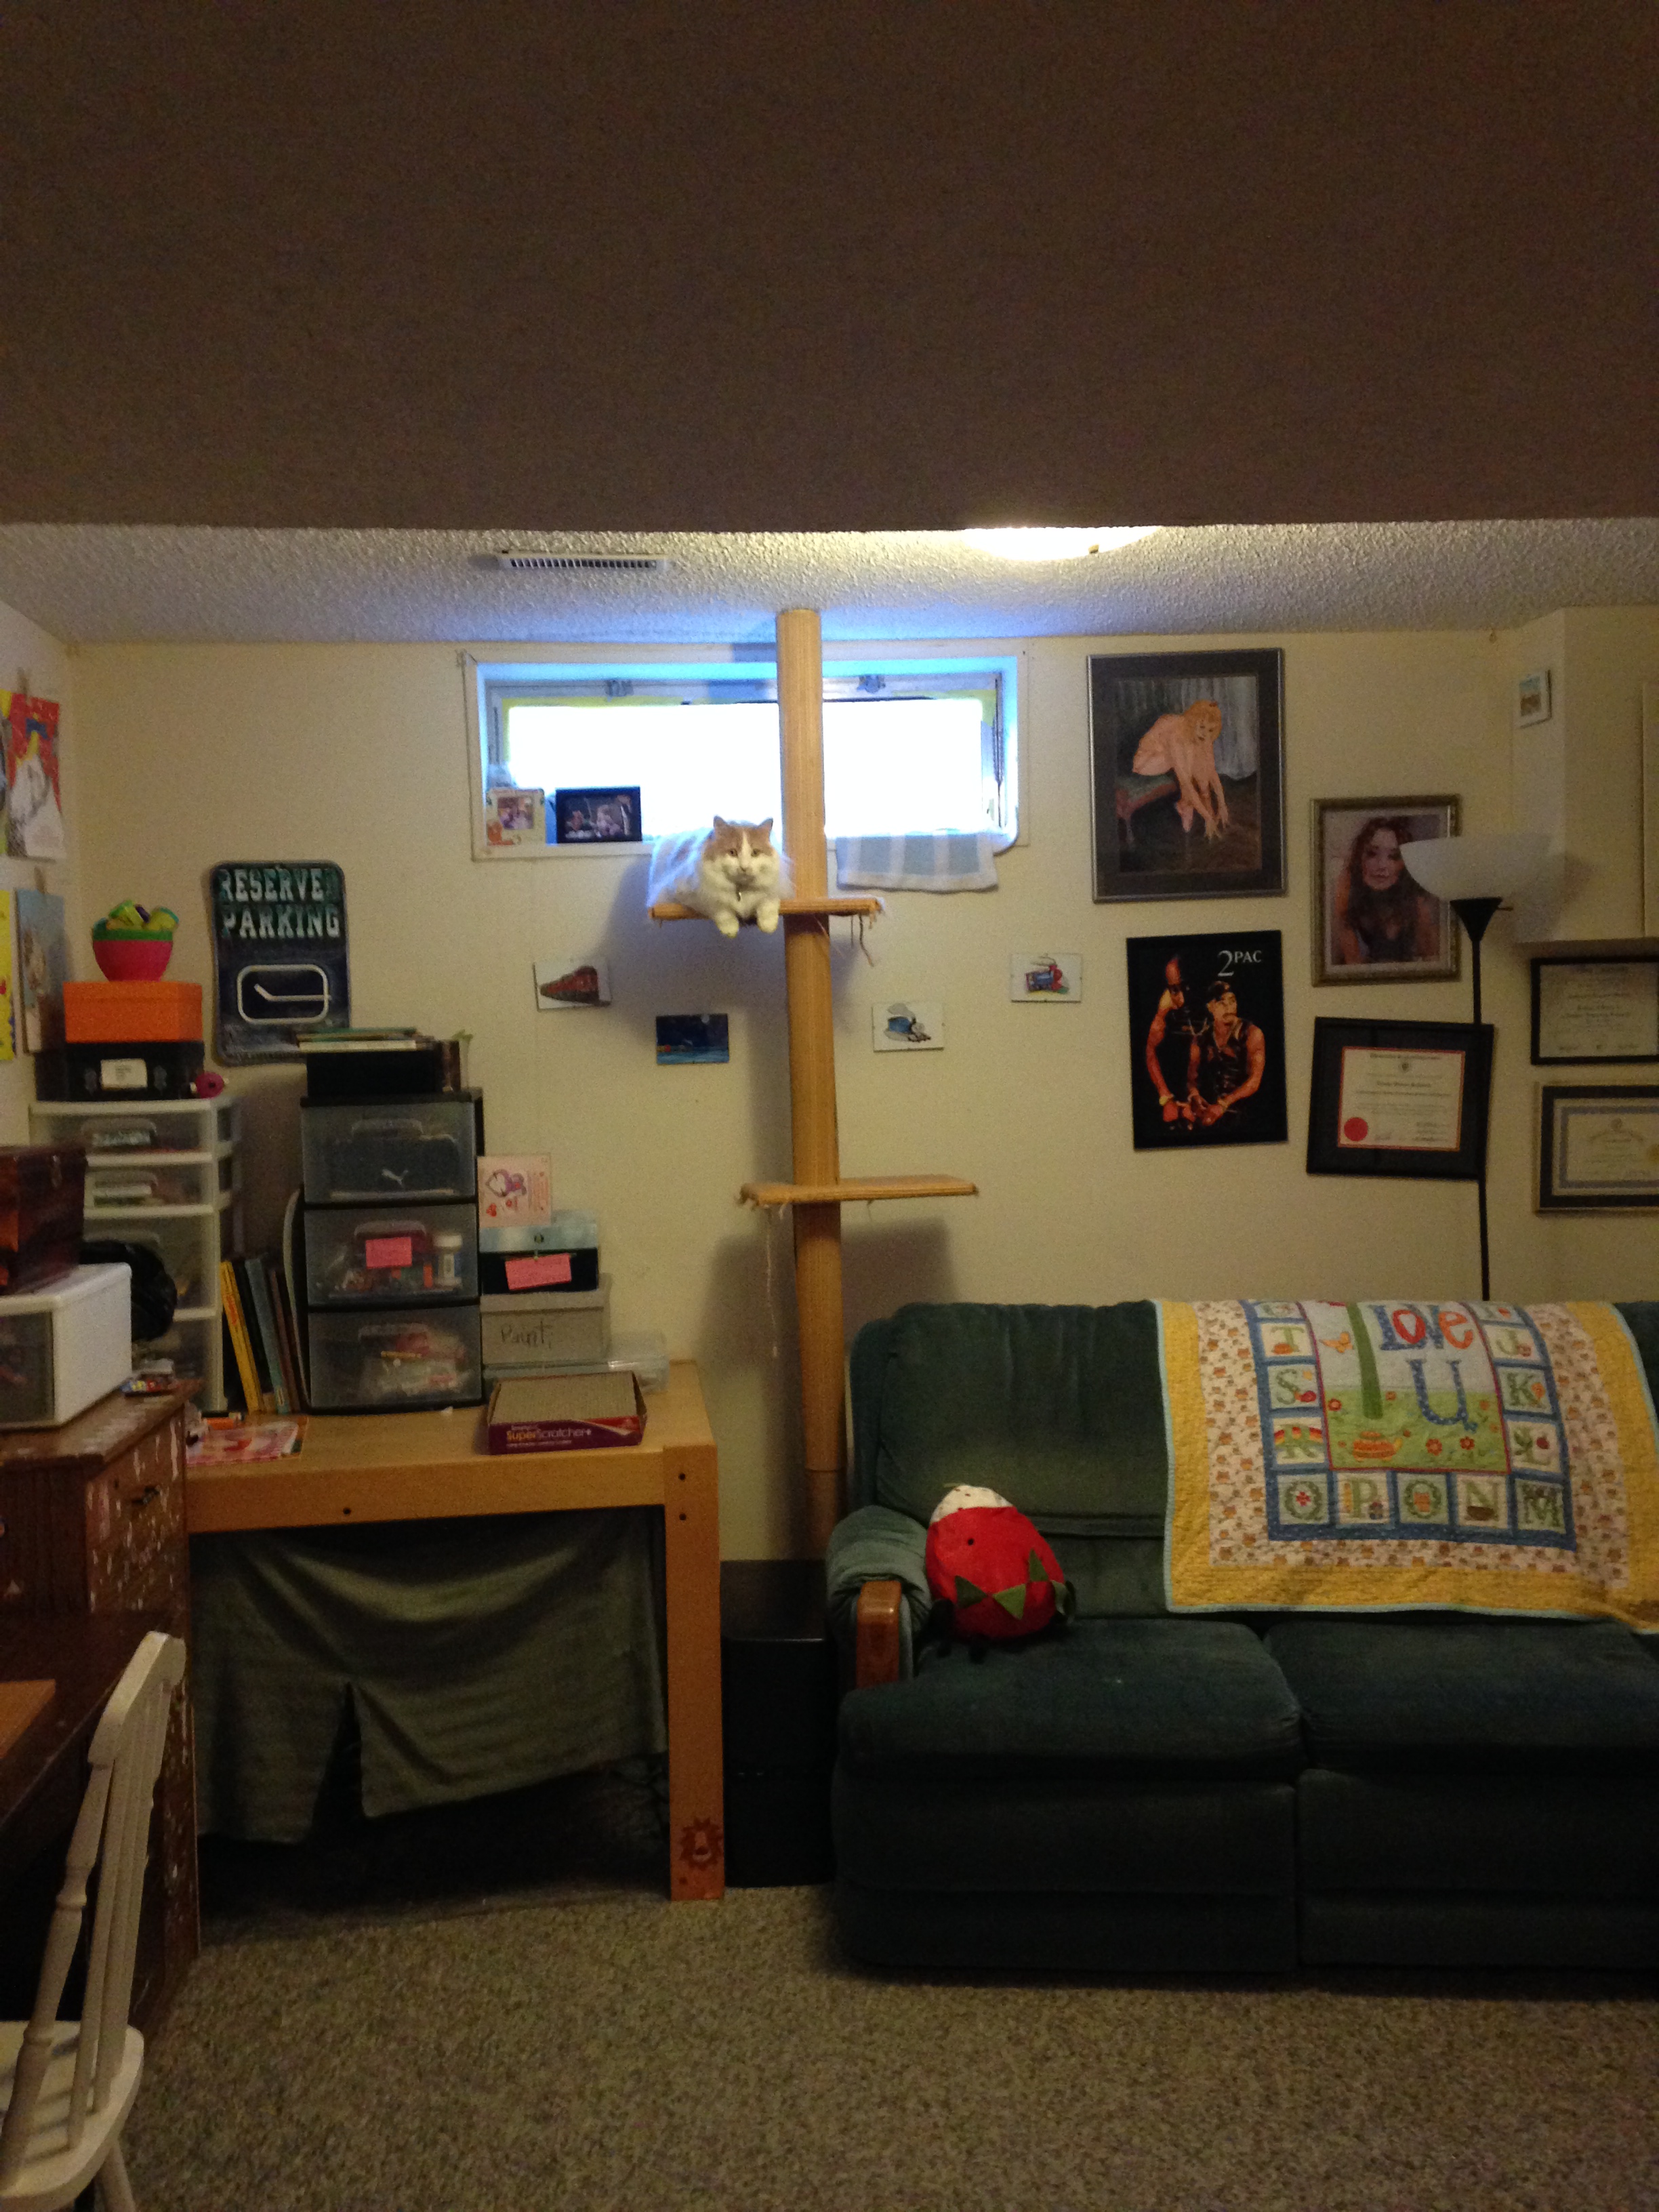
Before. A jumble of stuff.


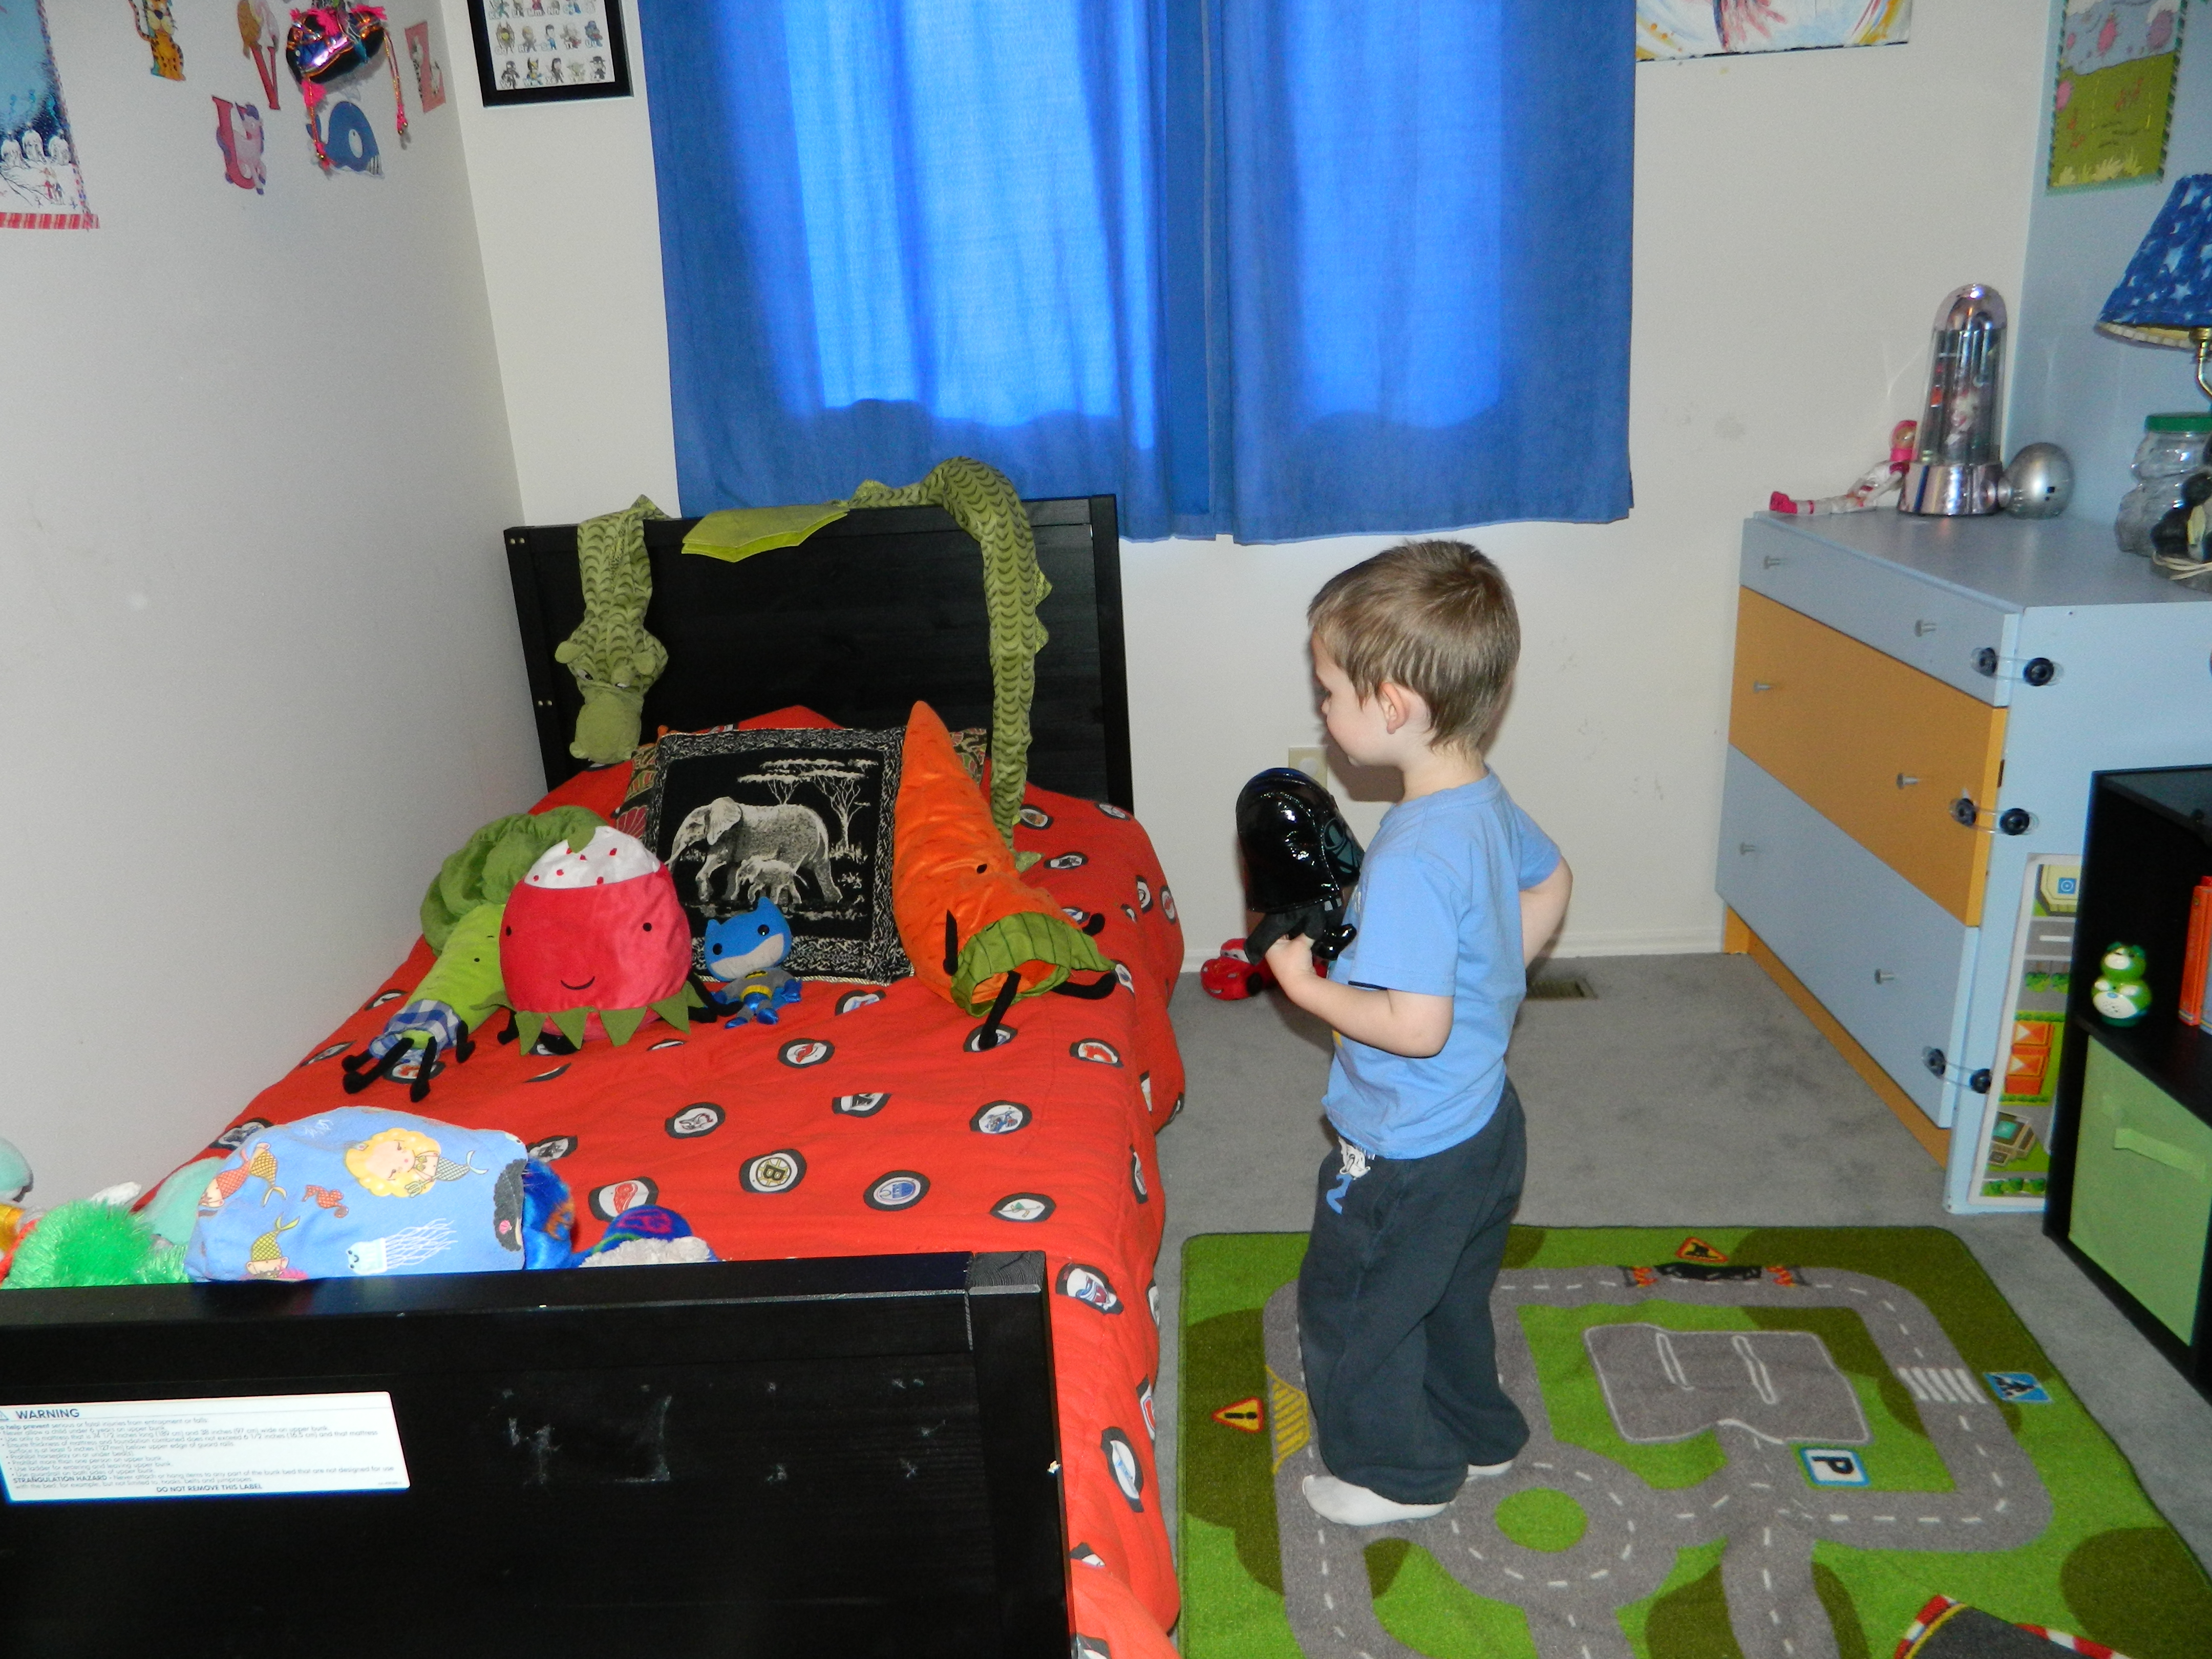
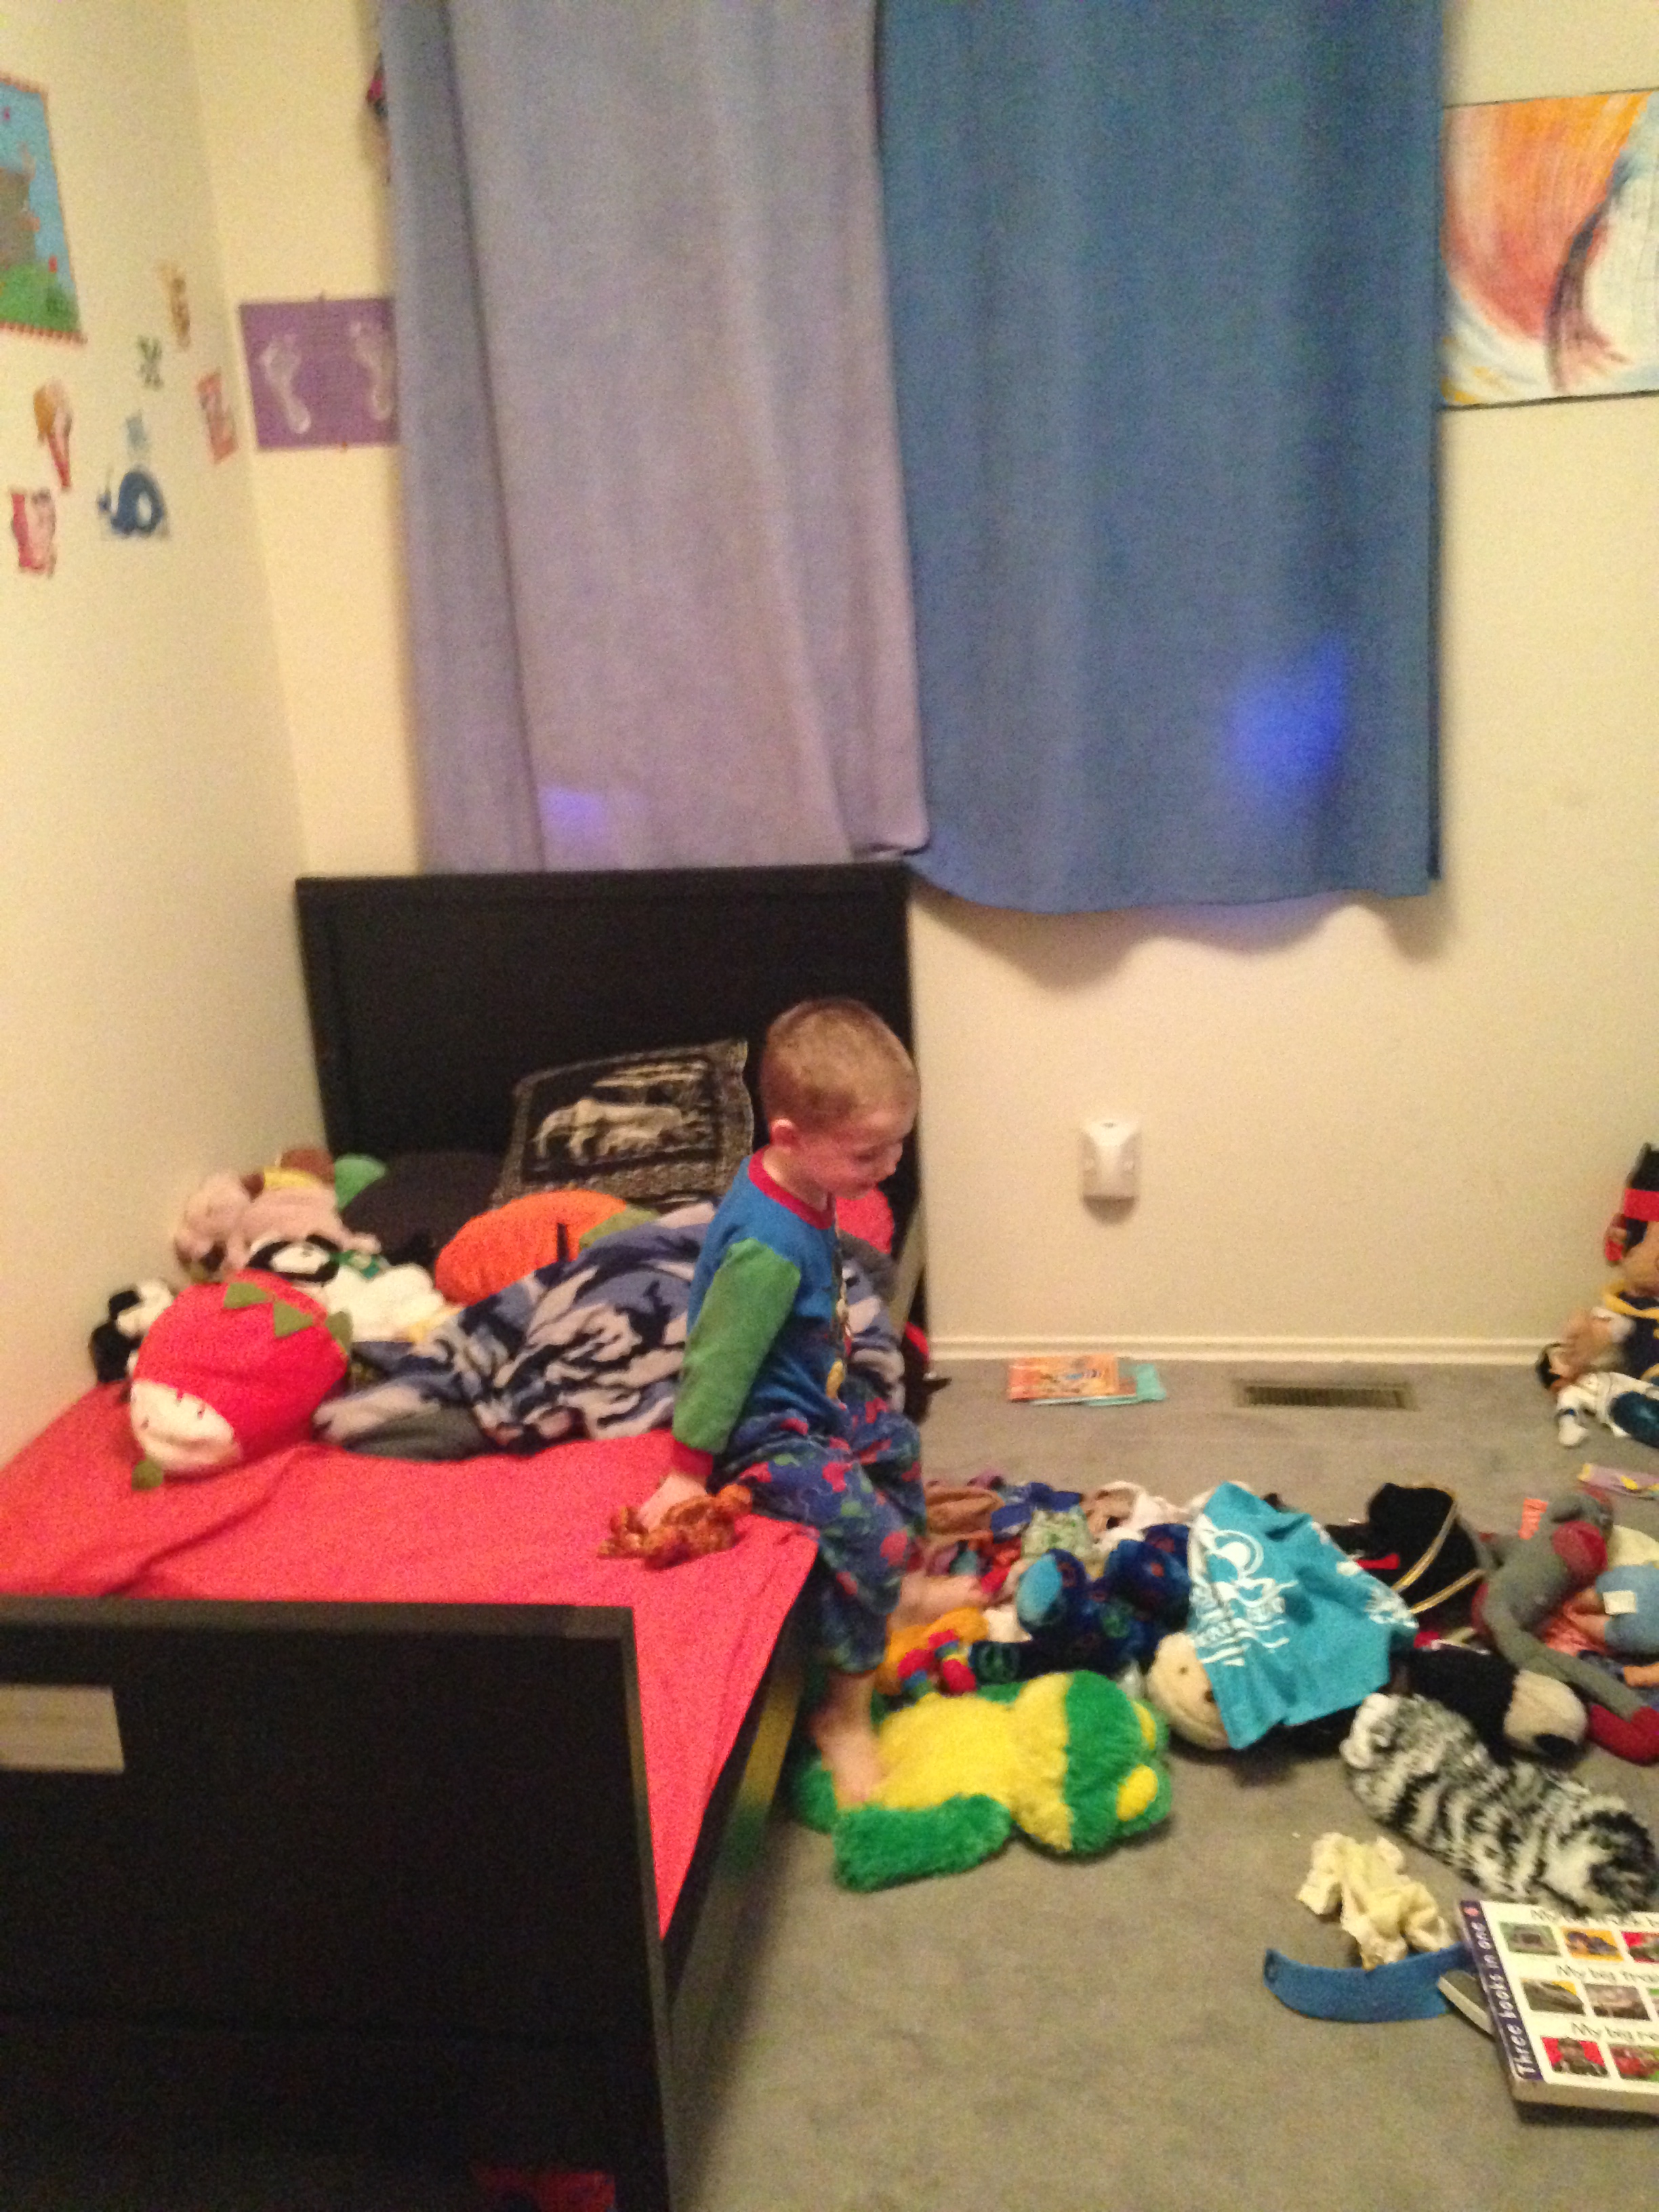
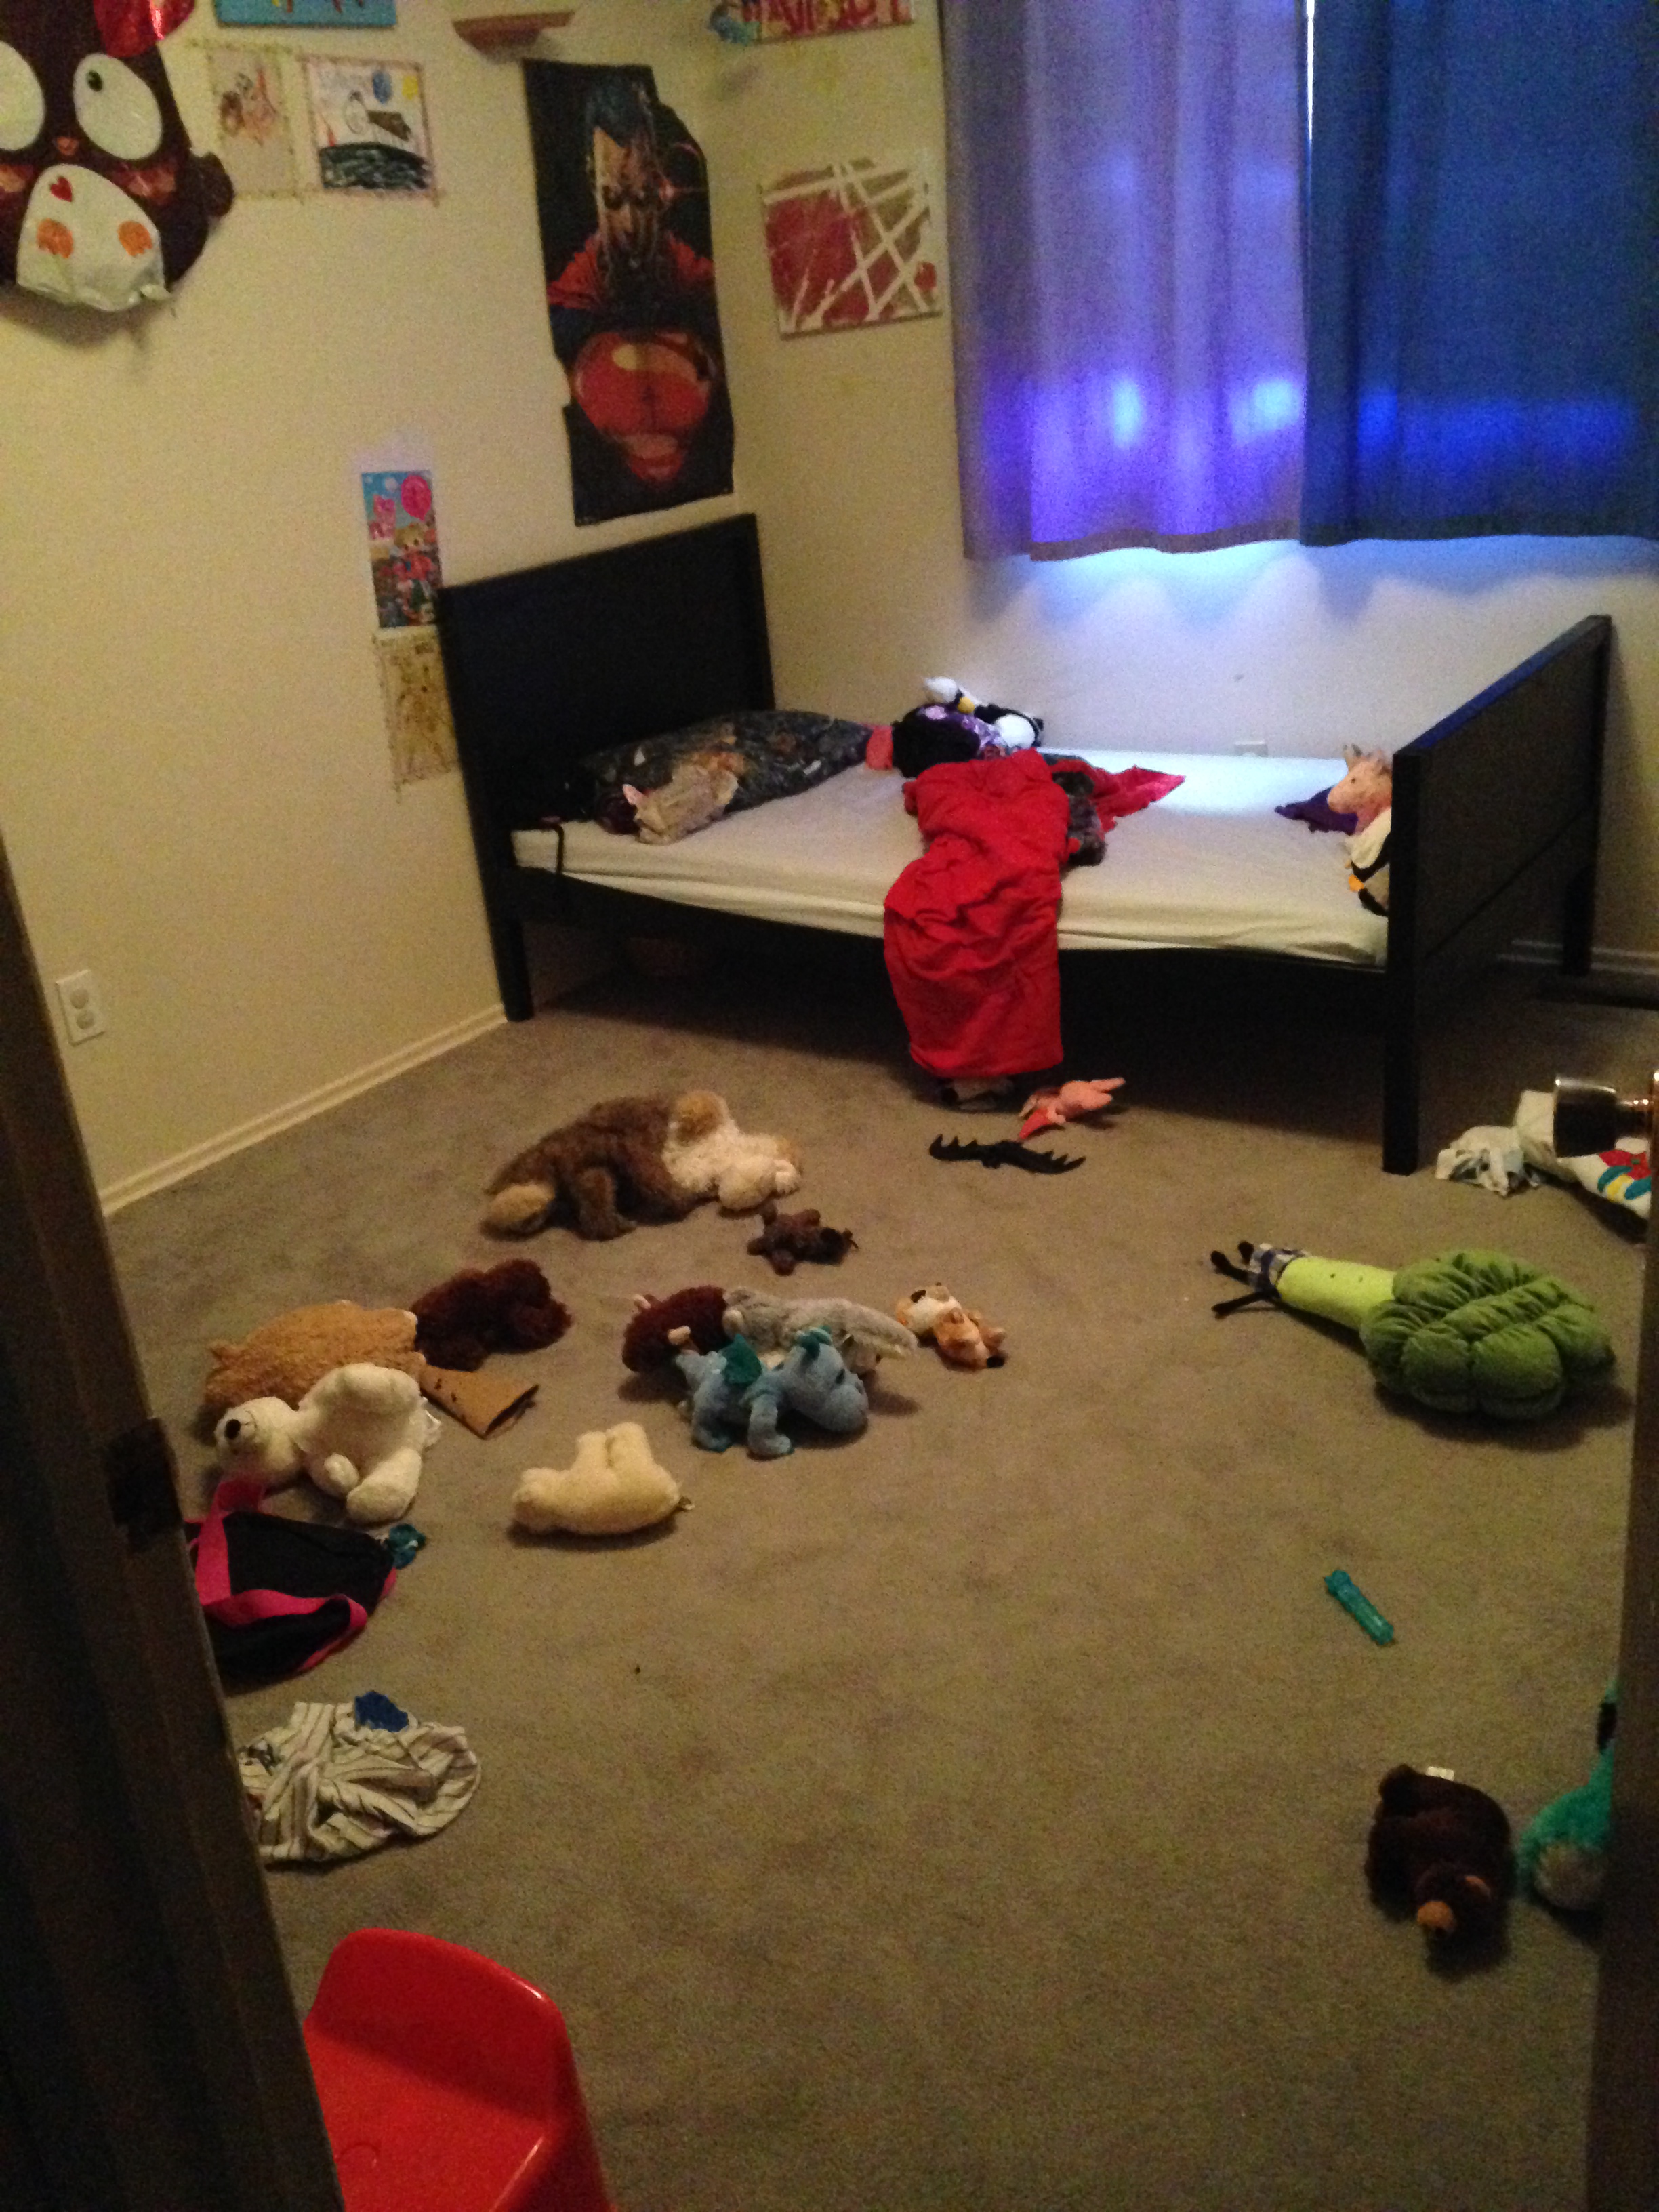
3. Hunter’s Room
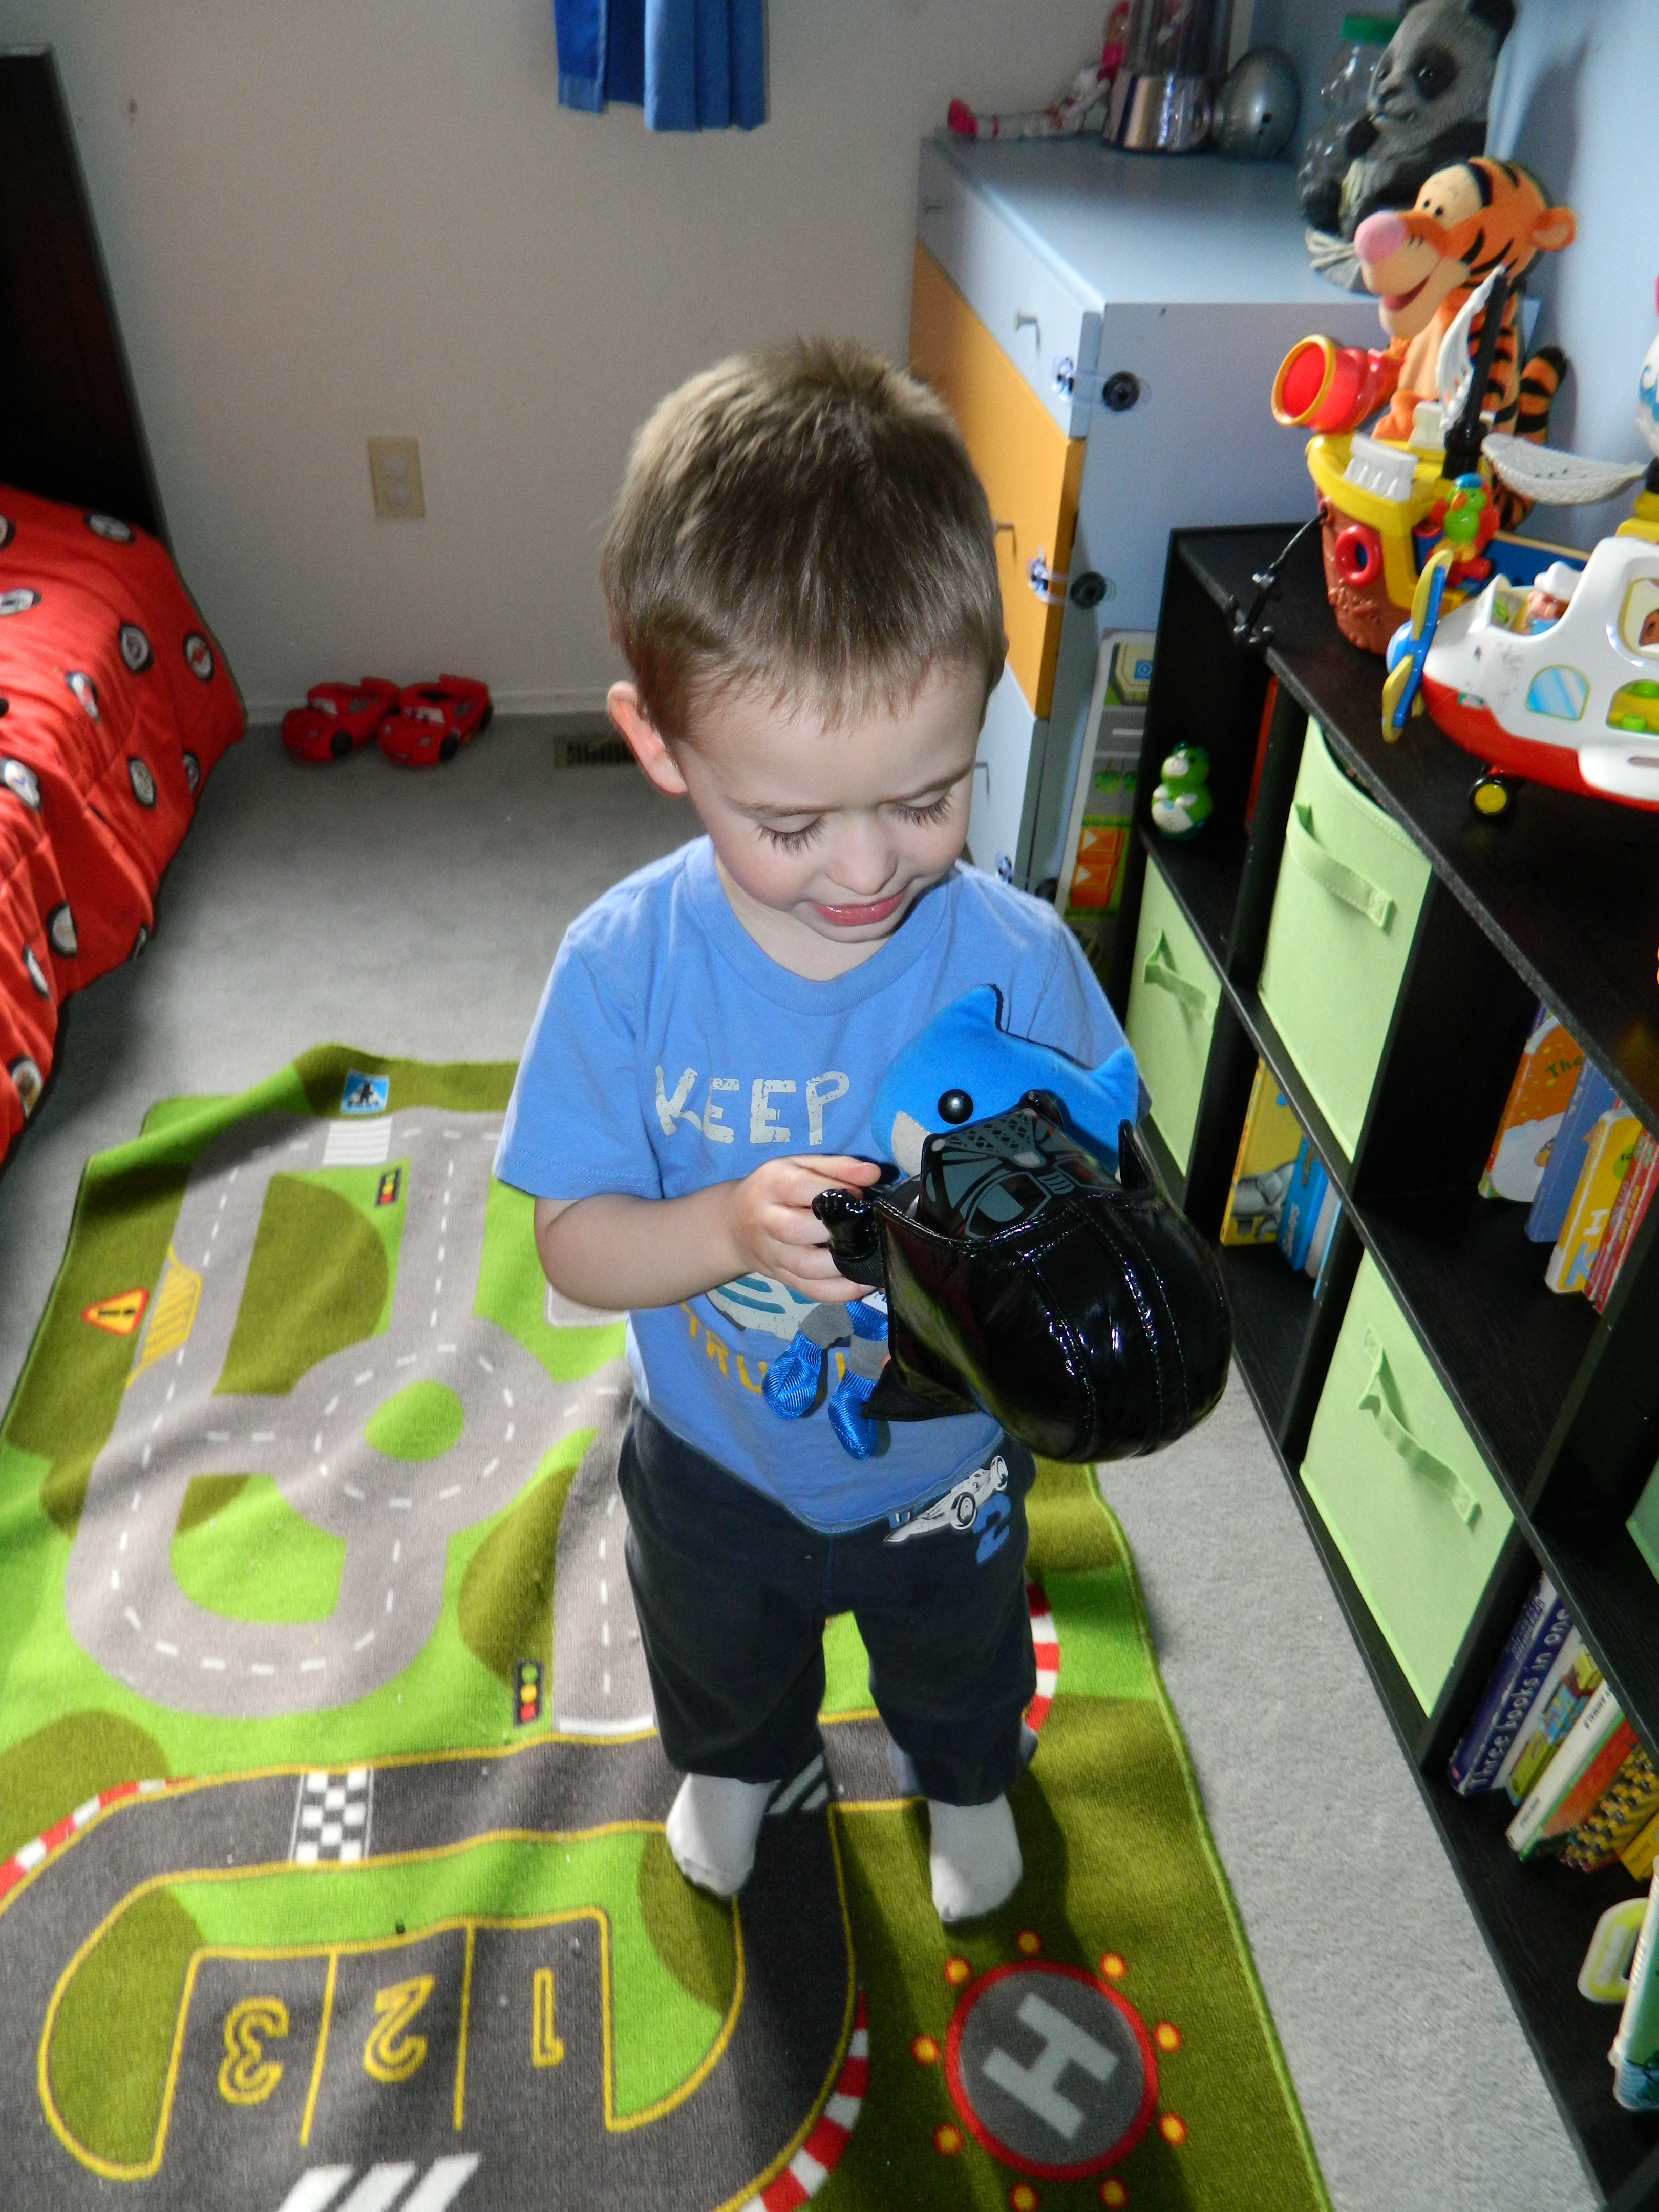
Hunter’s room was temporarily a playroom. The kids decided they wanted to sleep in the same room so we bought them bunk beds that could either be a bunk bed or separated in to twin beds. For awhile they loved sharing a room. Then Hunter started talking in his sleep and getting up wayyyyyy earlier than Isabella. That was the end of that. They wanted their own rooms again. When I separated the rooms I saw that Hunter needed better storage for his things. Or any storage really. So I went to Target and found storage for his room. I also bought him the small plush Darth Vader he has wanted for months from London Drugs and new wall clings for his wall from the dollar store. His room is all bright colours and a bit of chaos. I wanted to pare down what was on his walls but he refused so I did the best I could to make it look a bit cohesive.
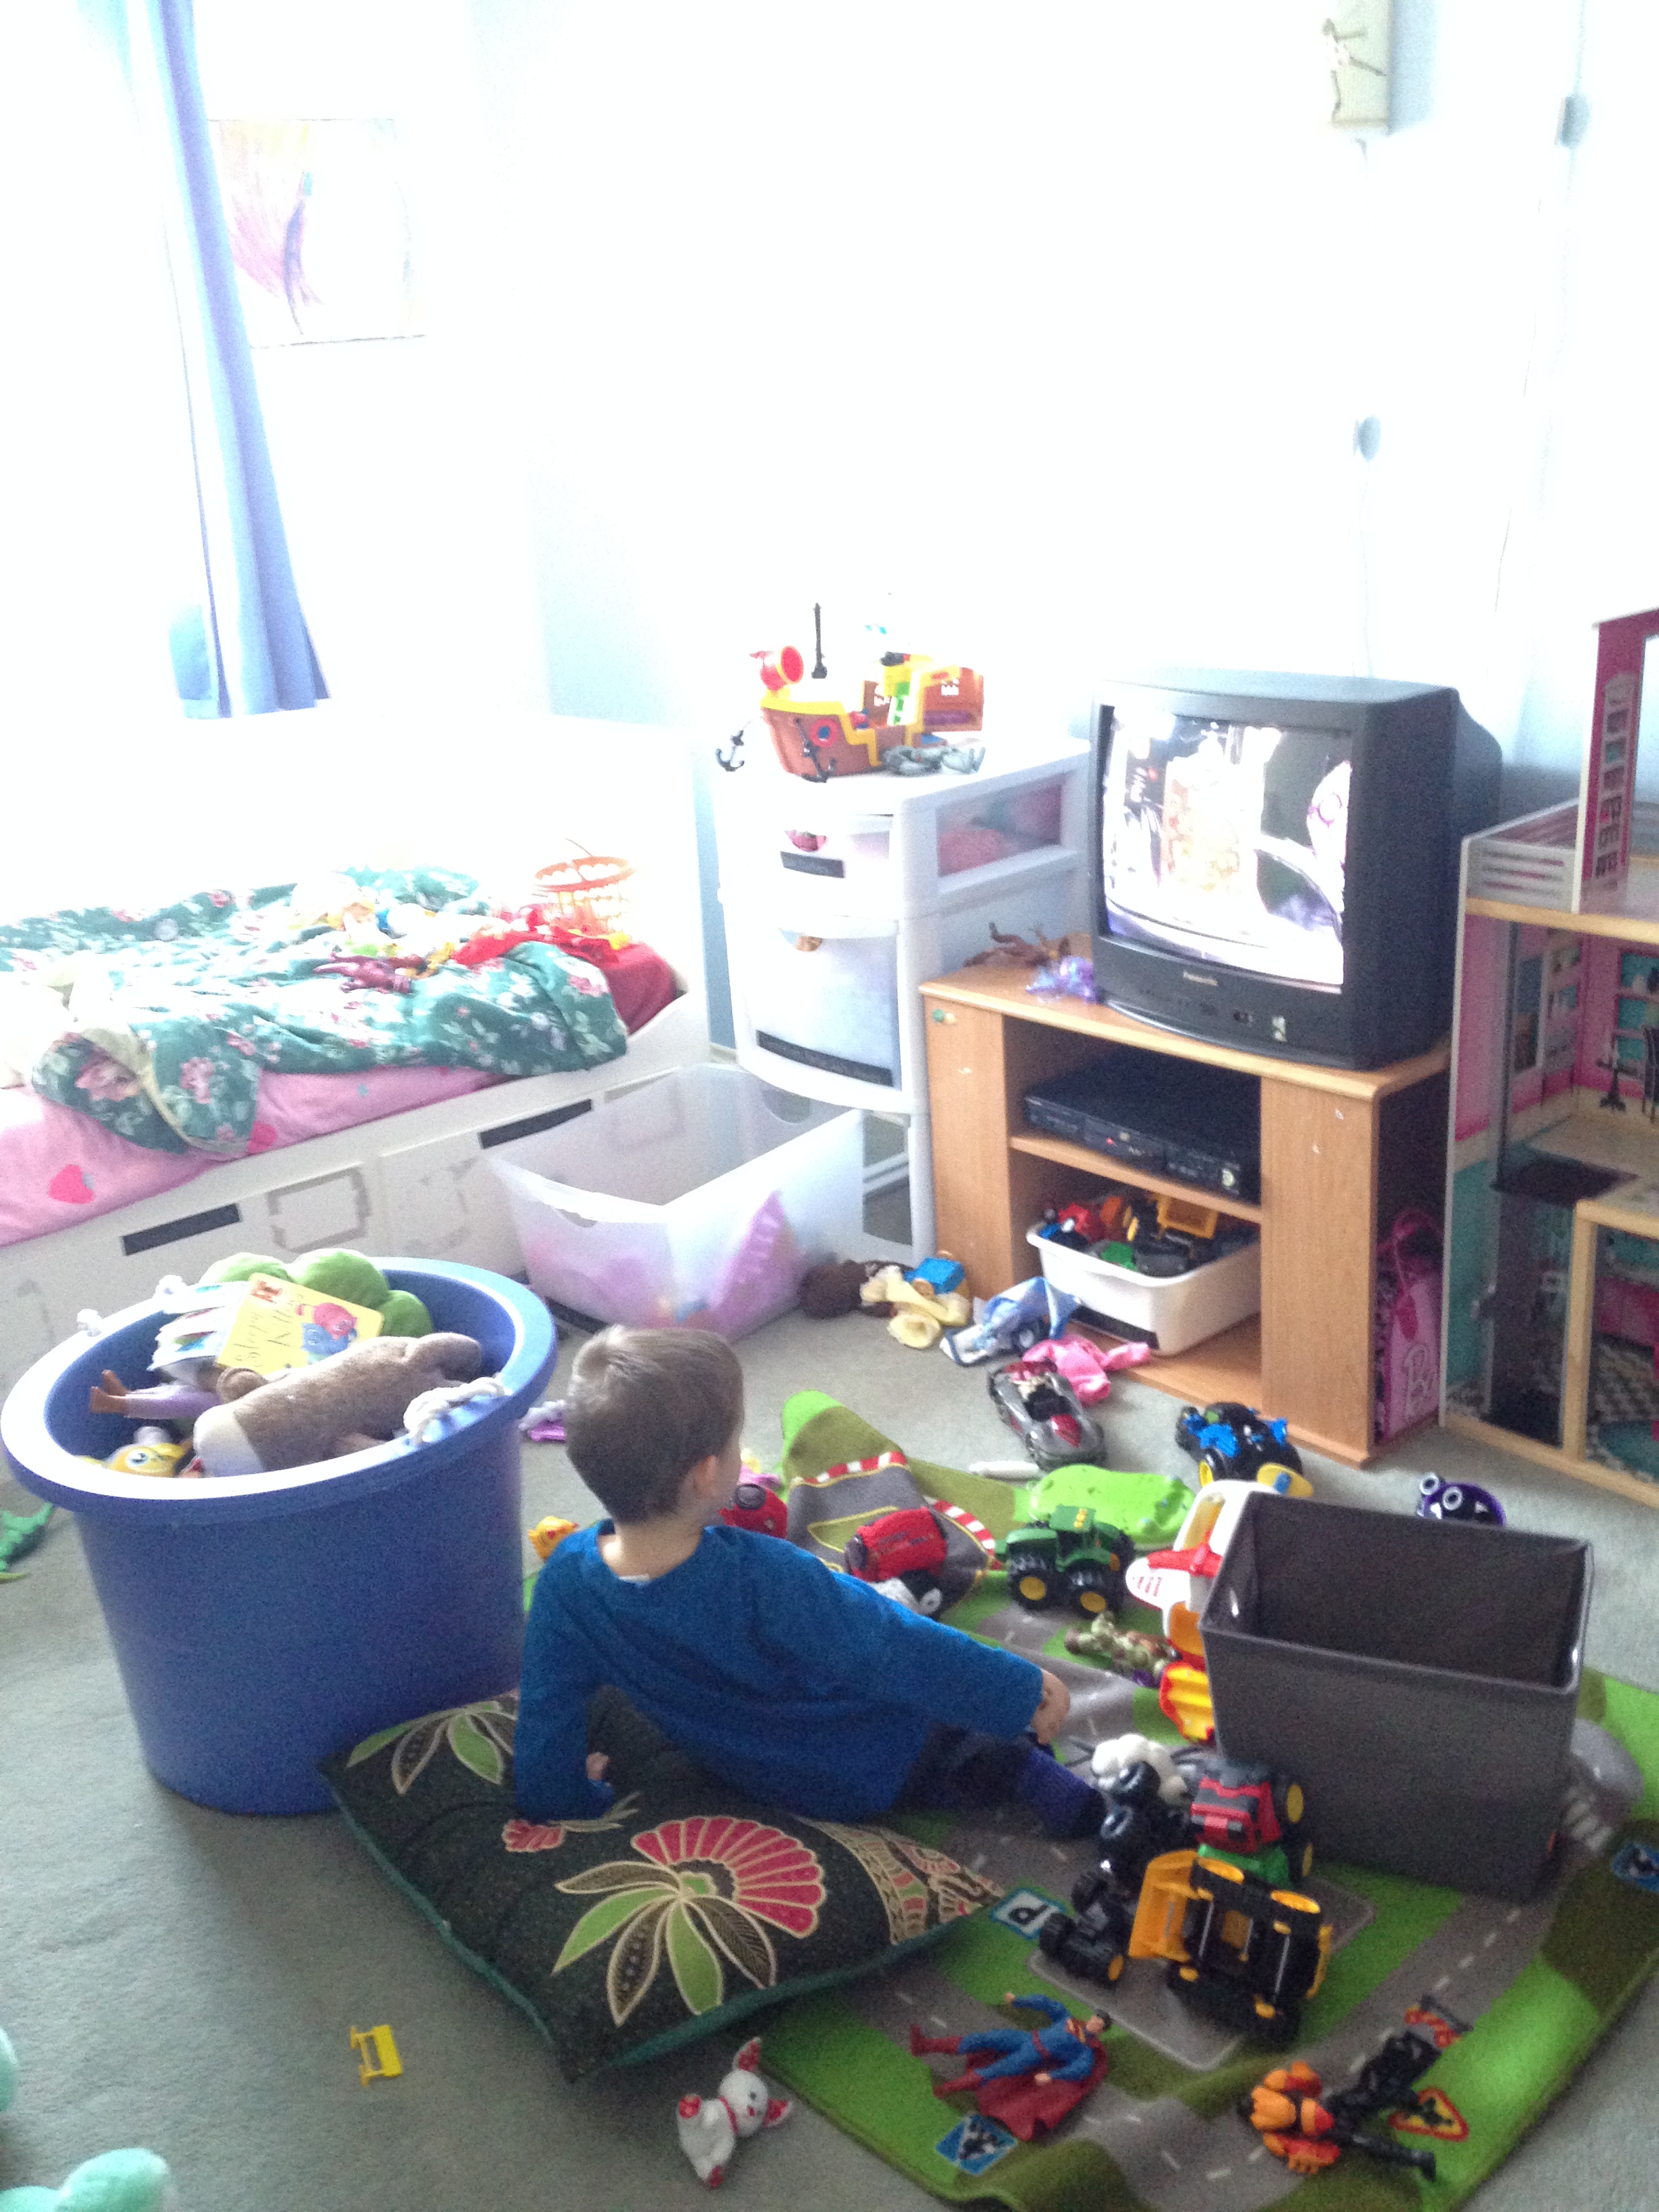
Before. A too big bed and too much furniture.
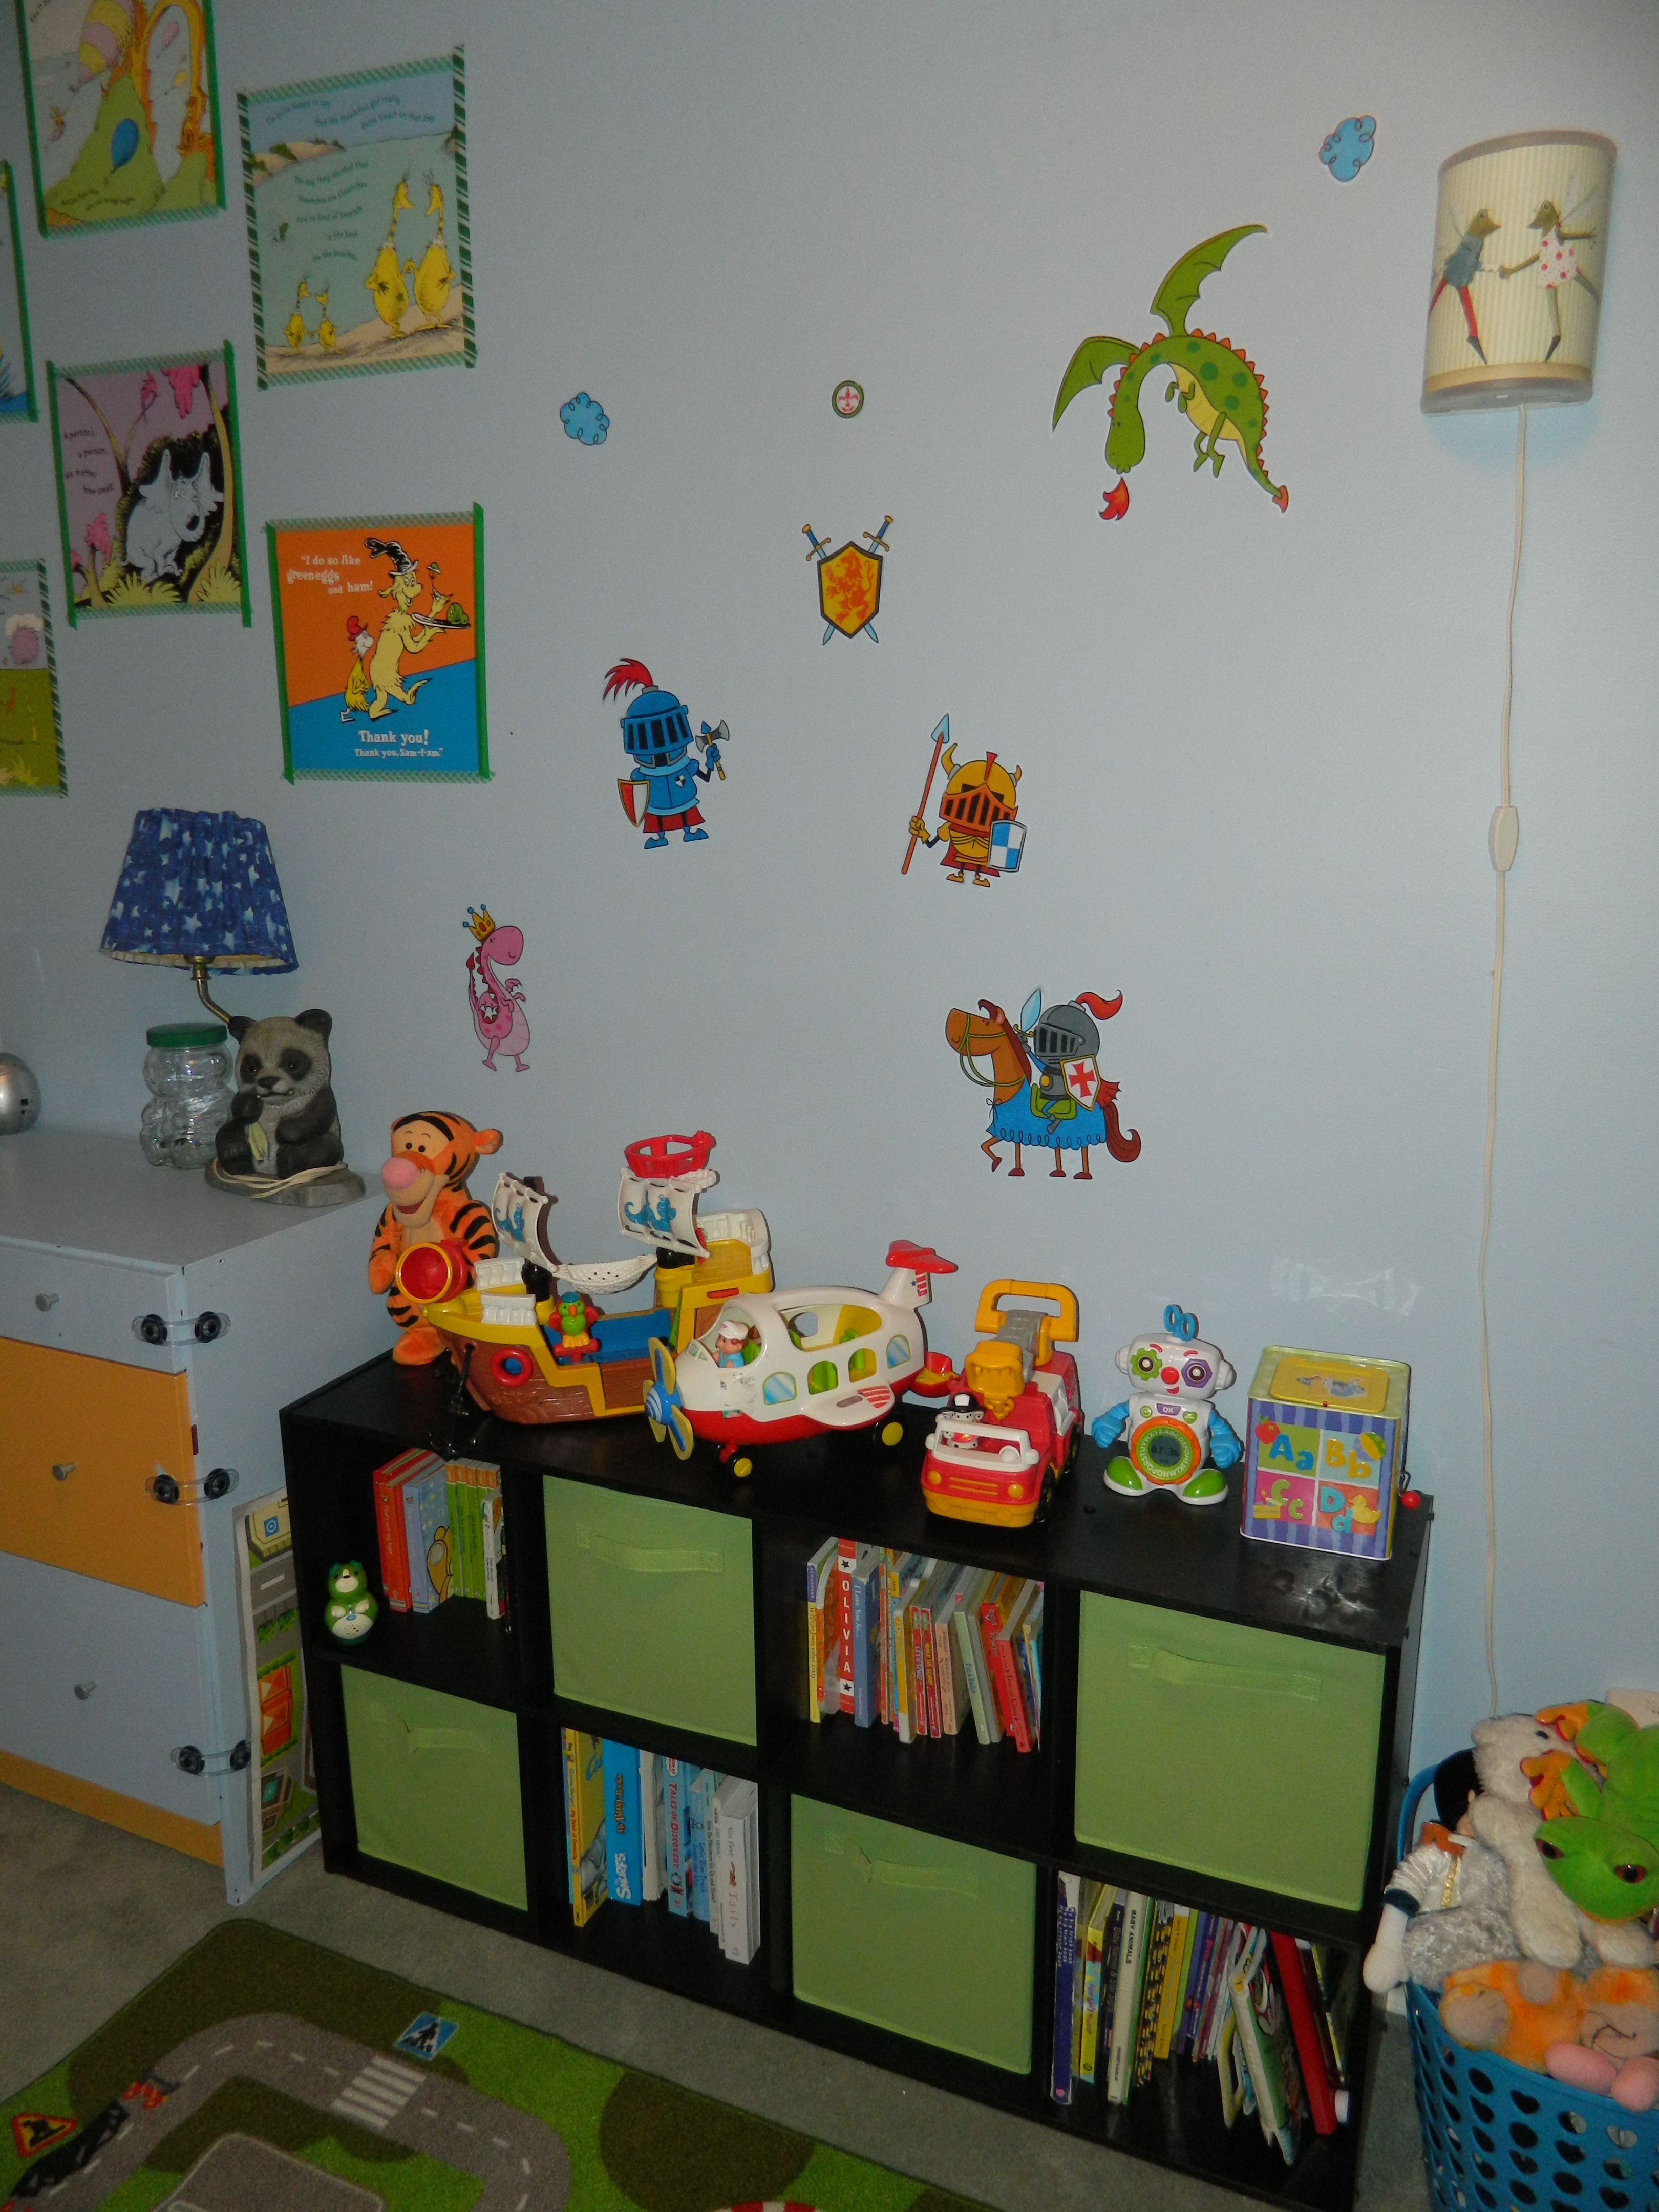
After! So organized. “A place for everything and everything in its place”.

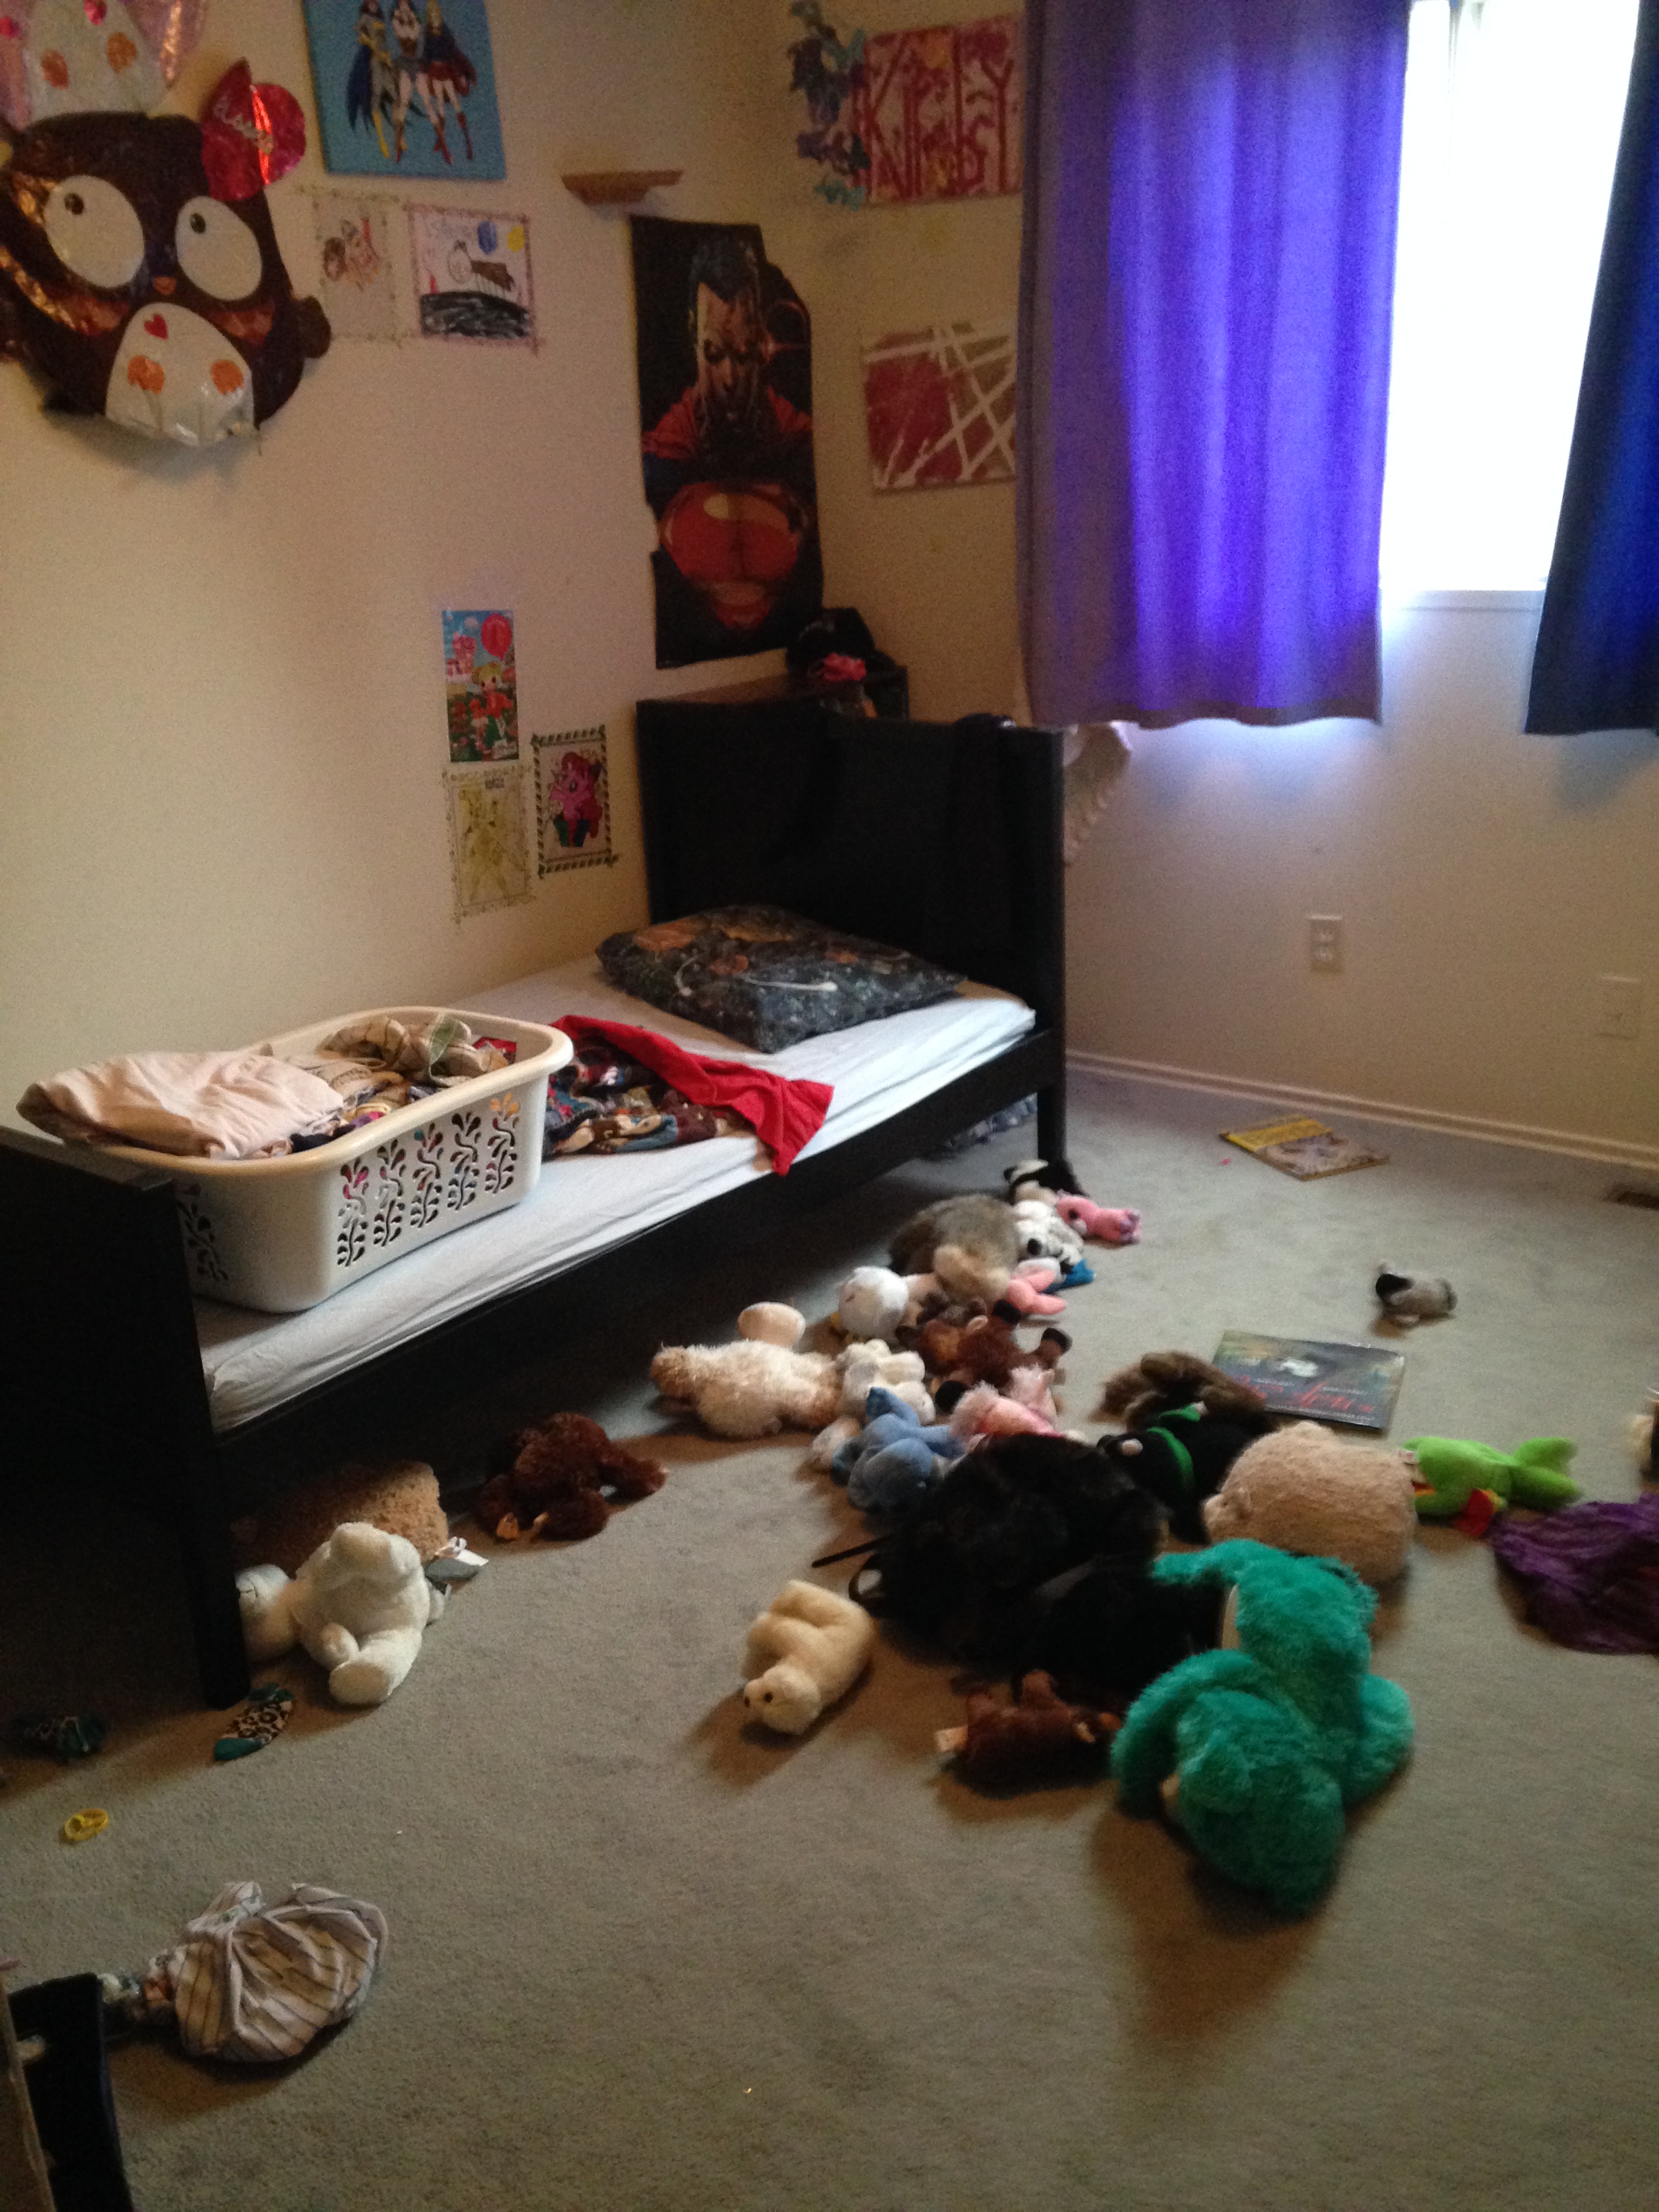
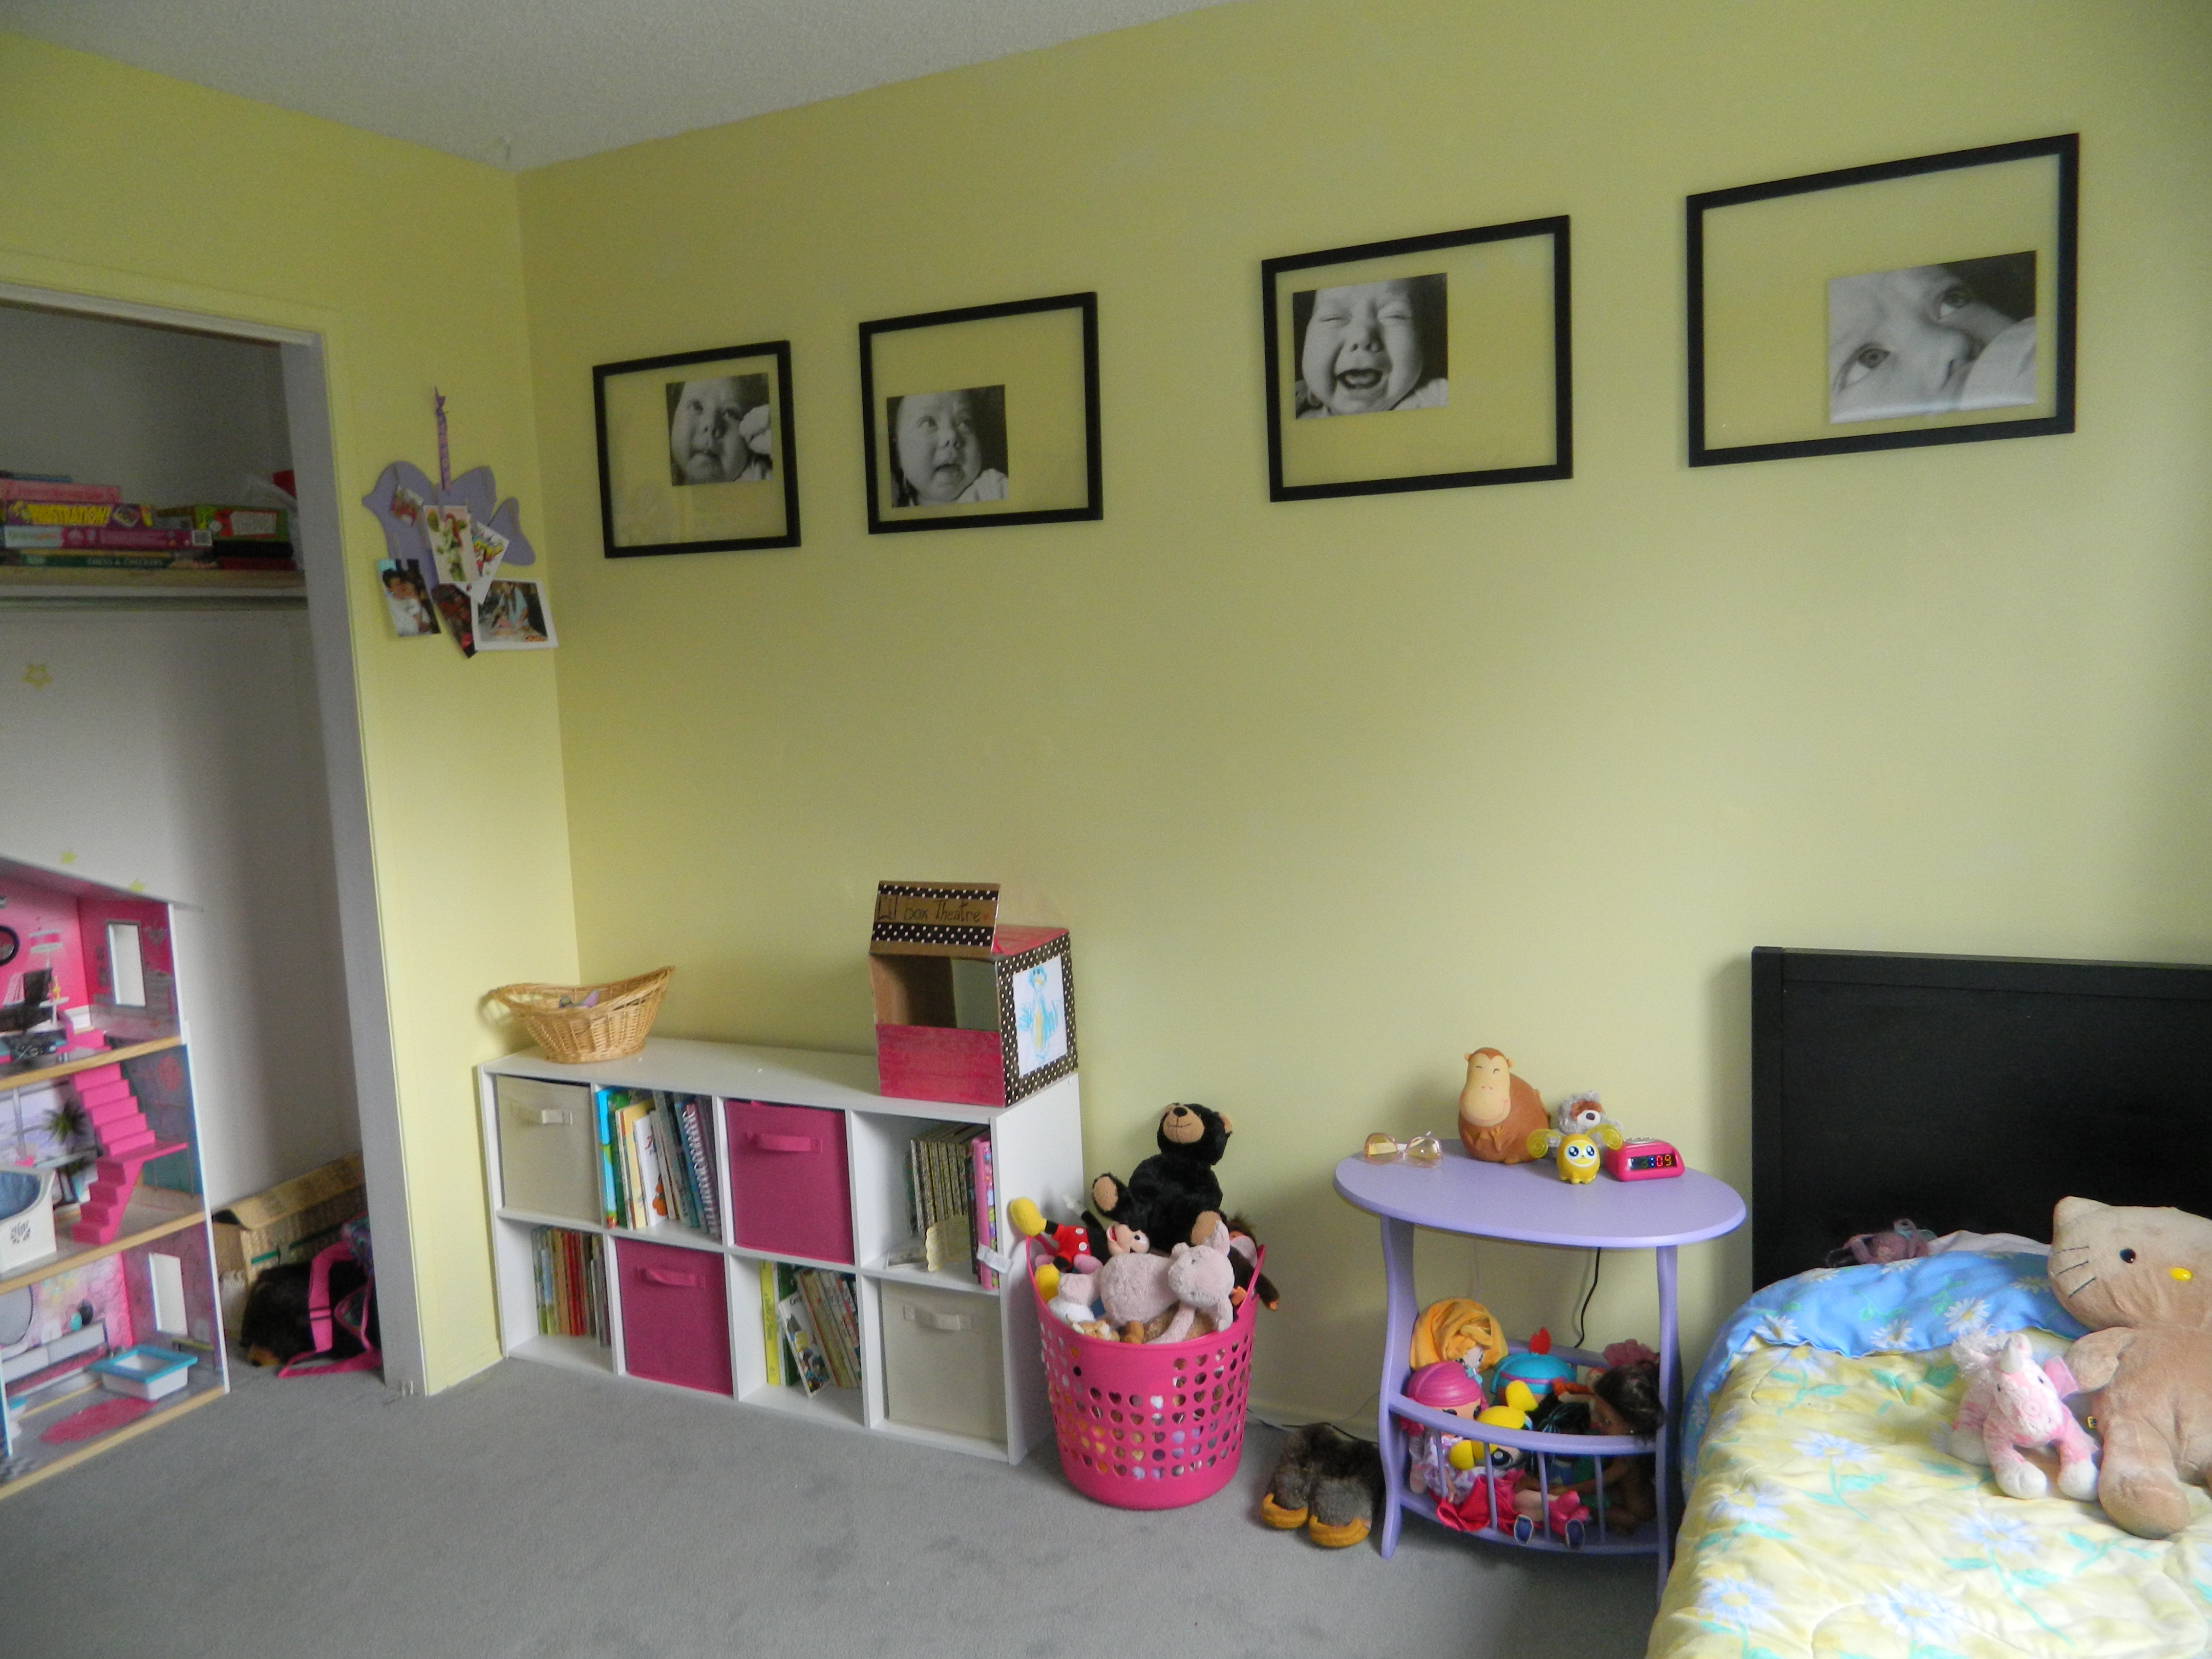
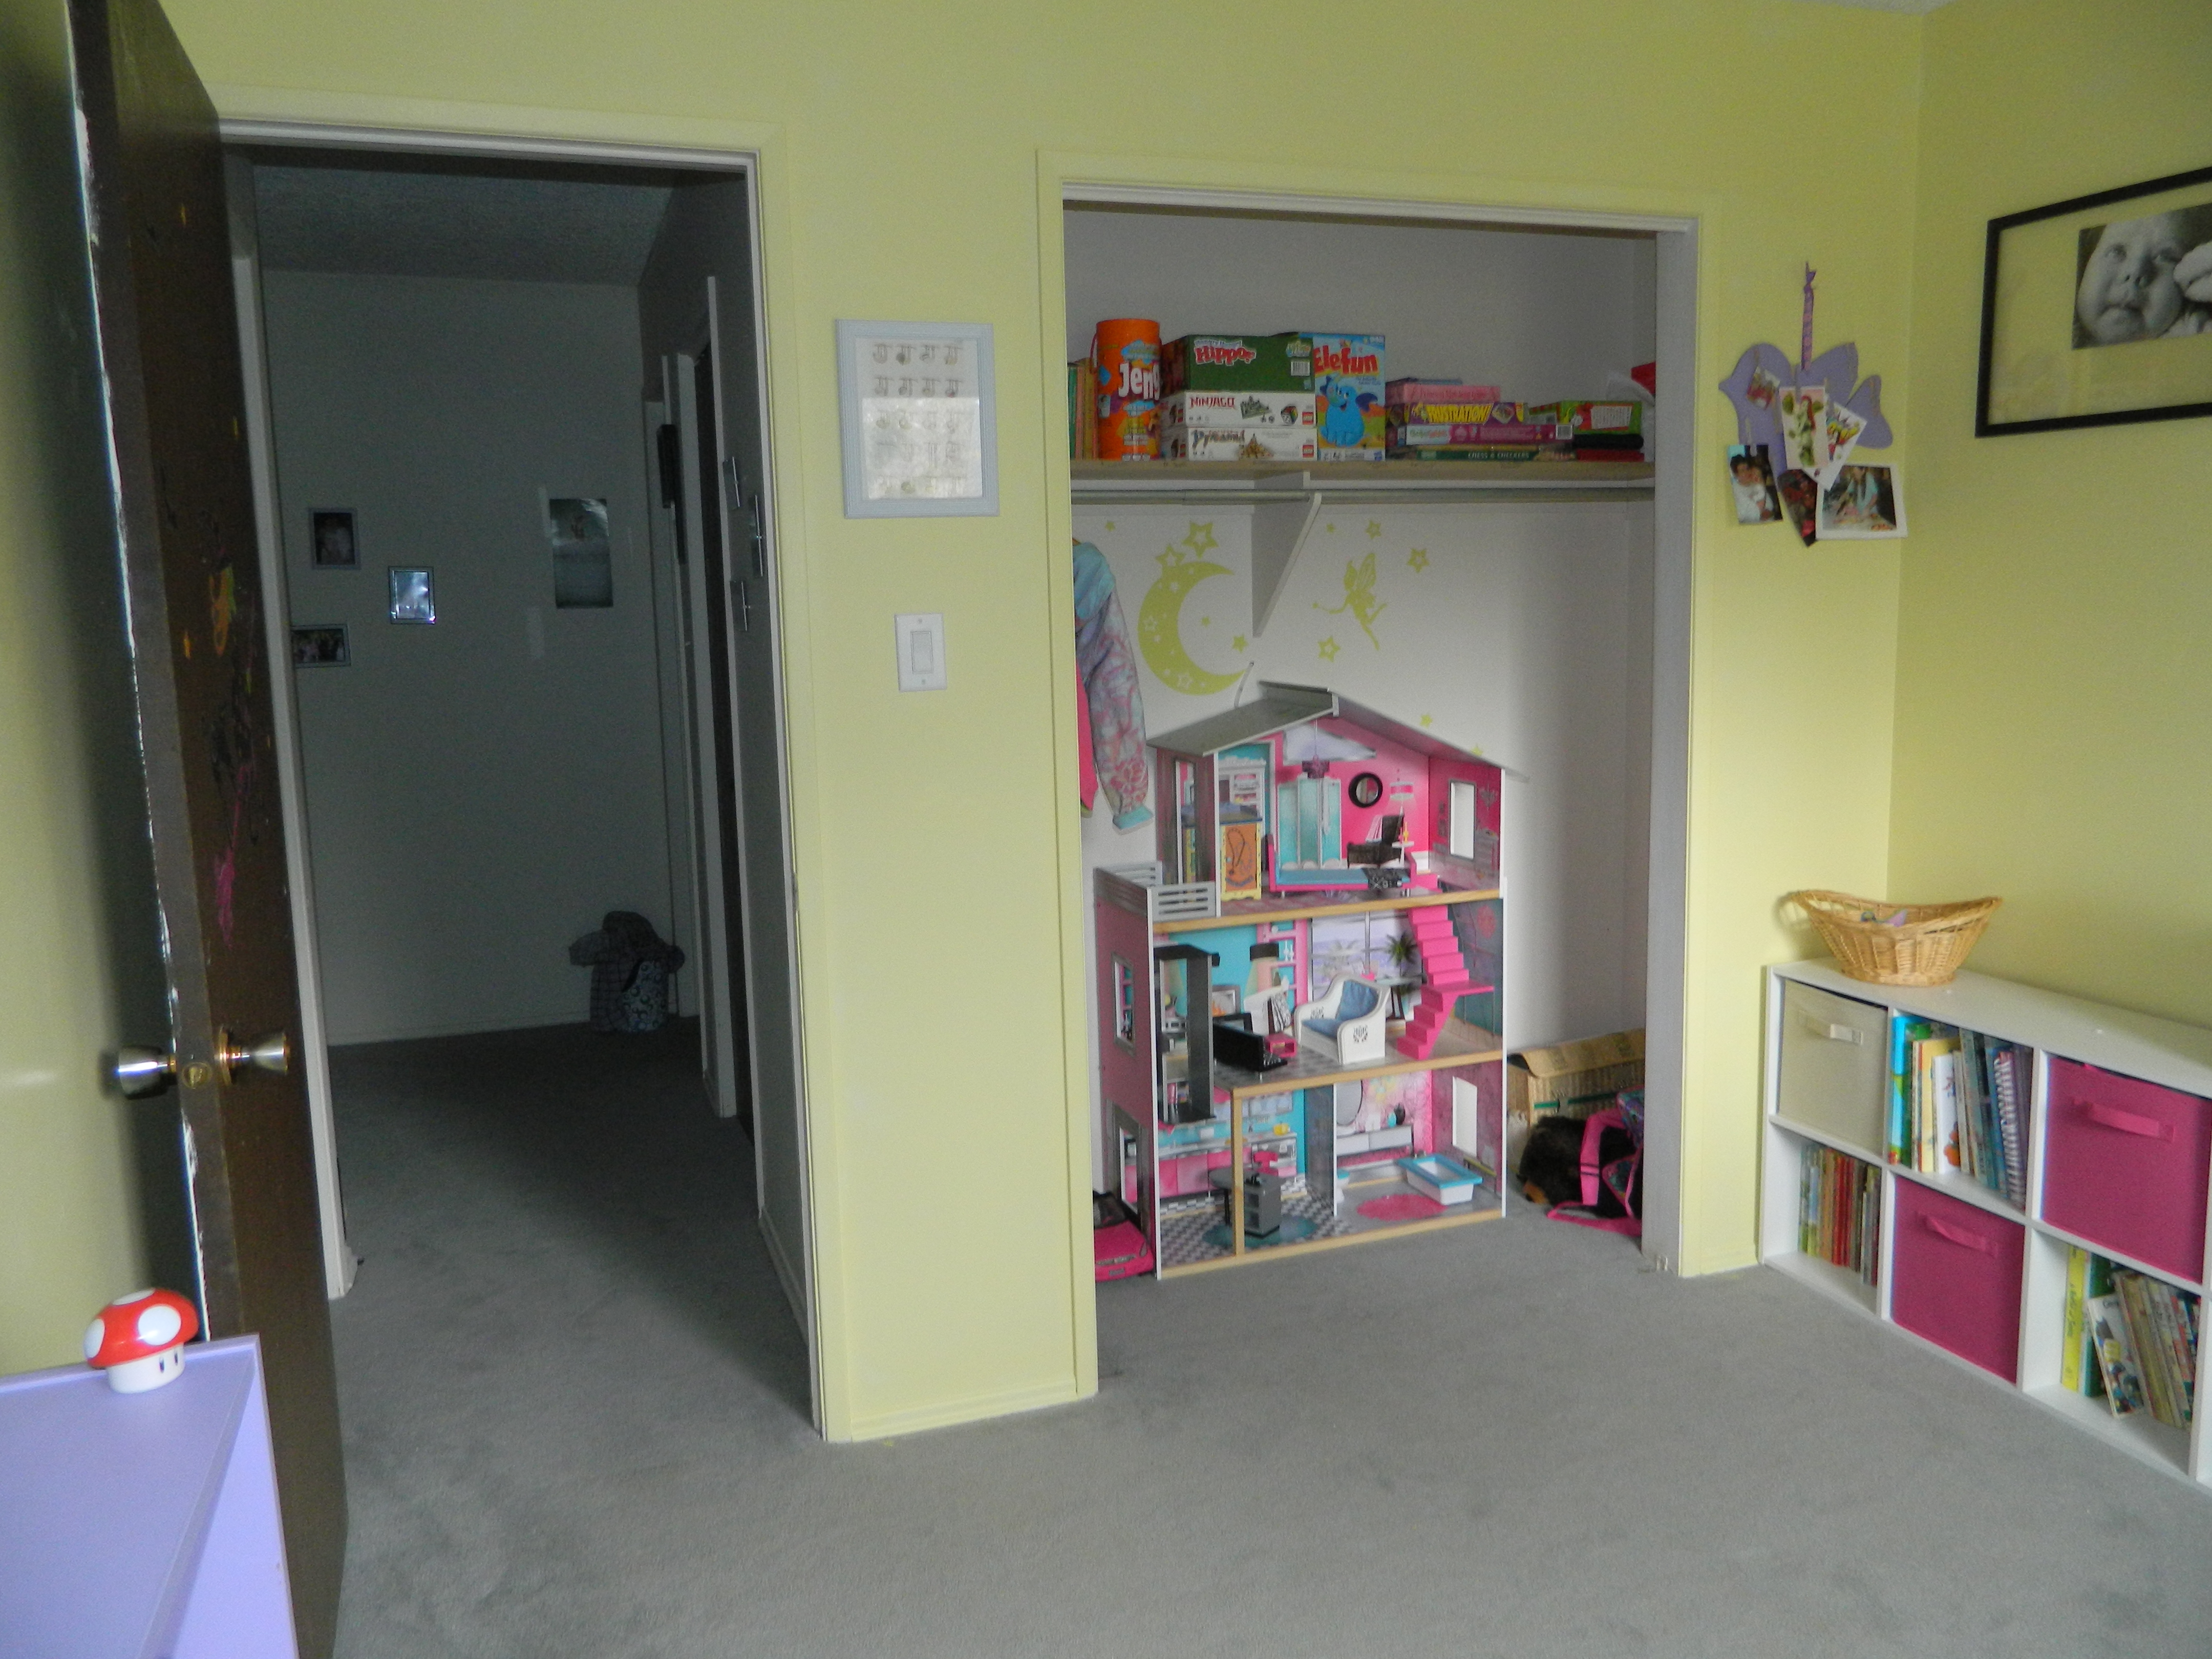
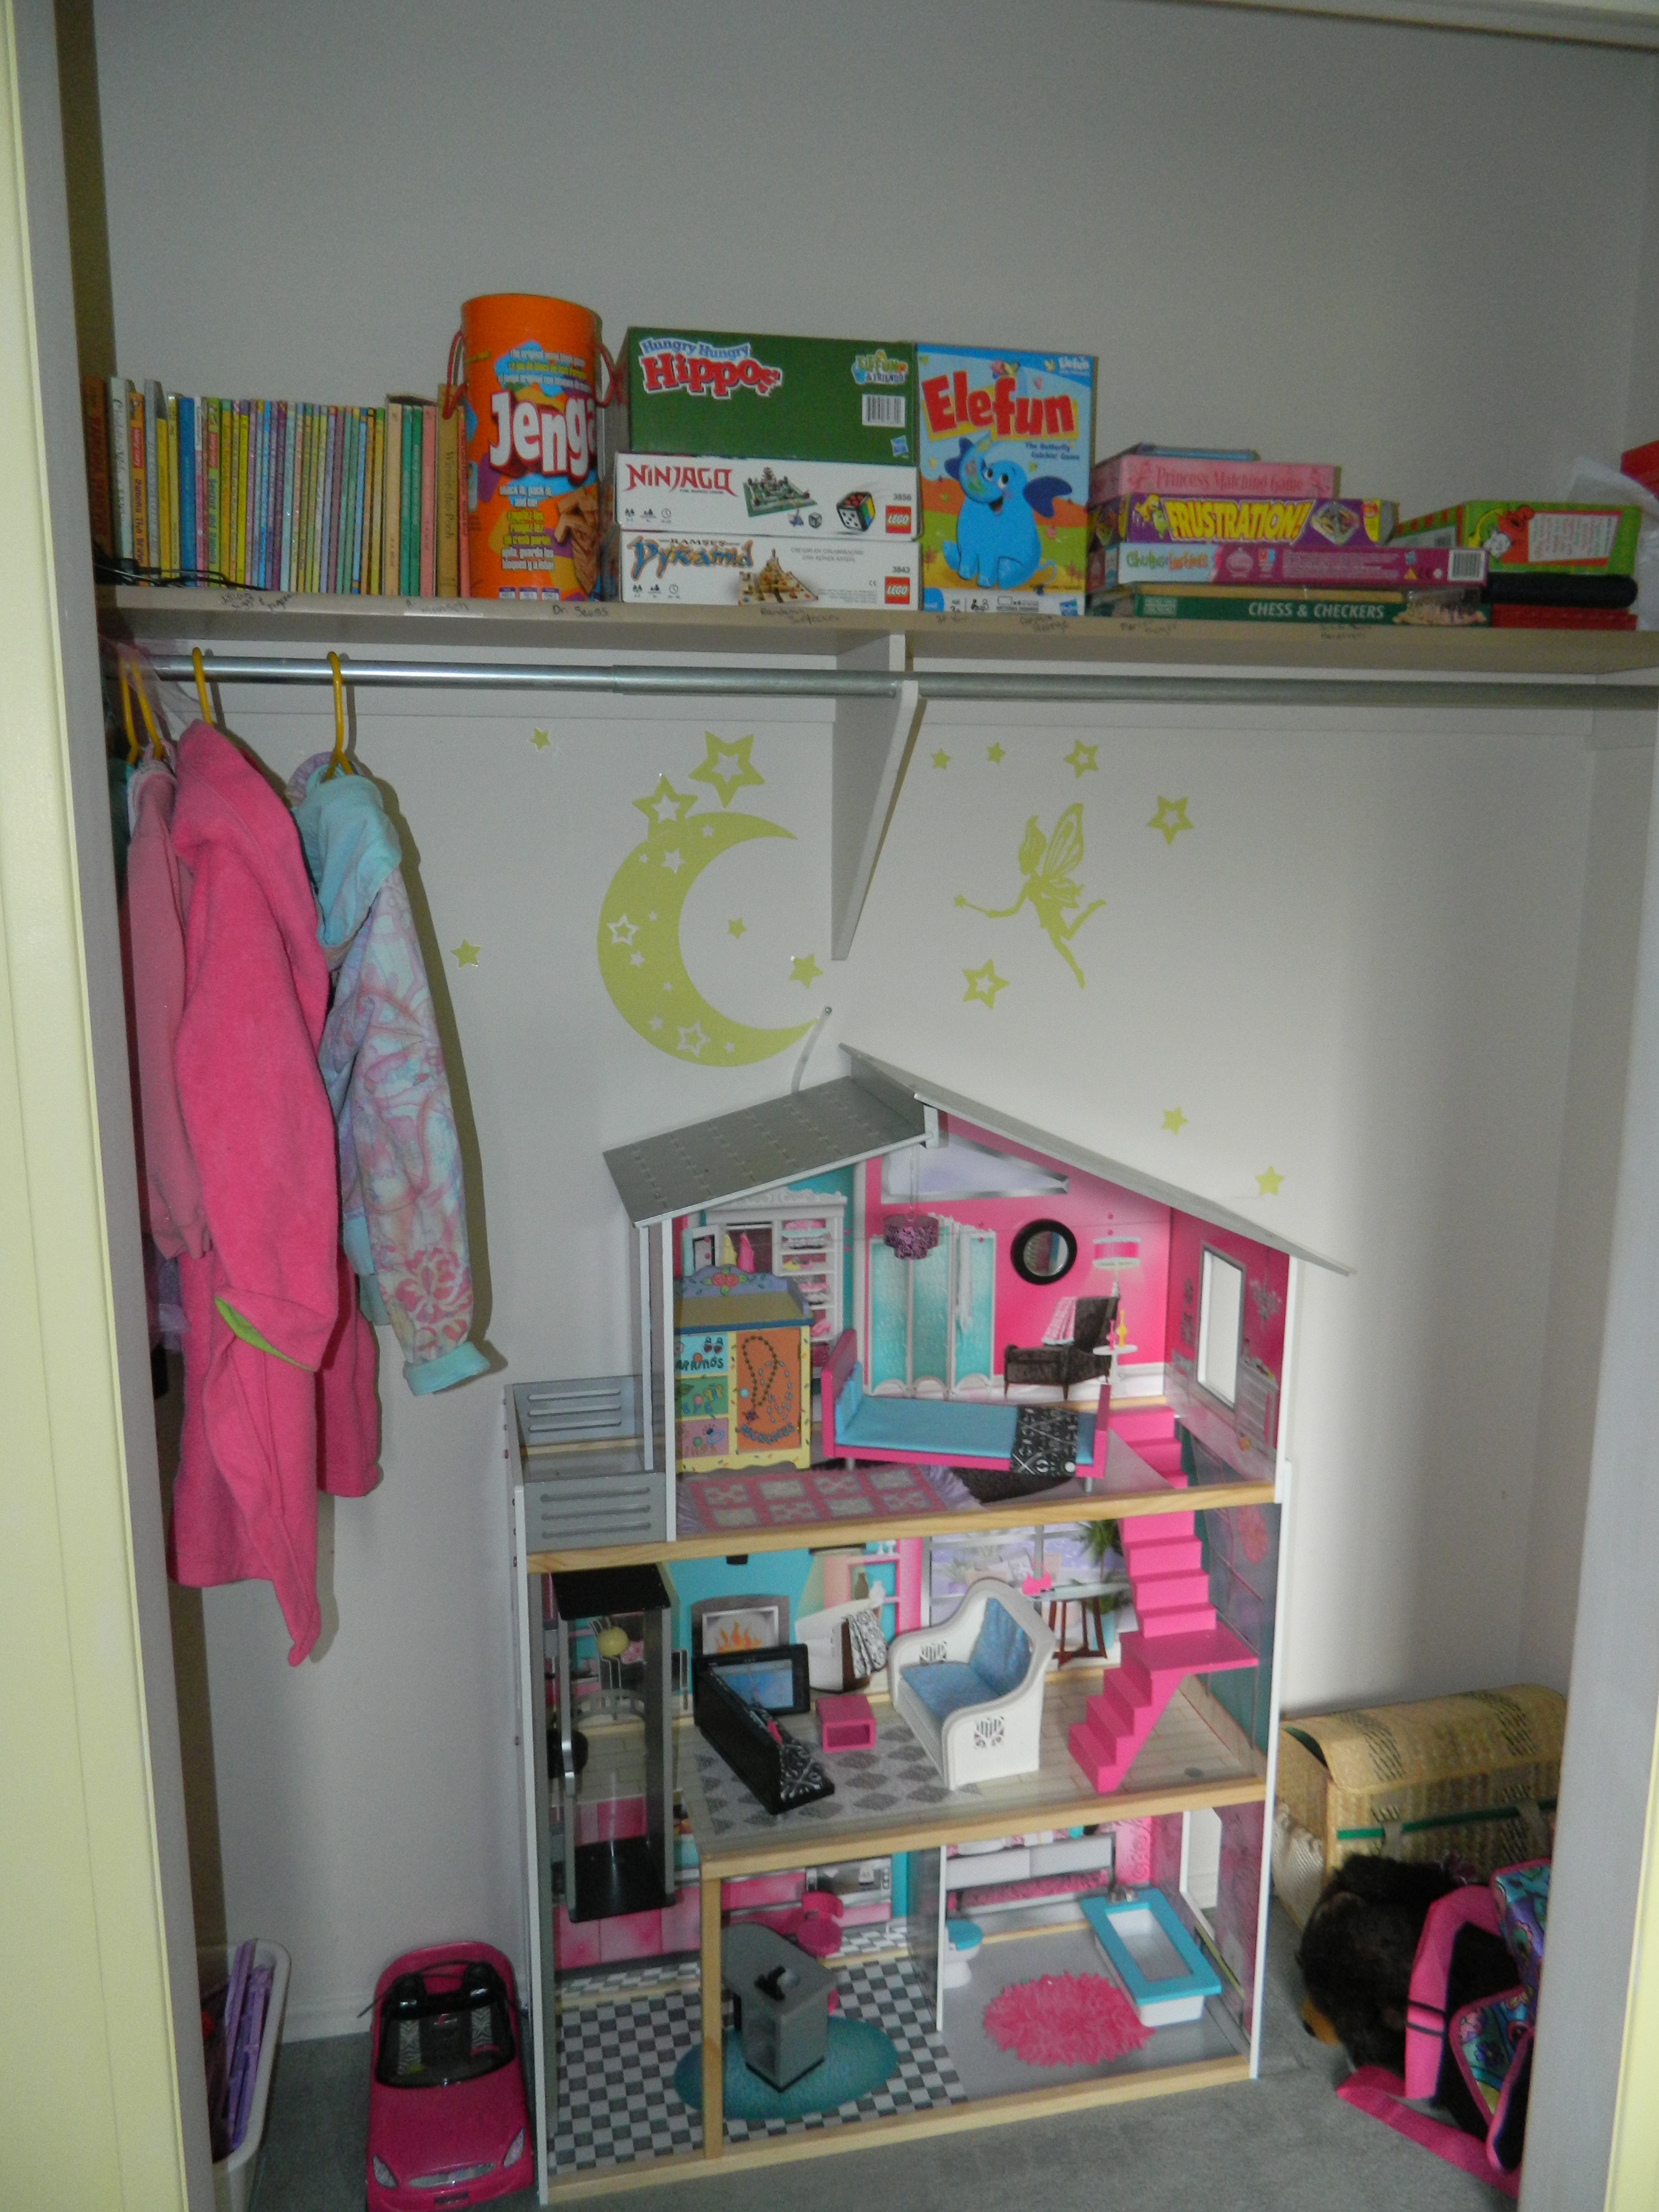
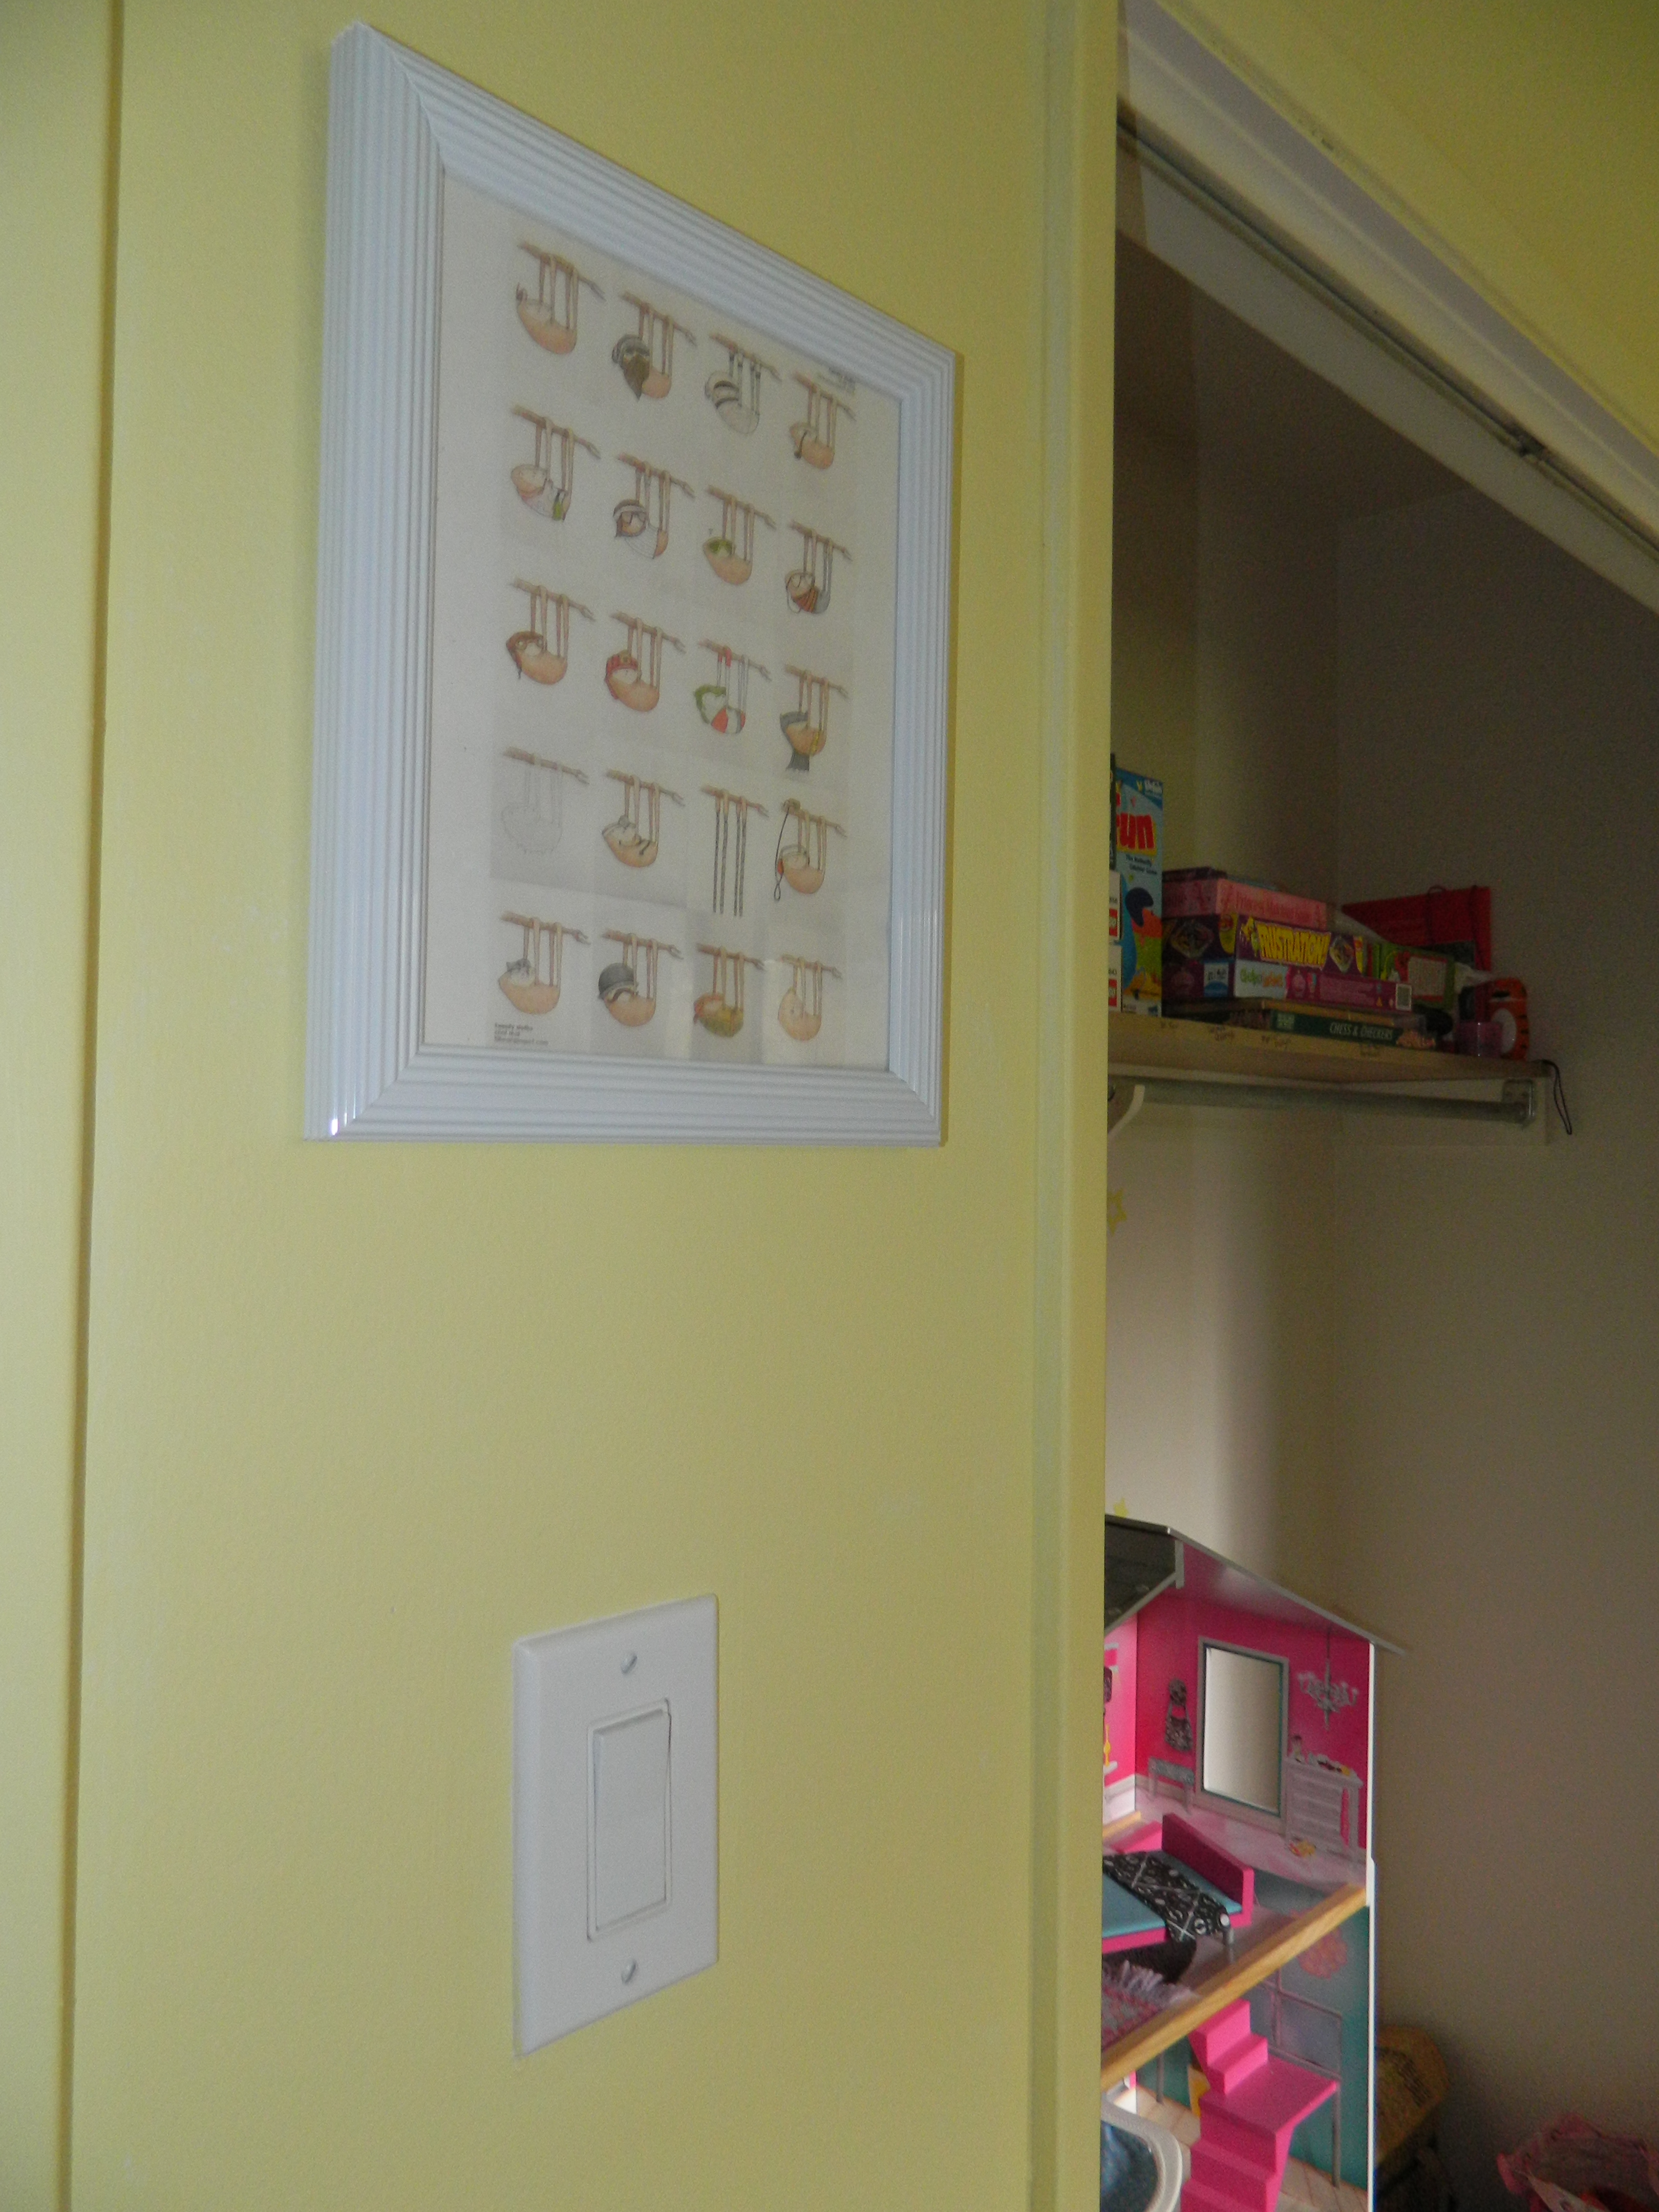
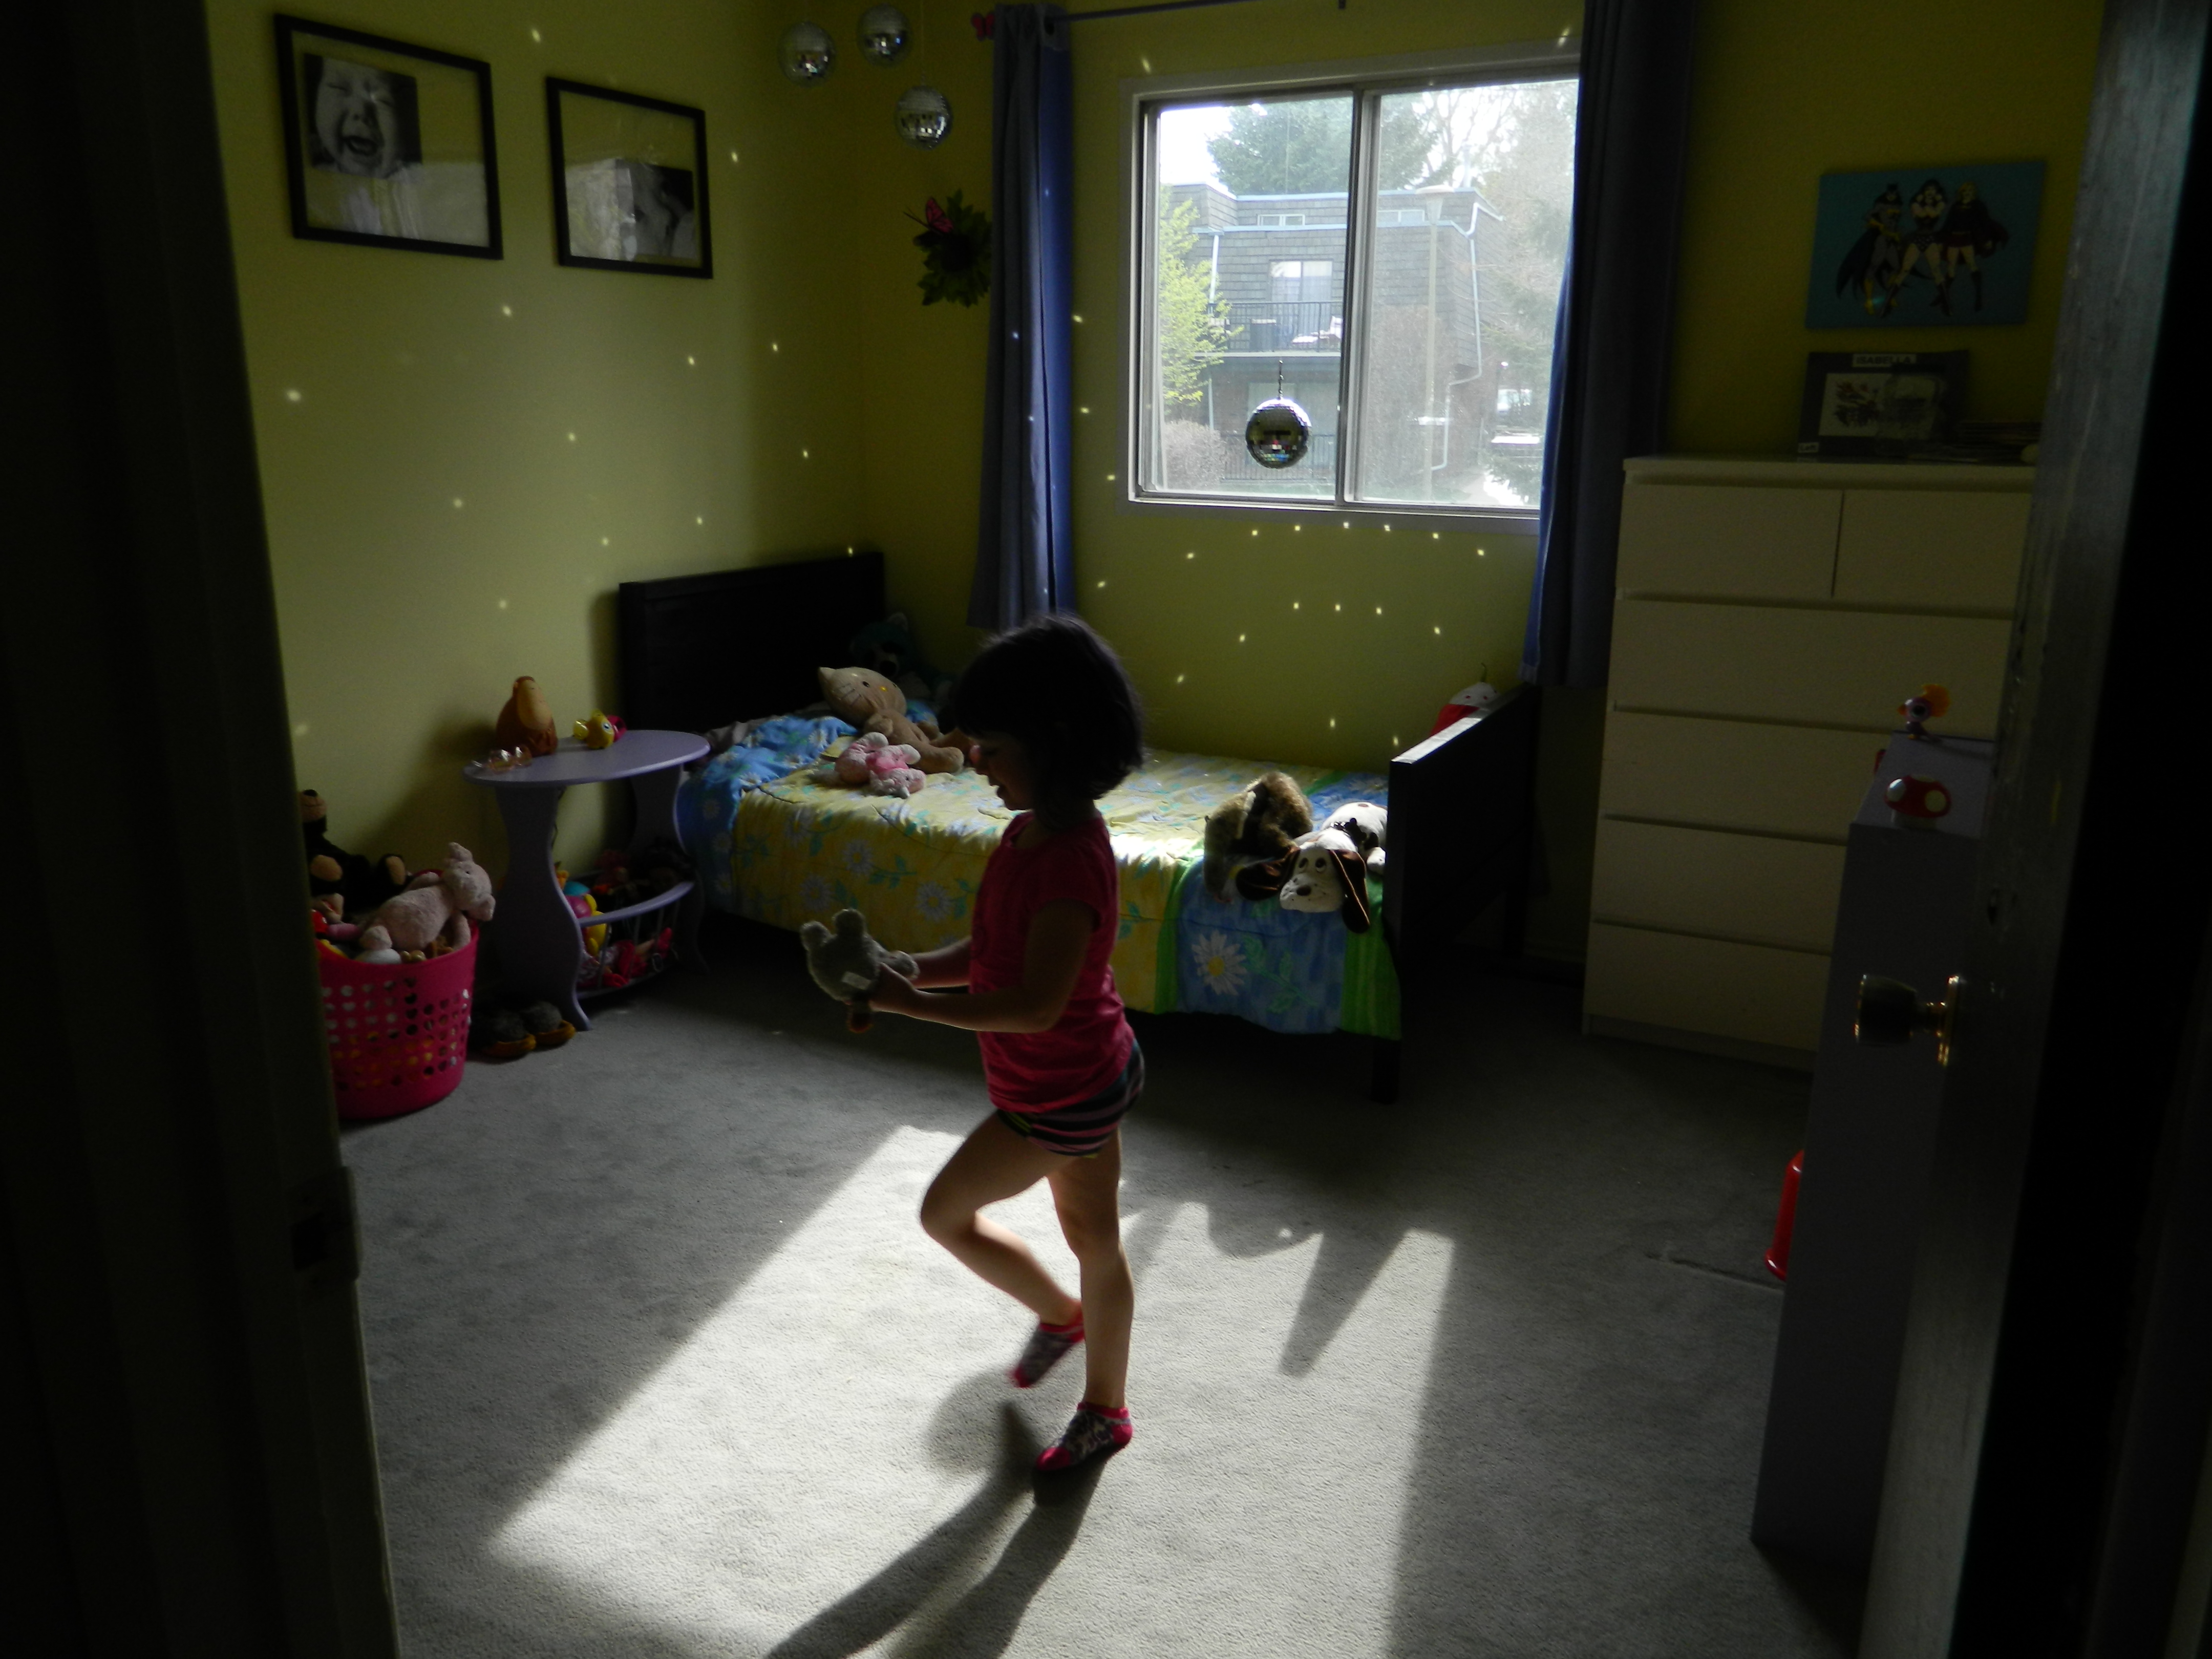
4. Isabella’s Room!
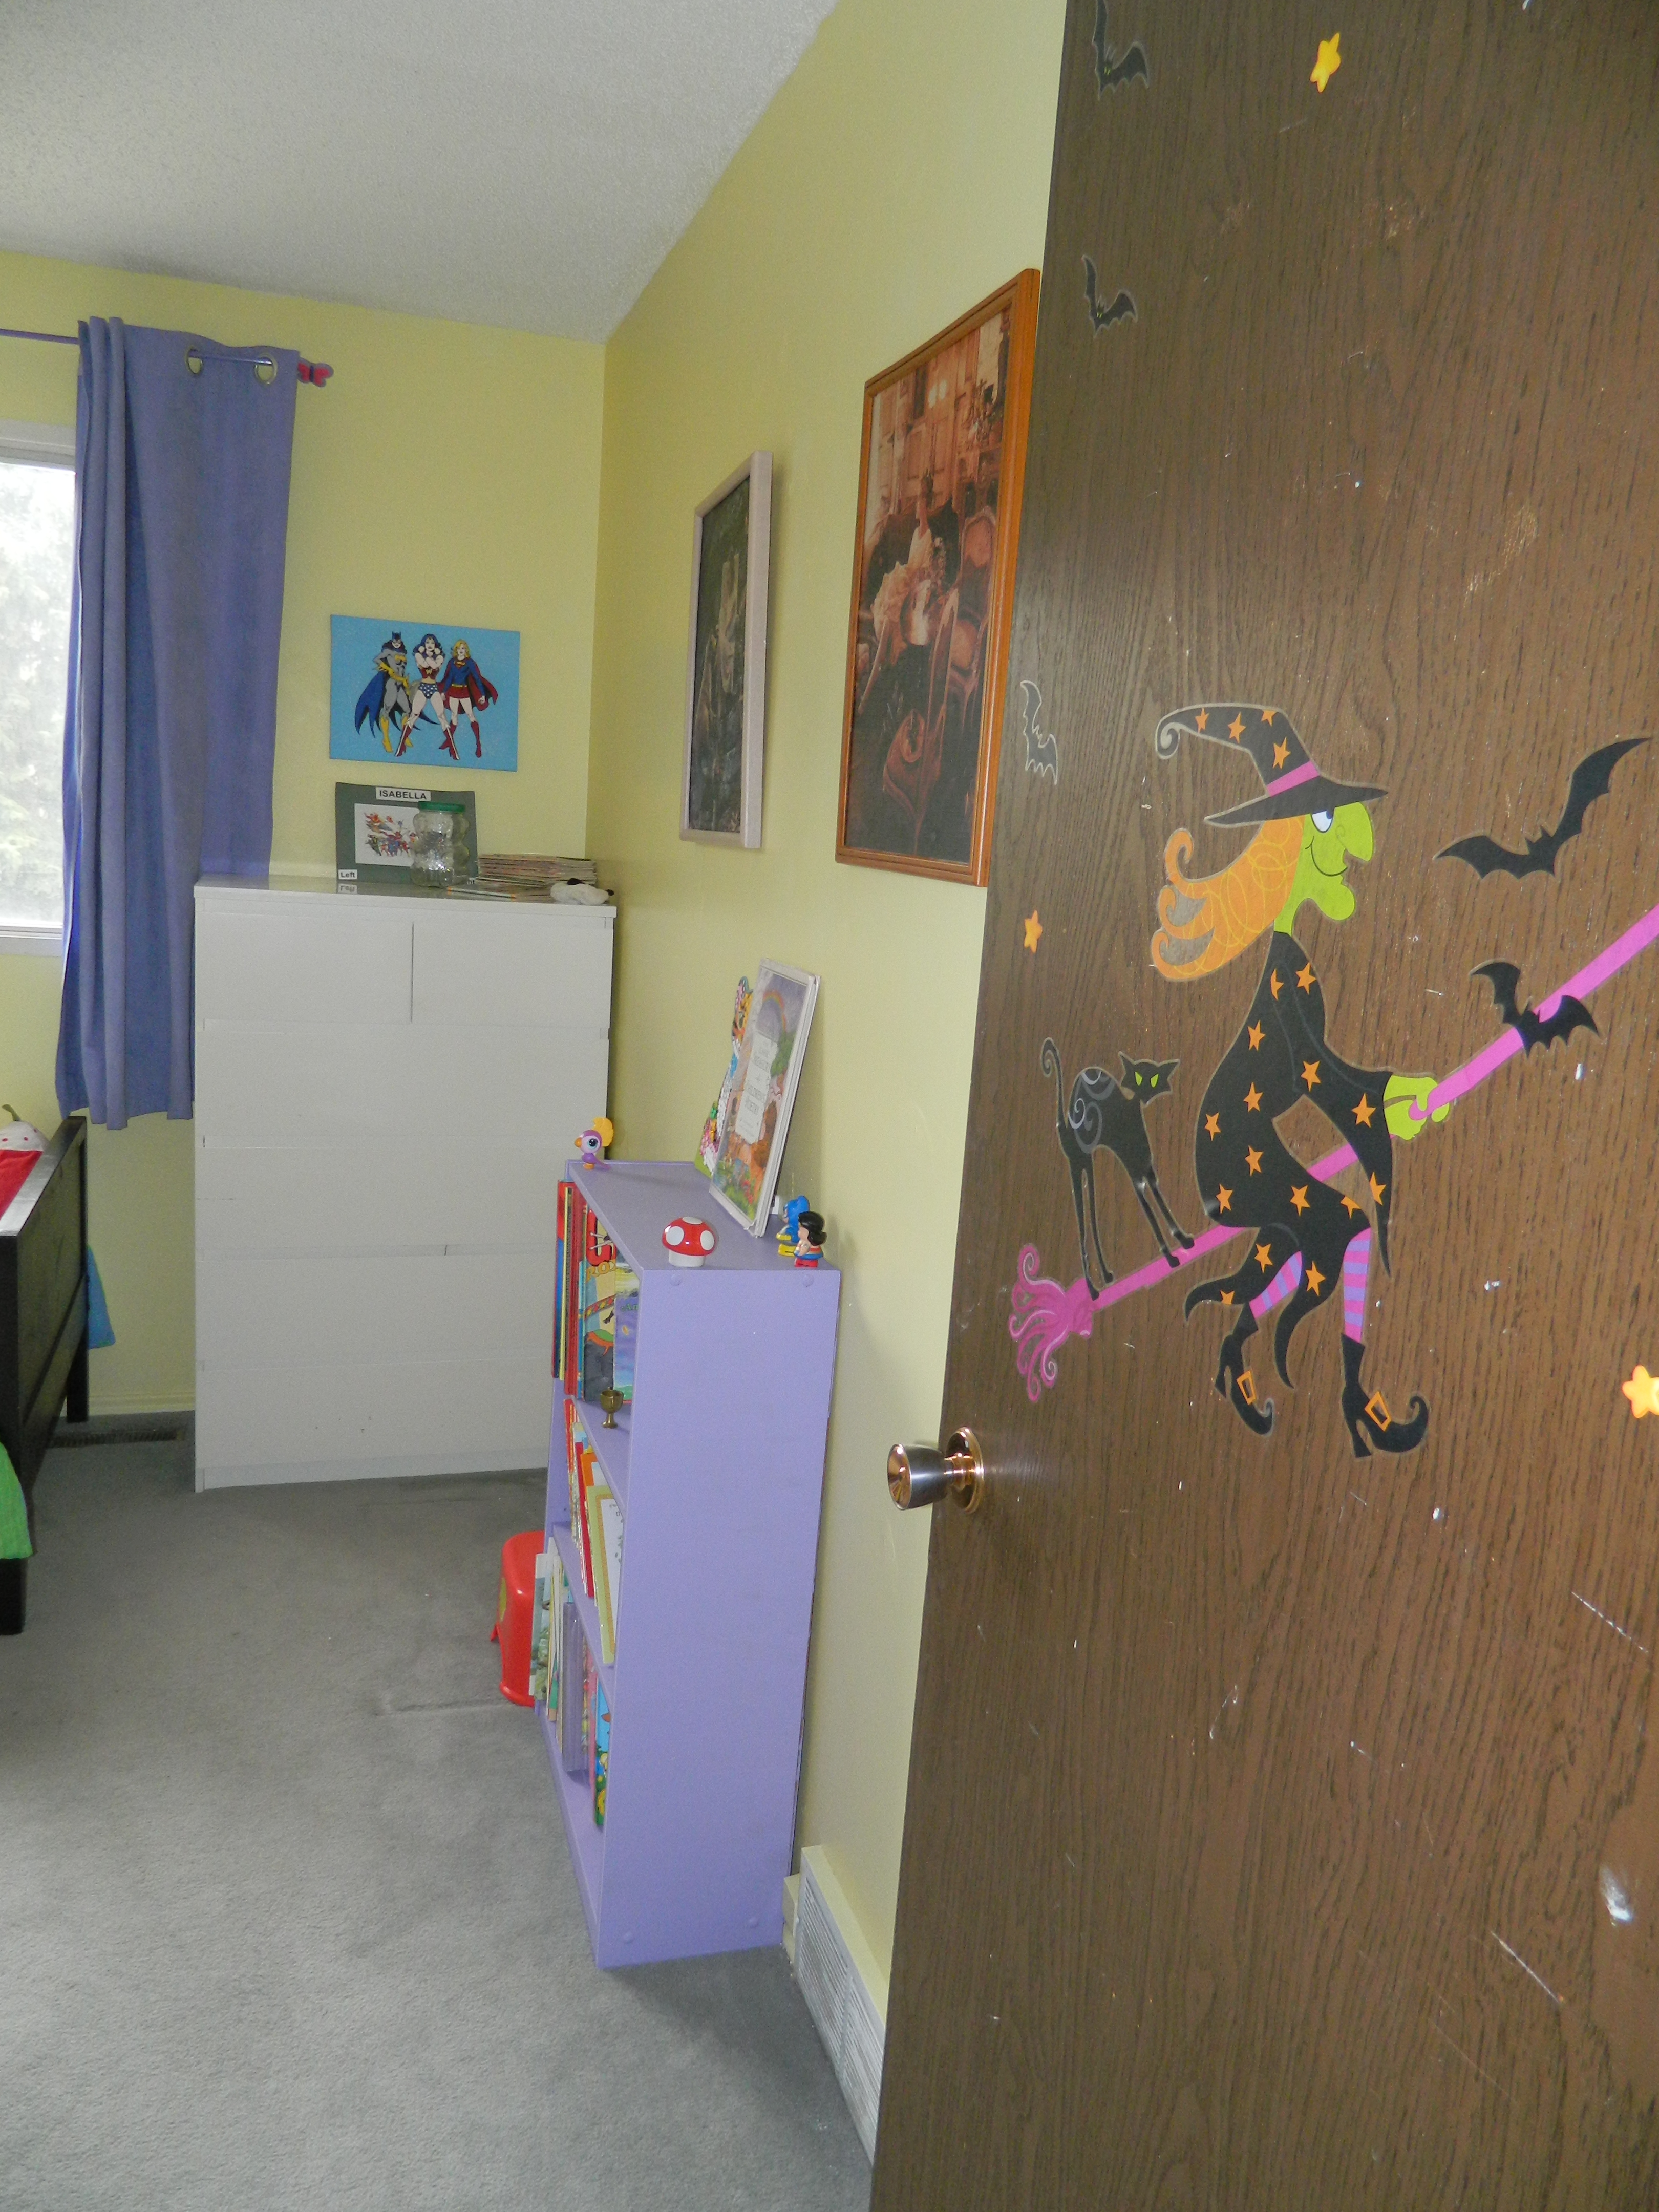
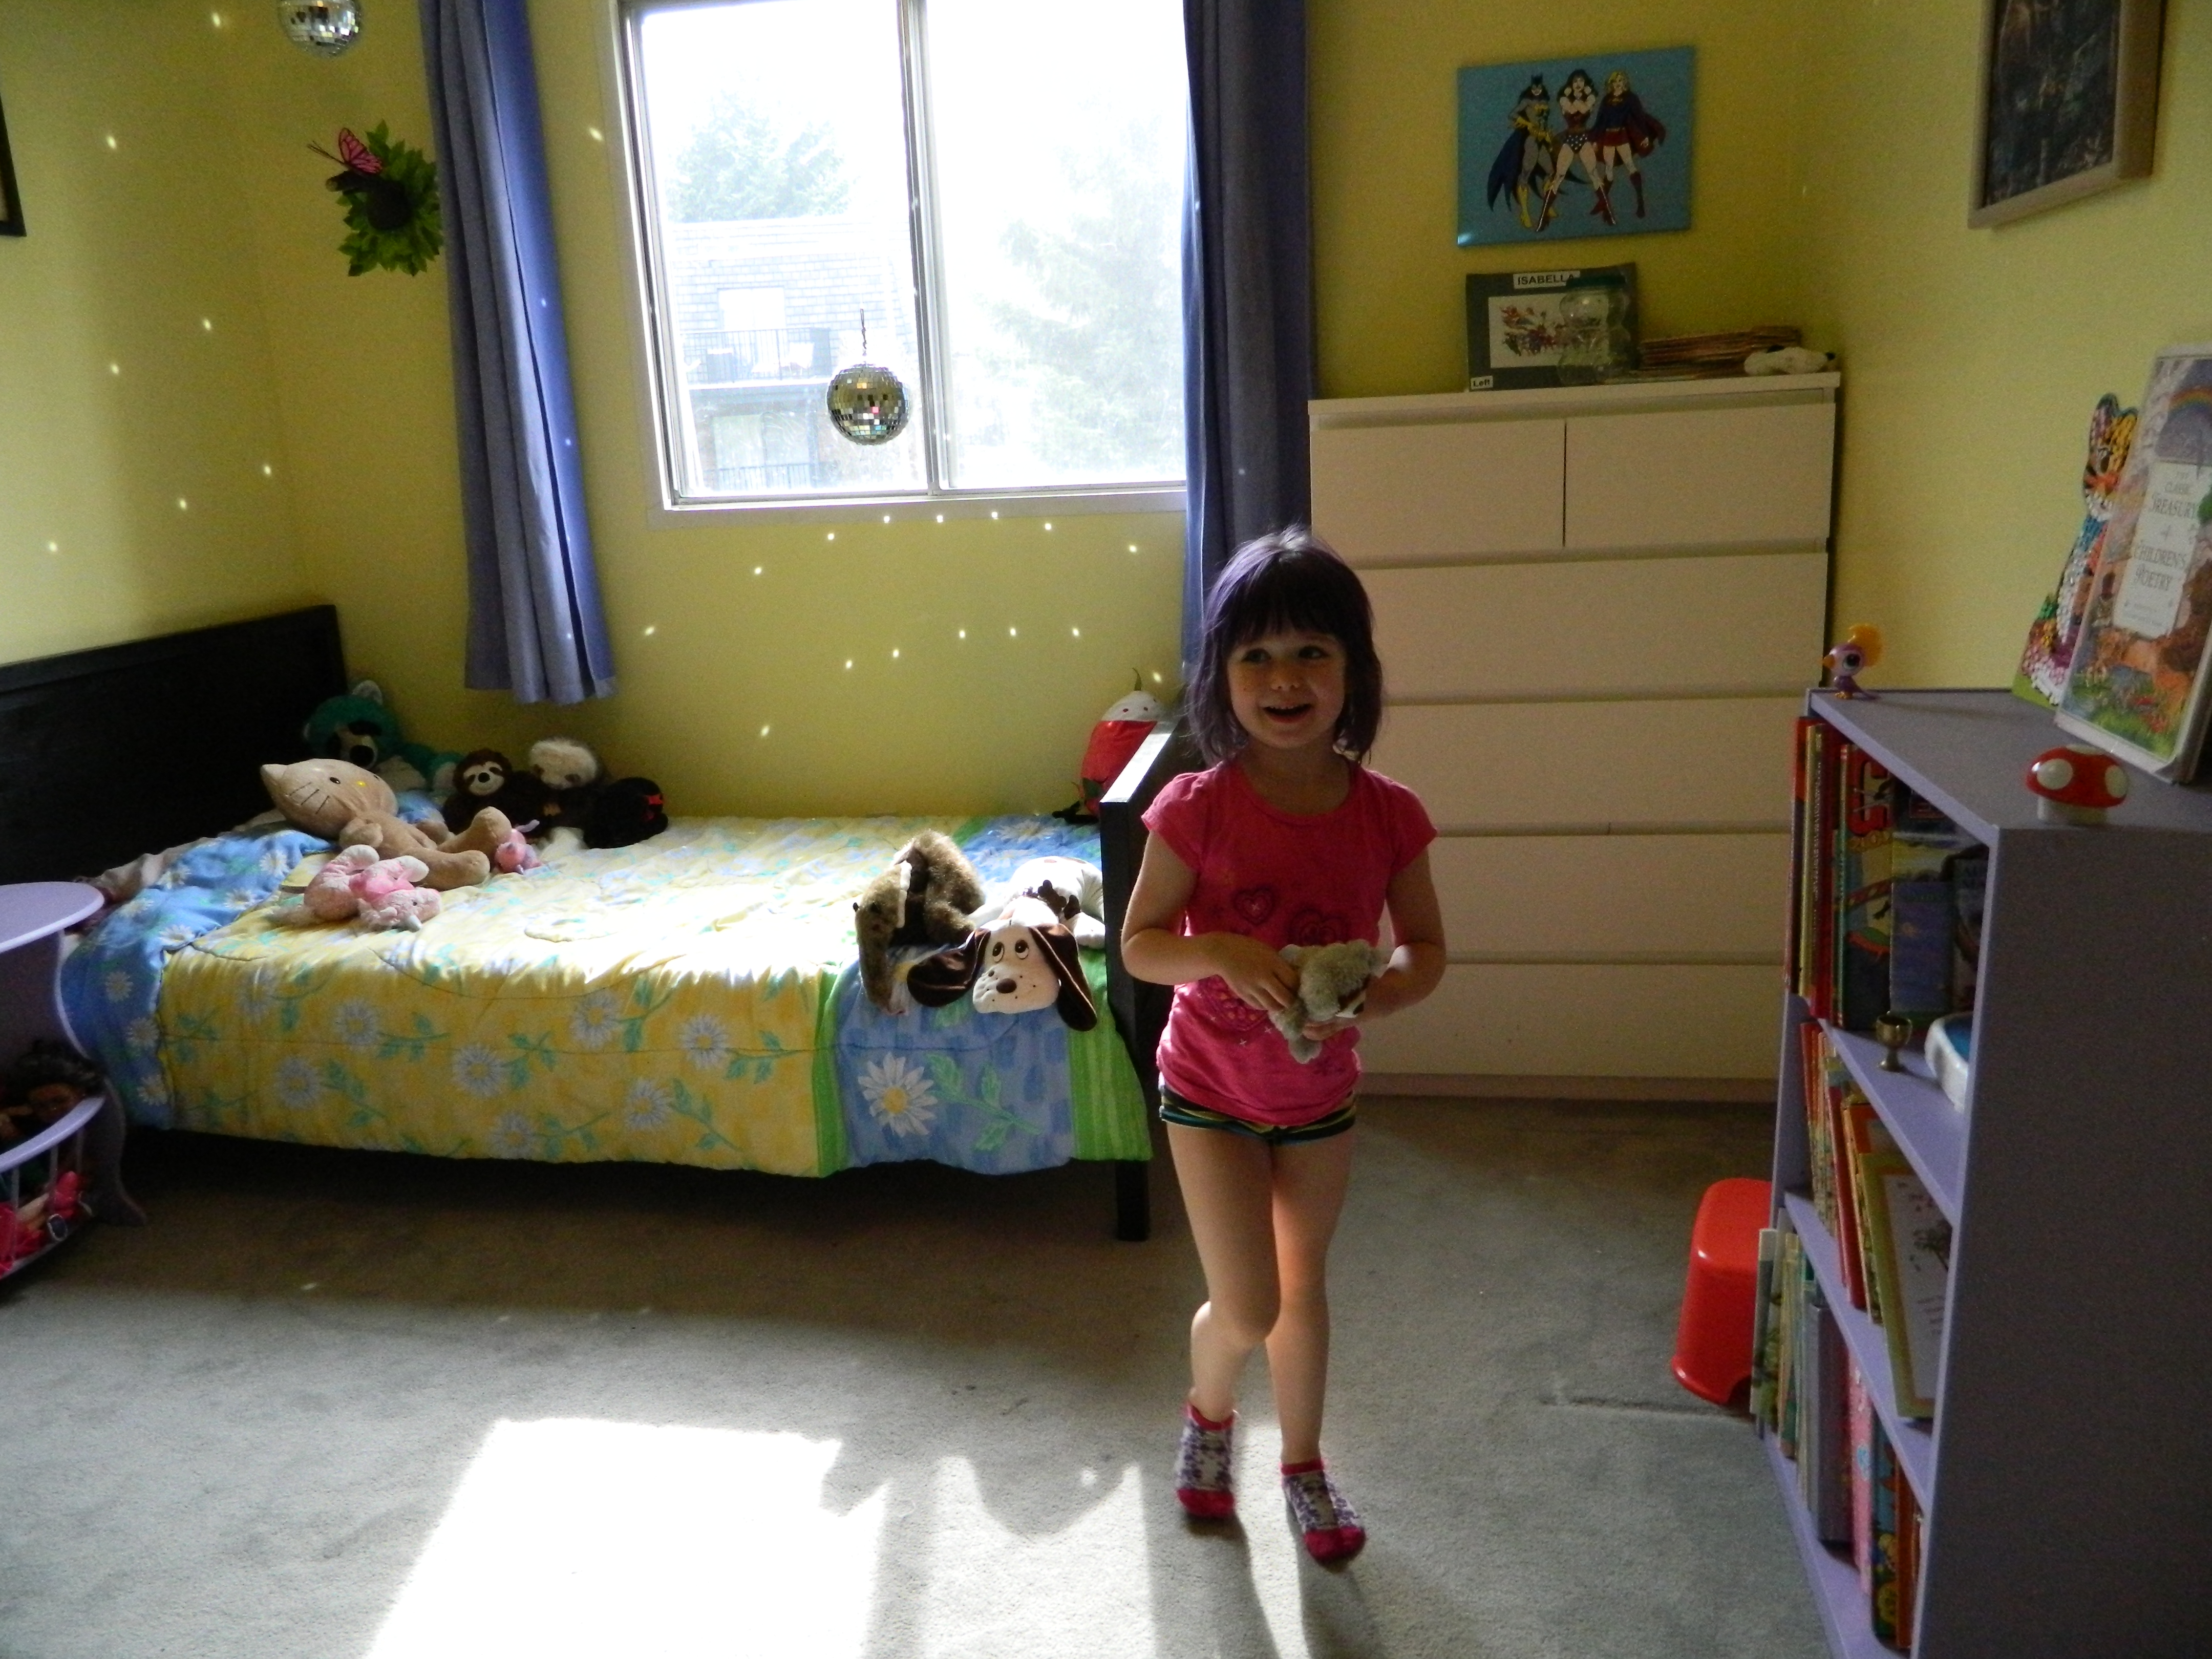
And finally Izzy’s room! The transformation that is the most dramatic and the room I spent the most time redecorating.
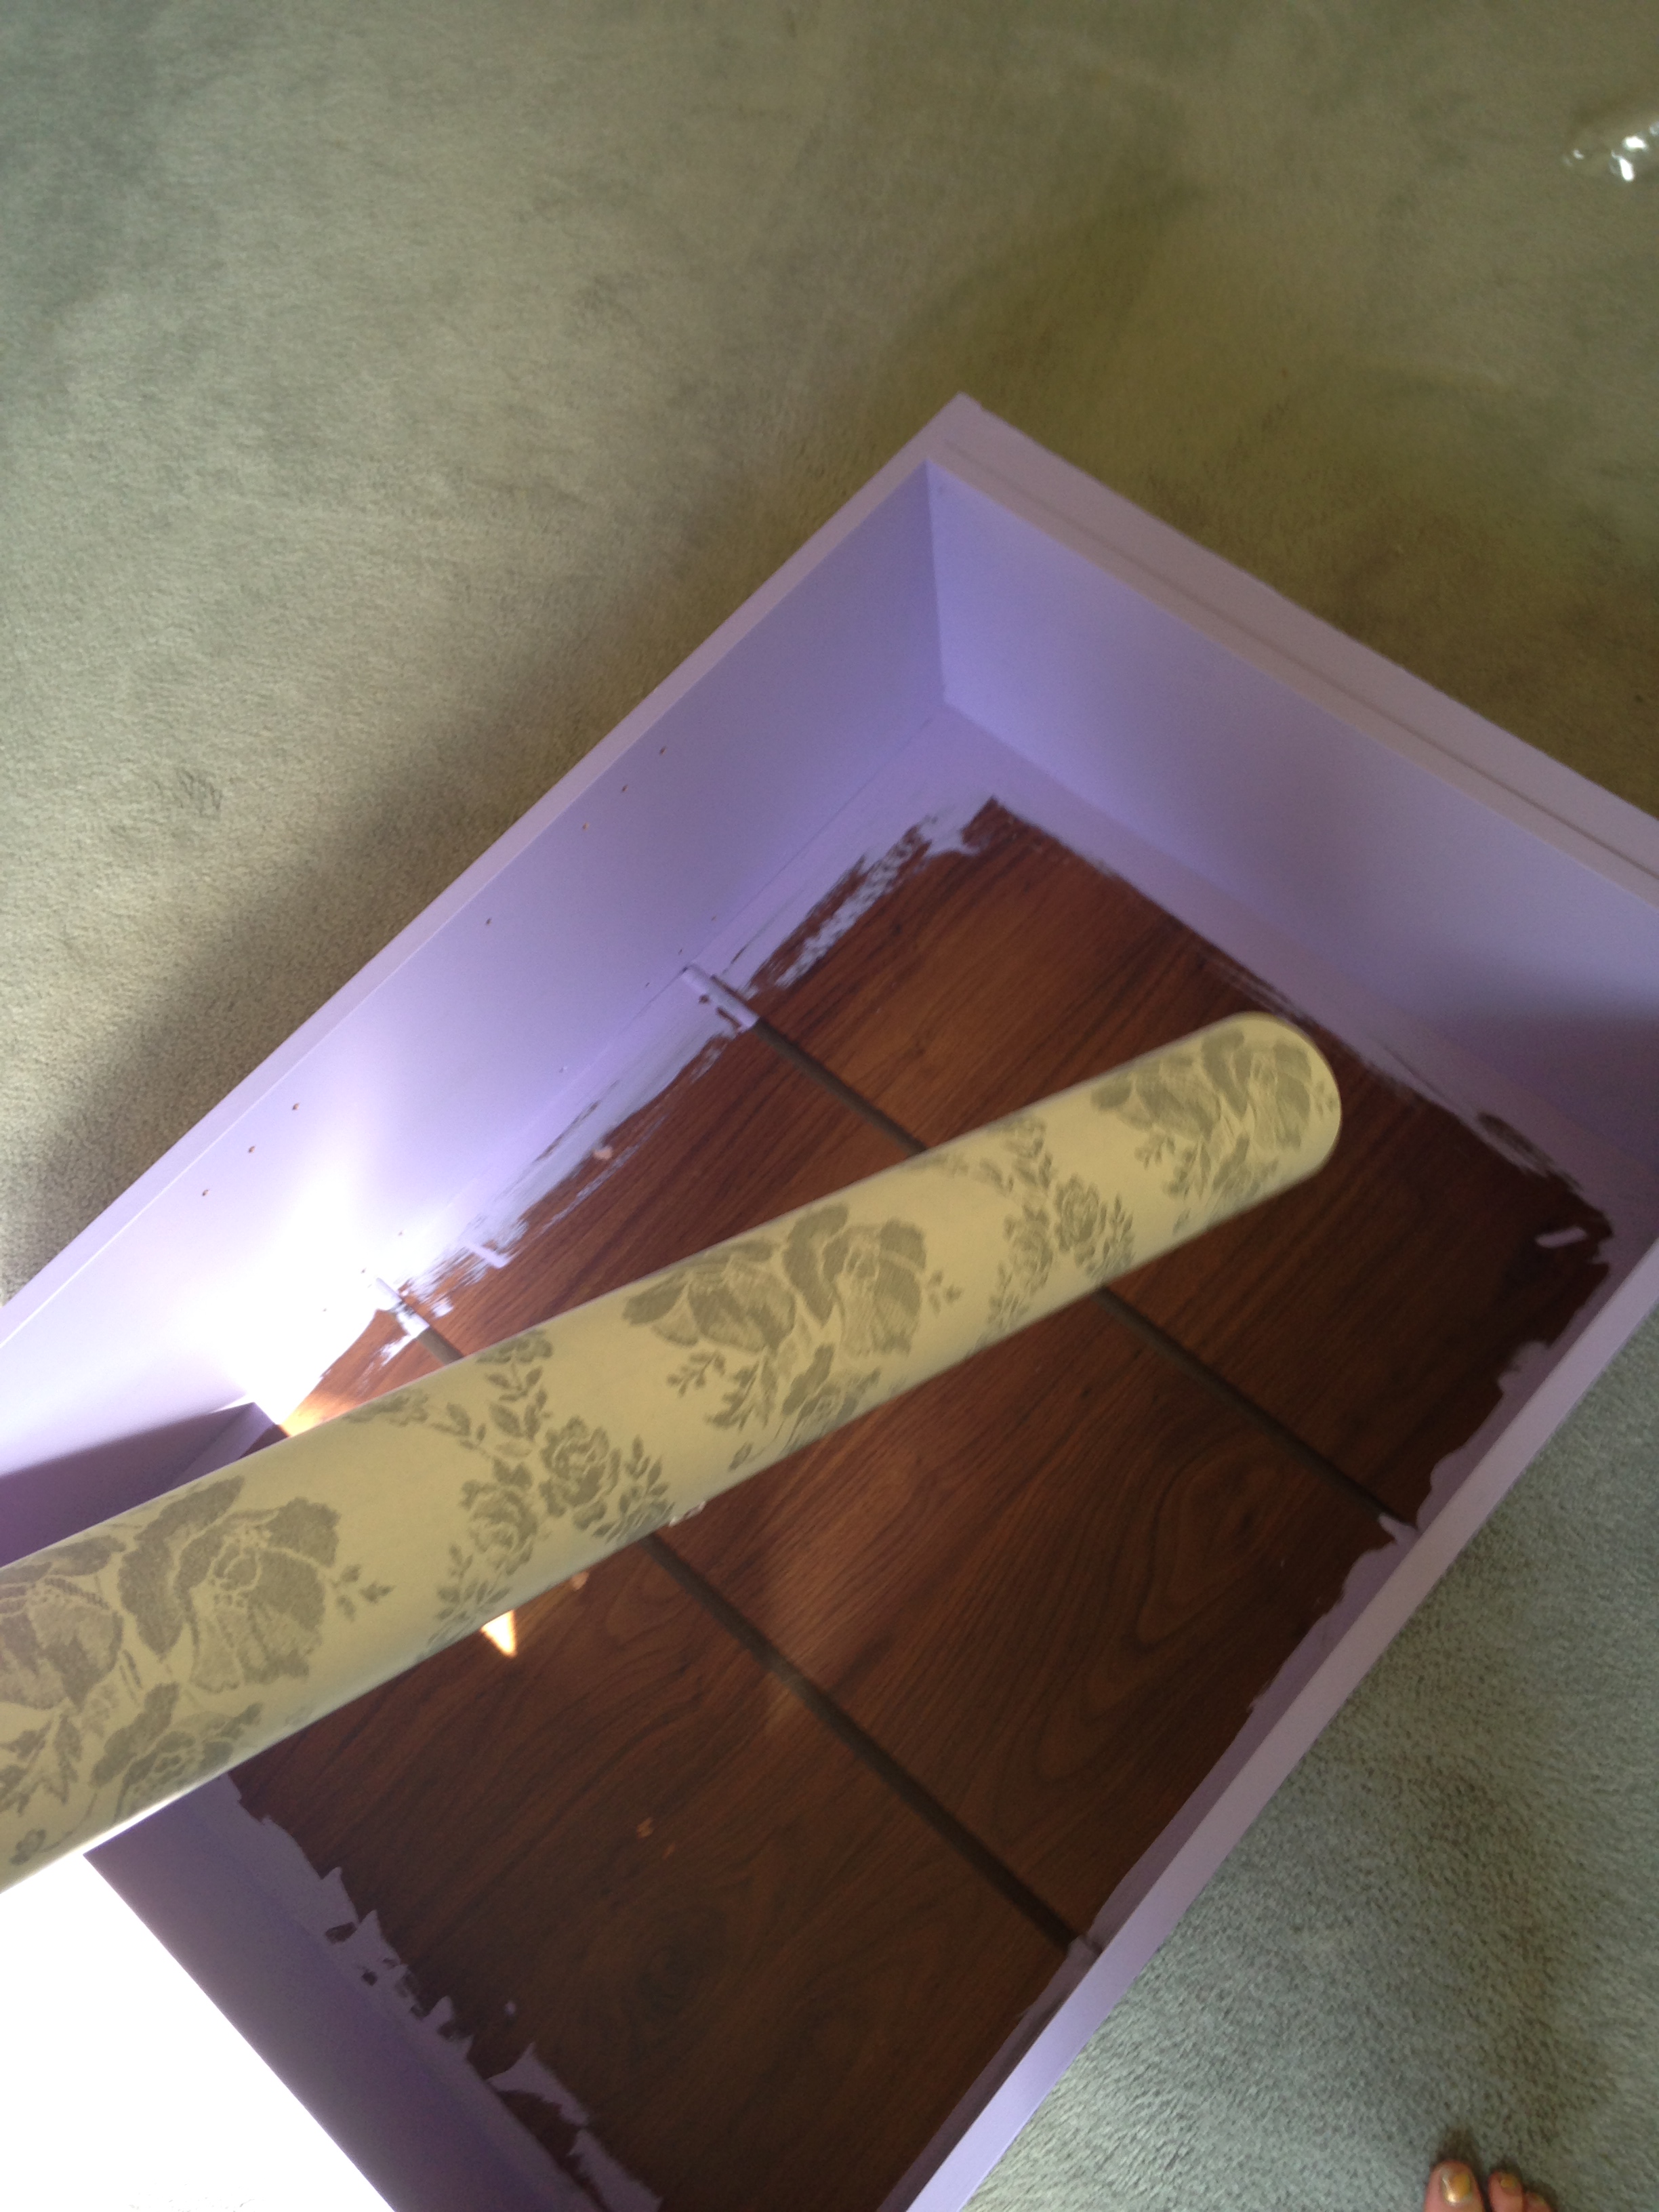
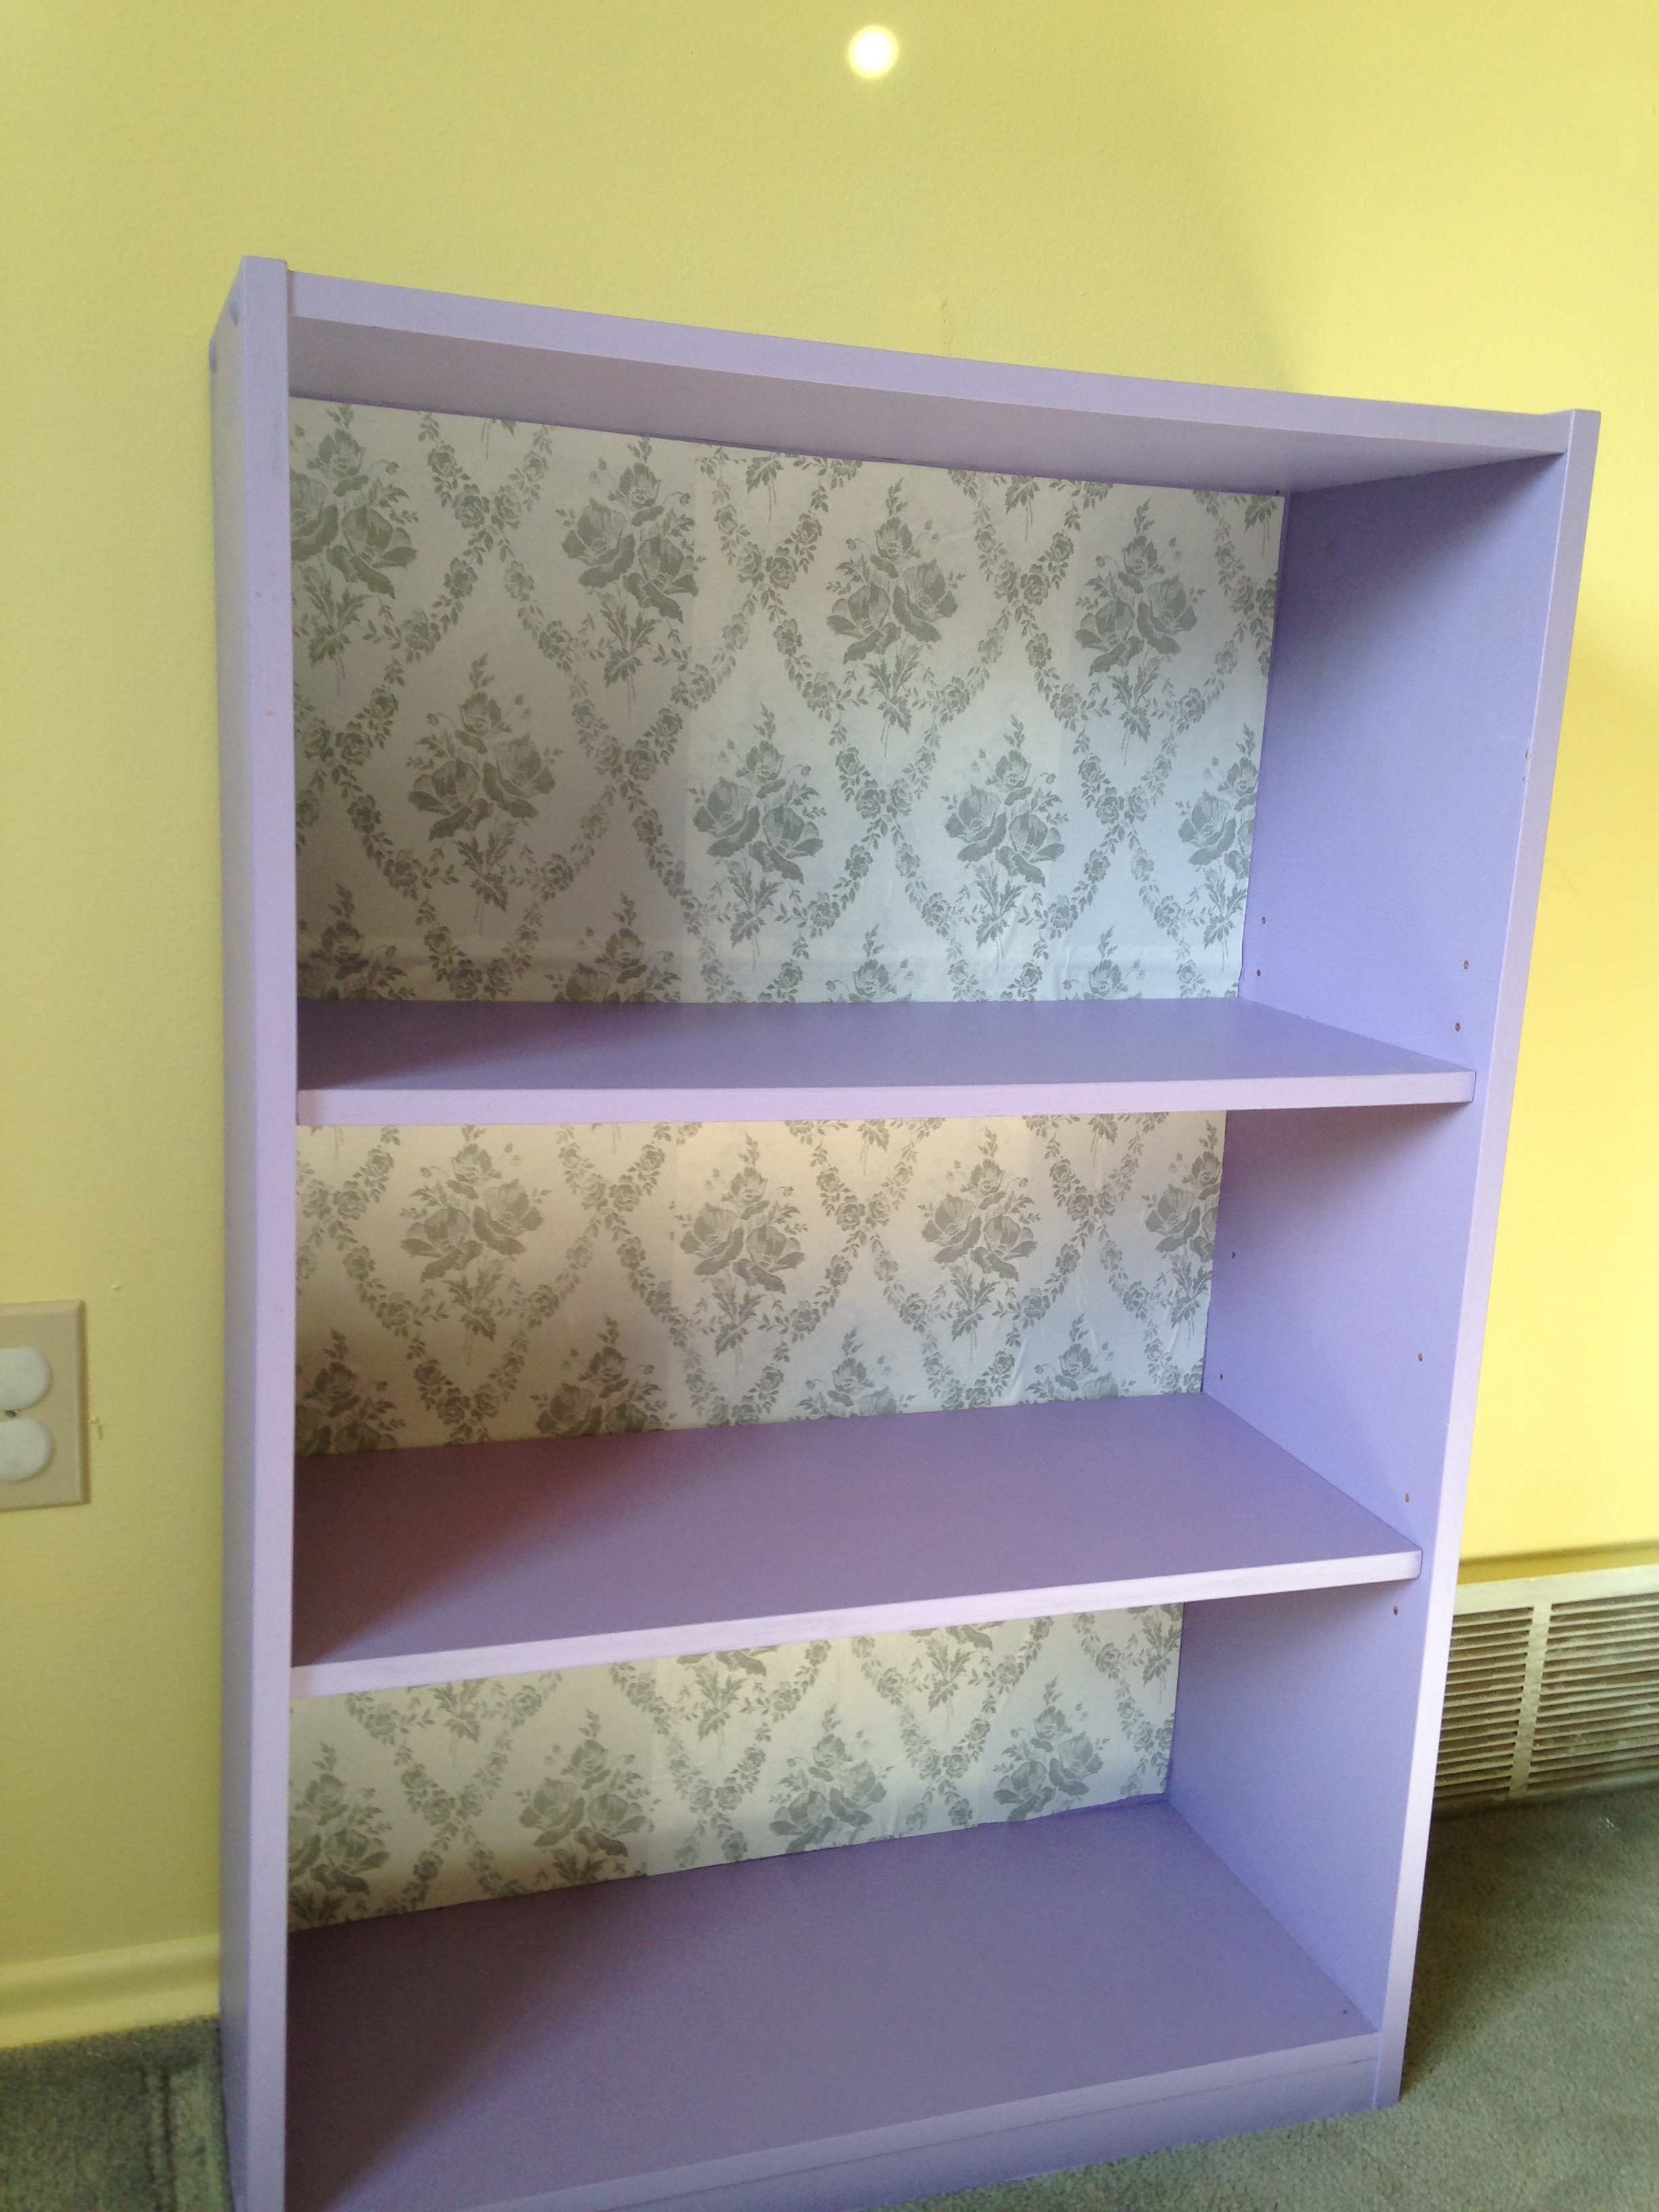
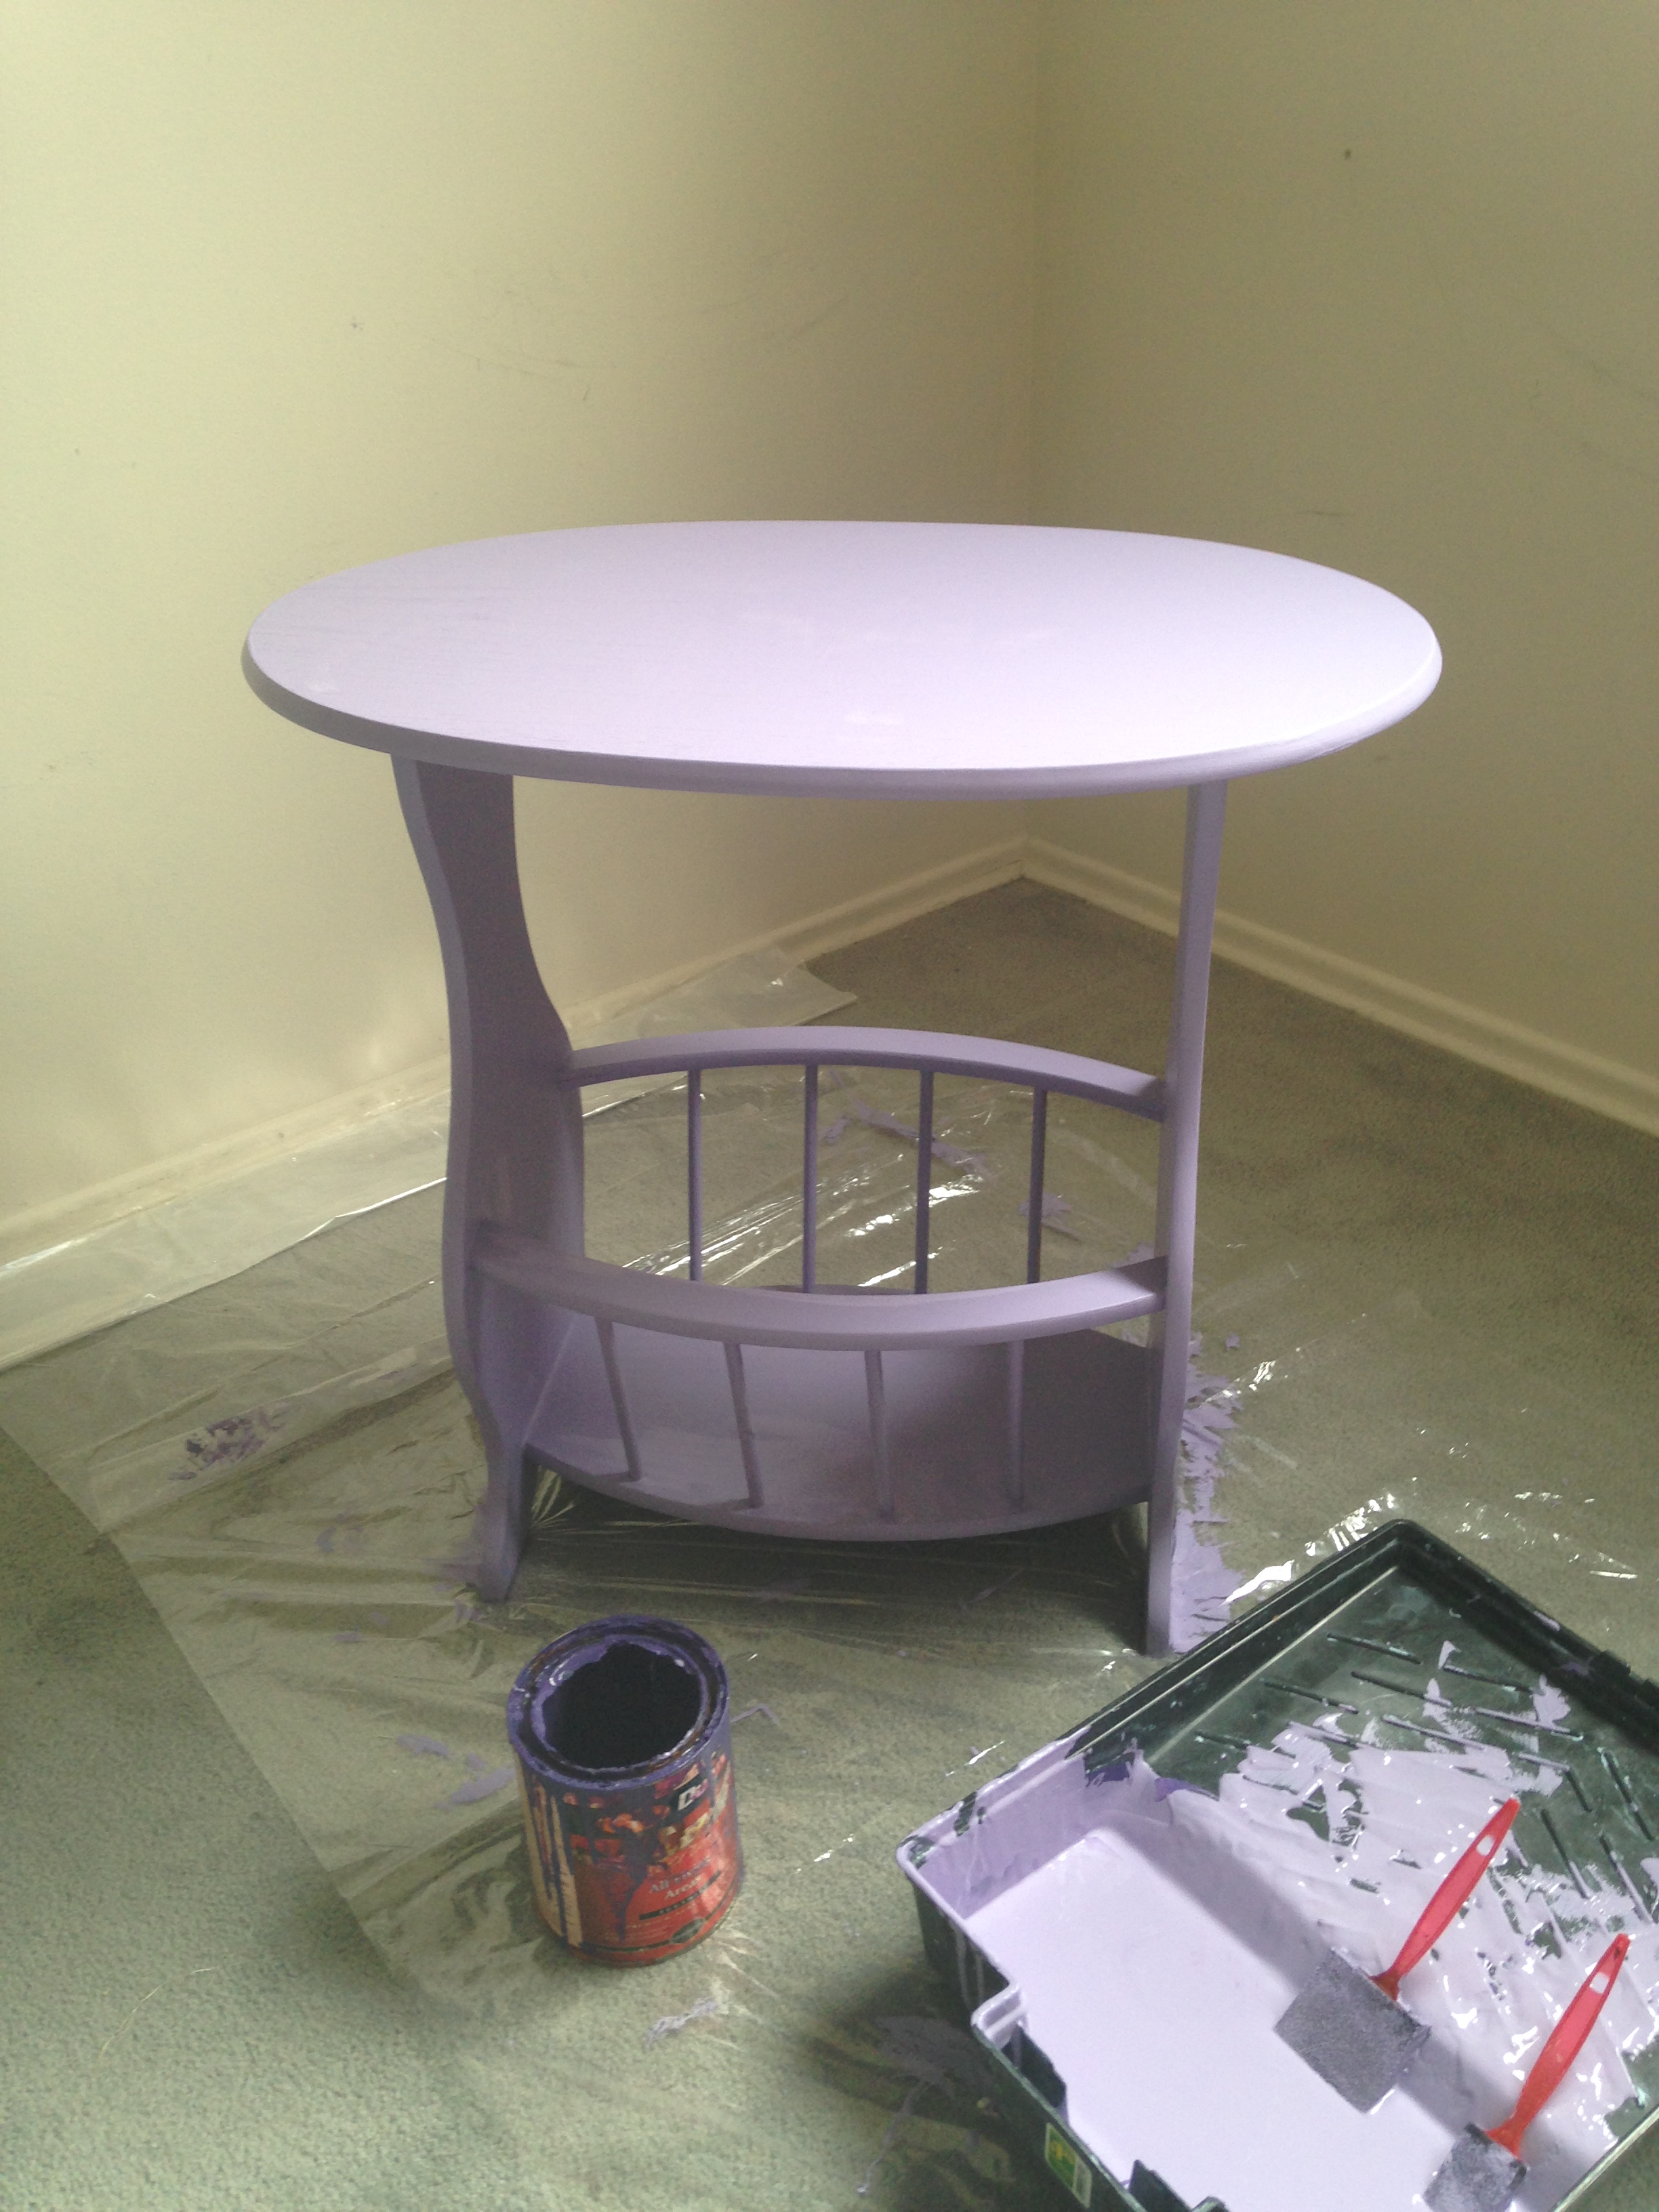
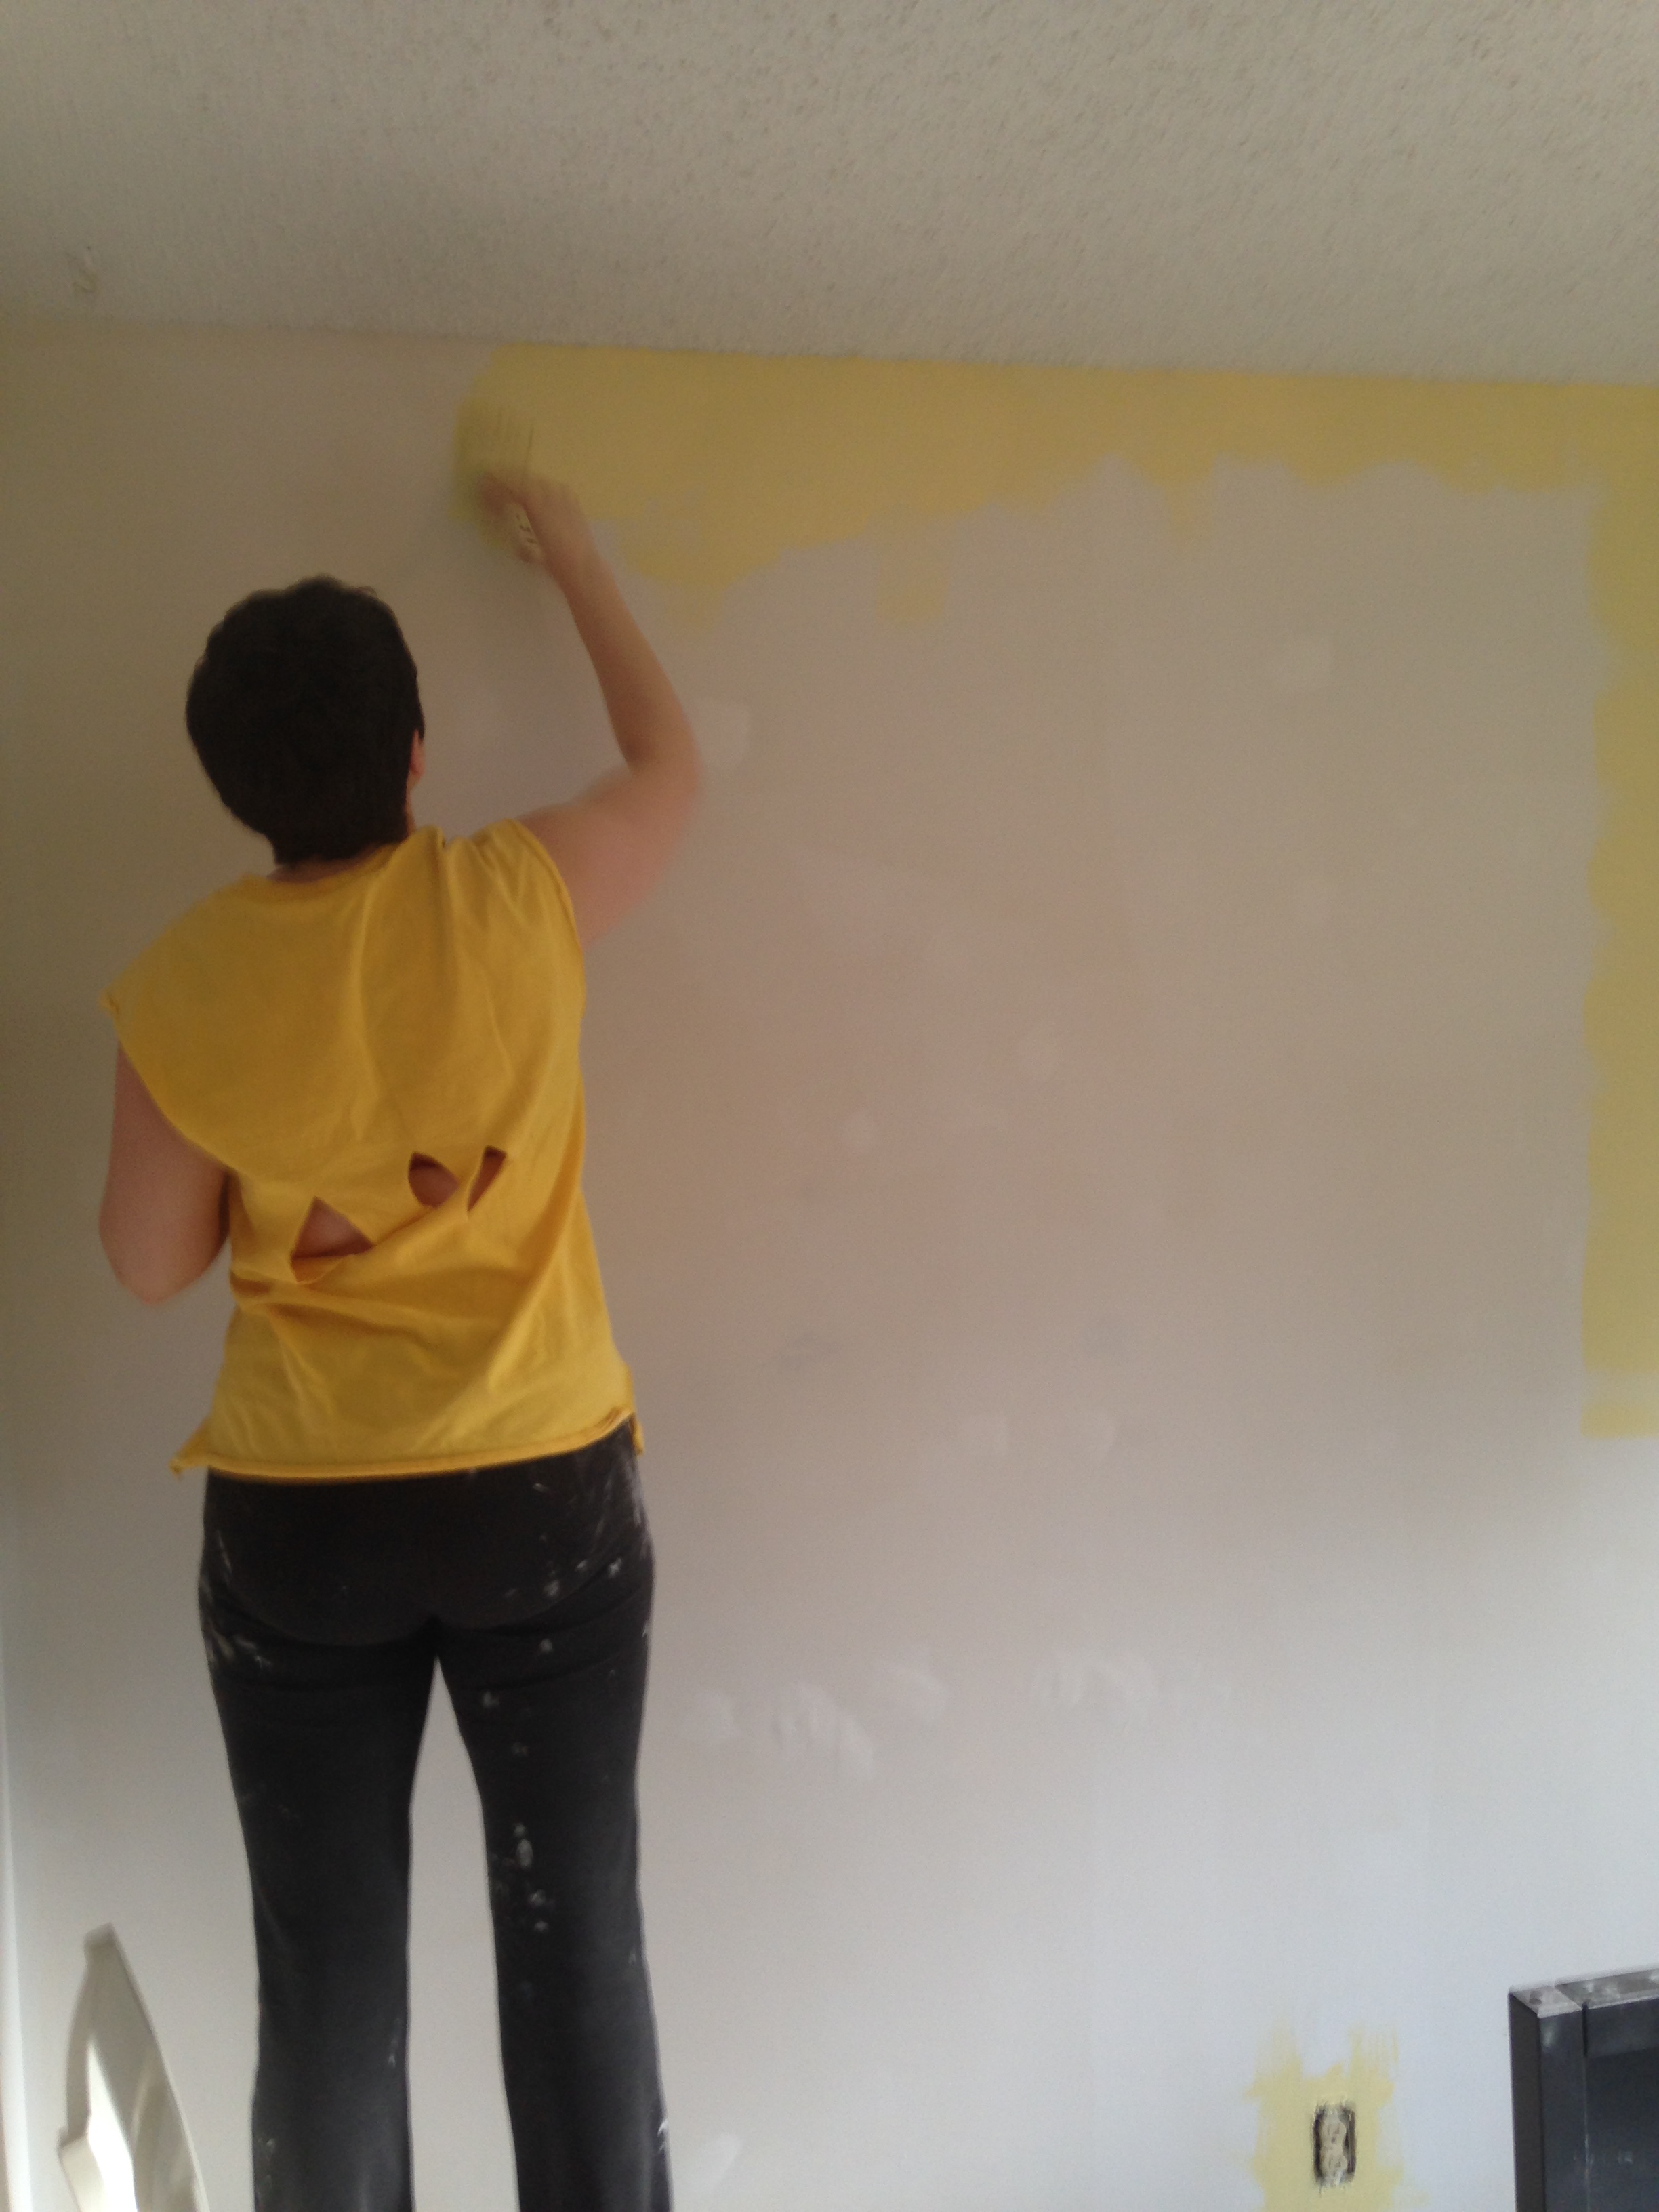
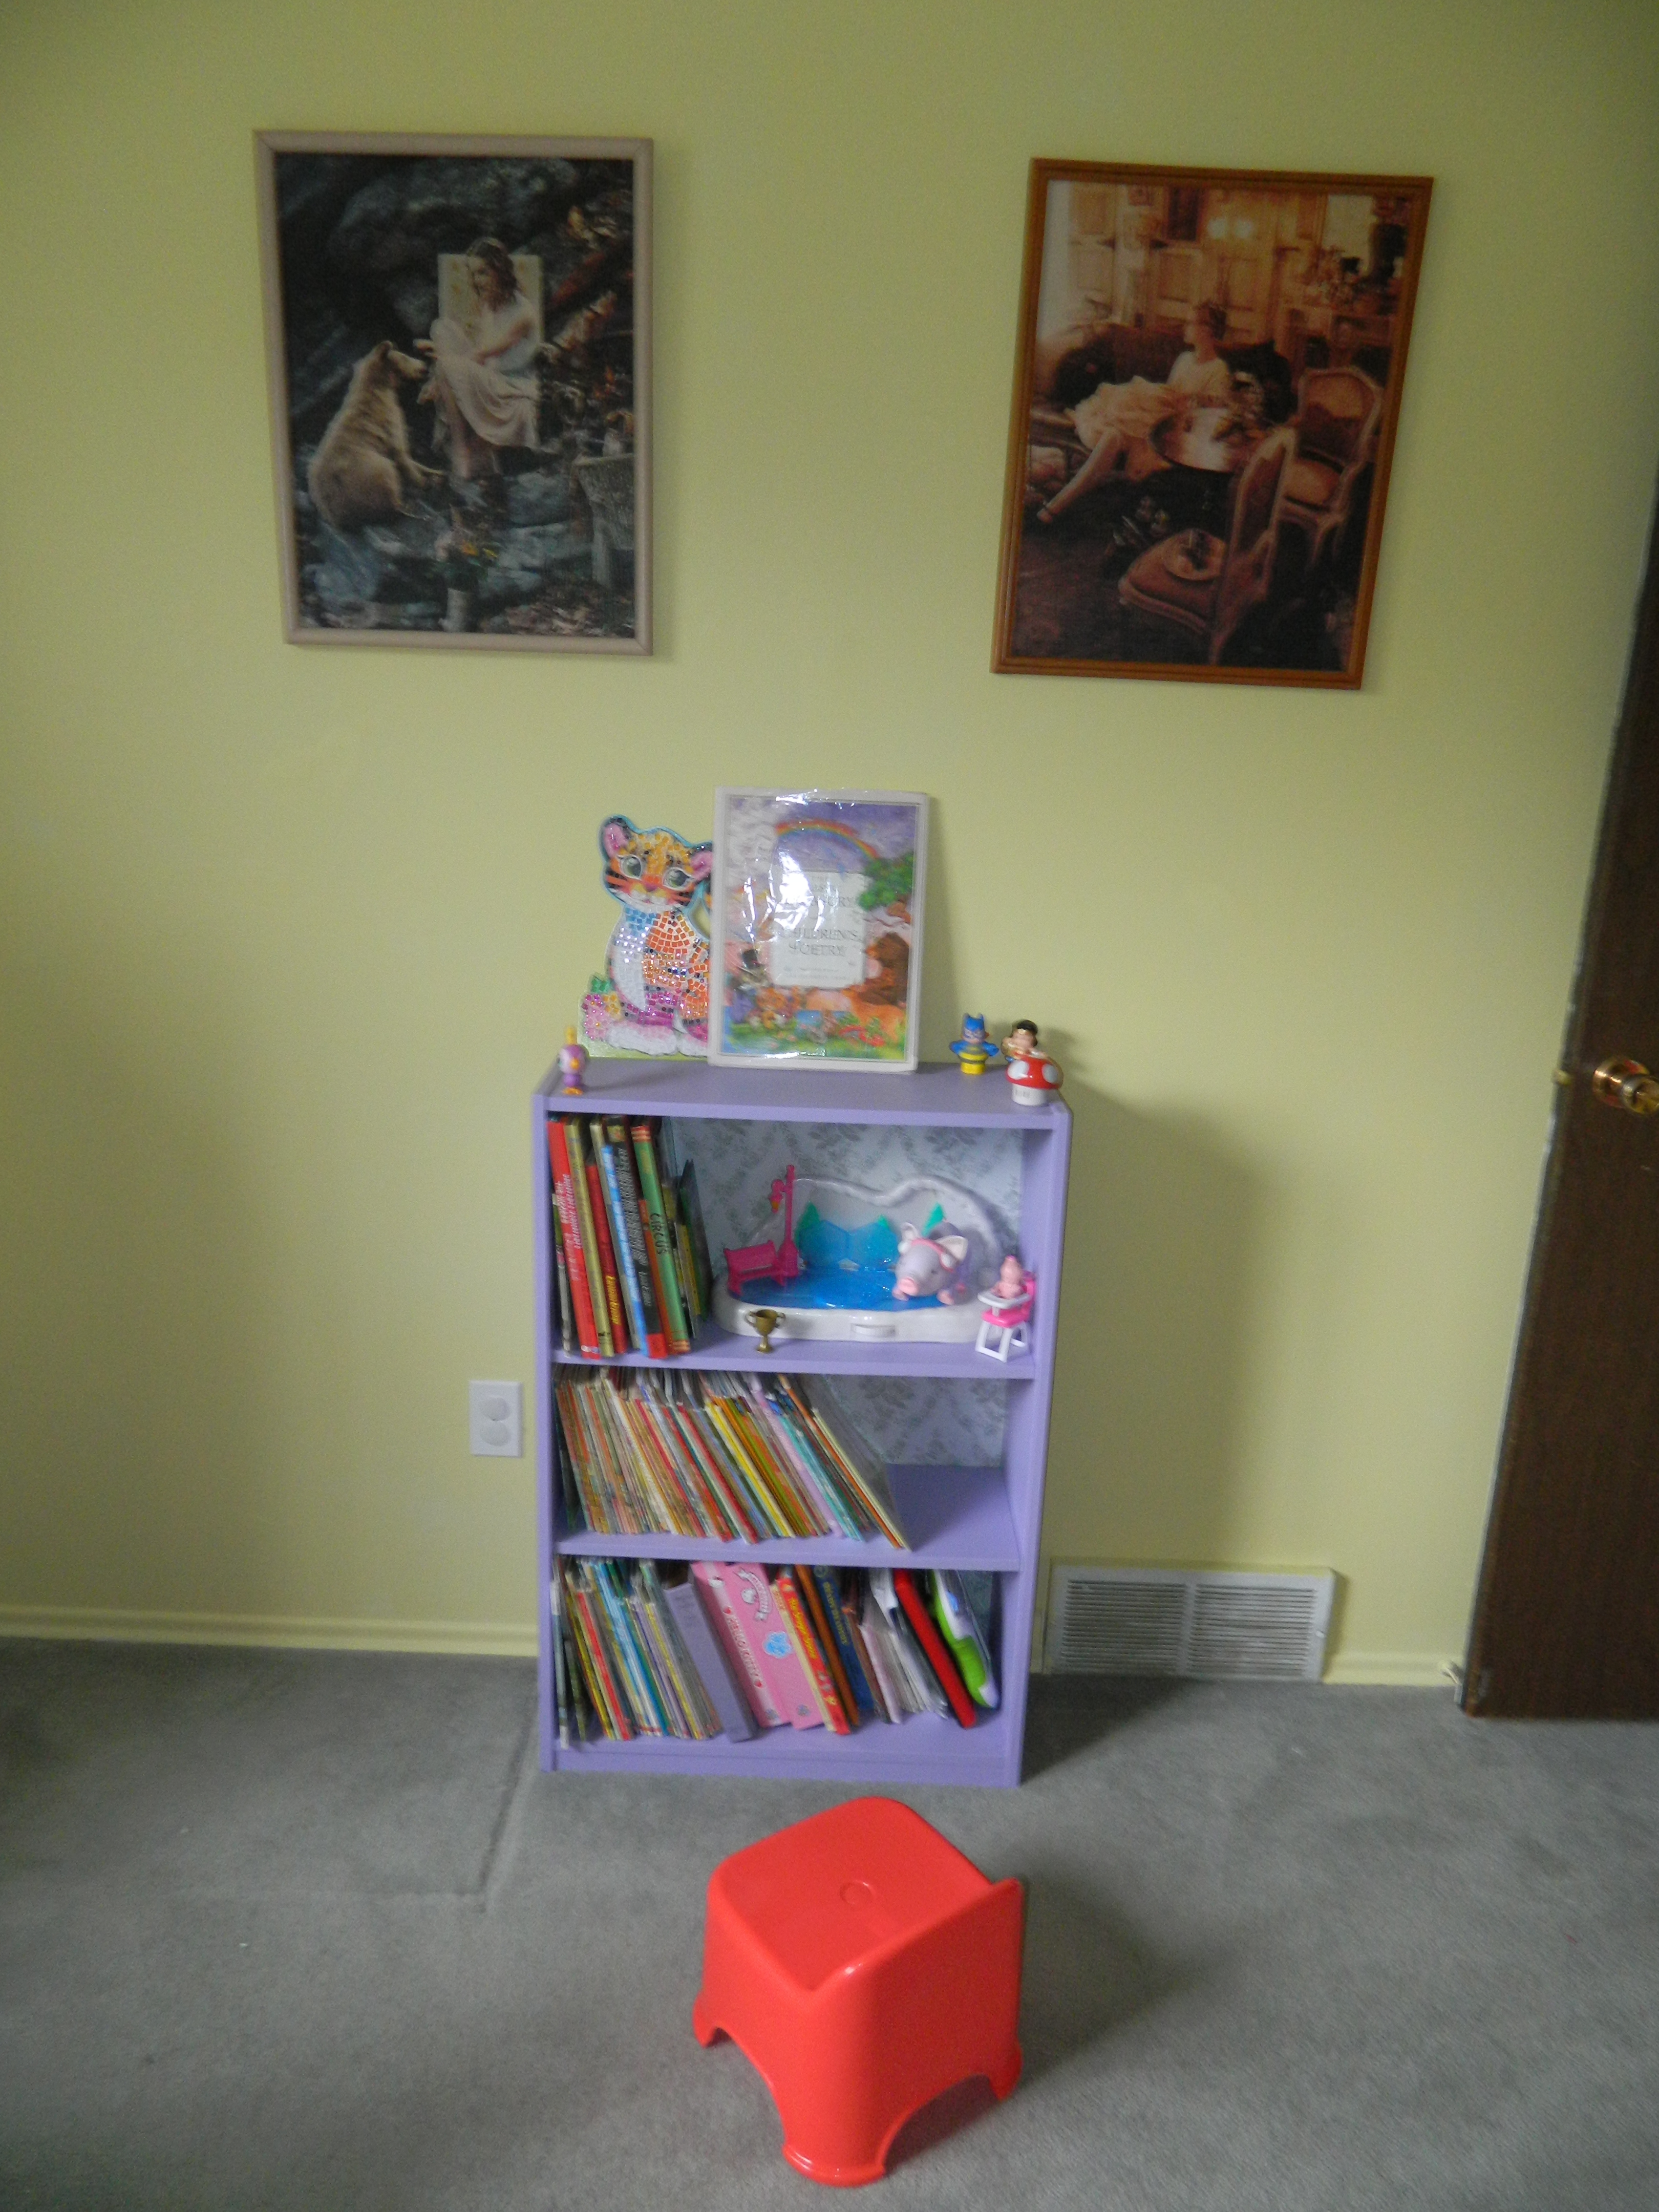
I made the mistake in the past of letting Izzy convince me to put everything she loves in to the room. It became a jumbled mess and from moving and re-anchoring the furniture, the walls became a holey terror. It was chaotic and made us all cranky. On top of that there wasn’t enough storage for her toys. She is growing up and I felt it was time for her room to have a “big girl” feel. Somewhere she can grow in to and truly enjoy. We are renting but it will be a few more years before we can buy so we felt we should make the most of our time here. I chose “Sweet Buttercup” as her wall colour and used leftover Lavender paint for the furniture. Here is the before and after.


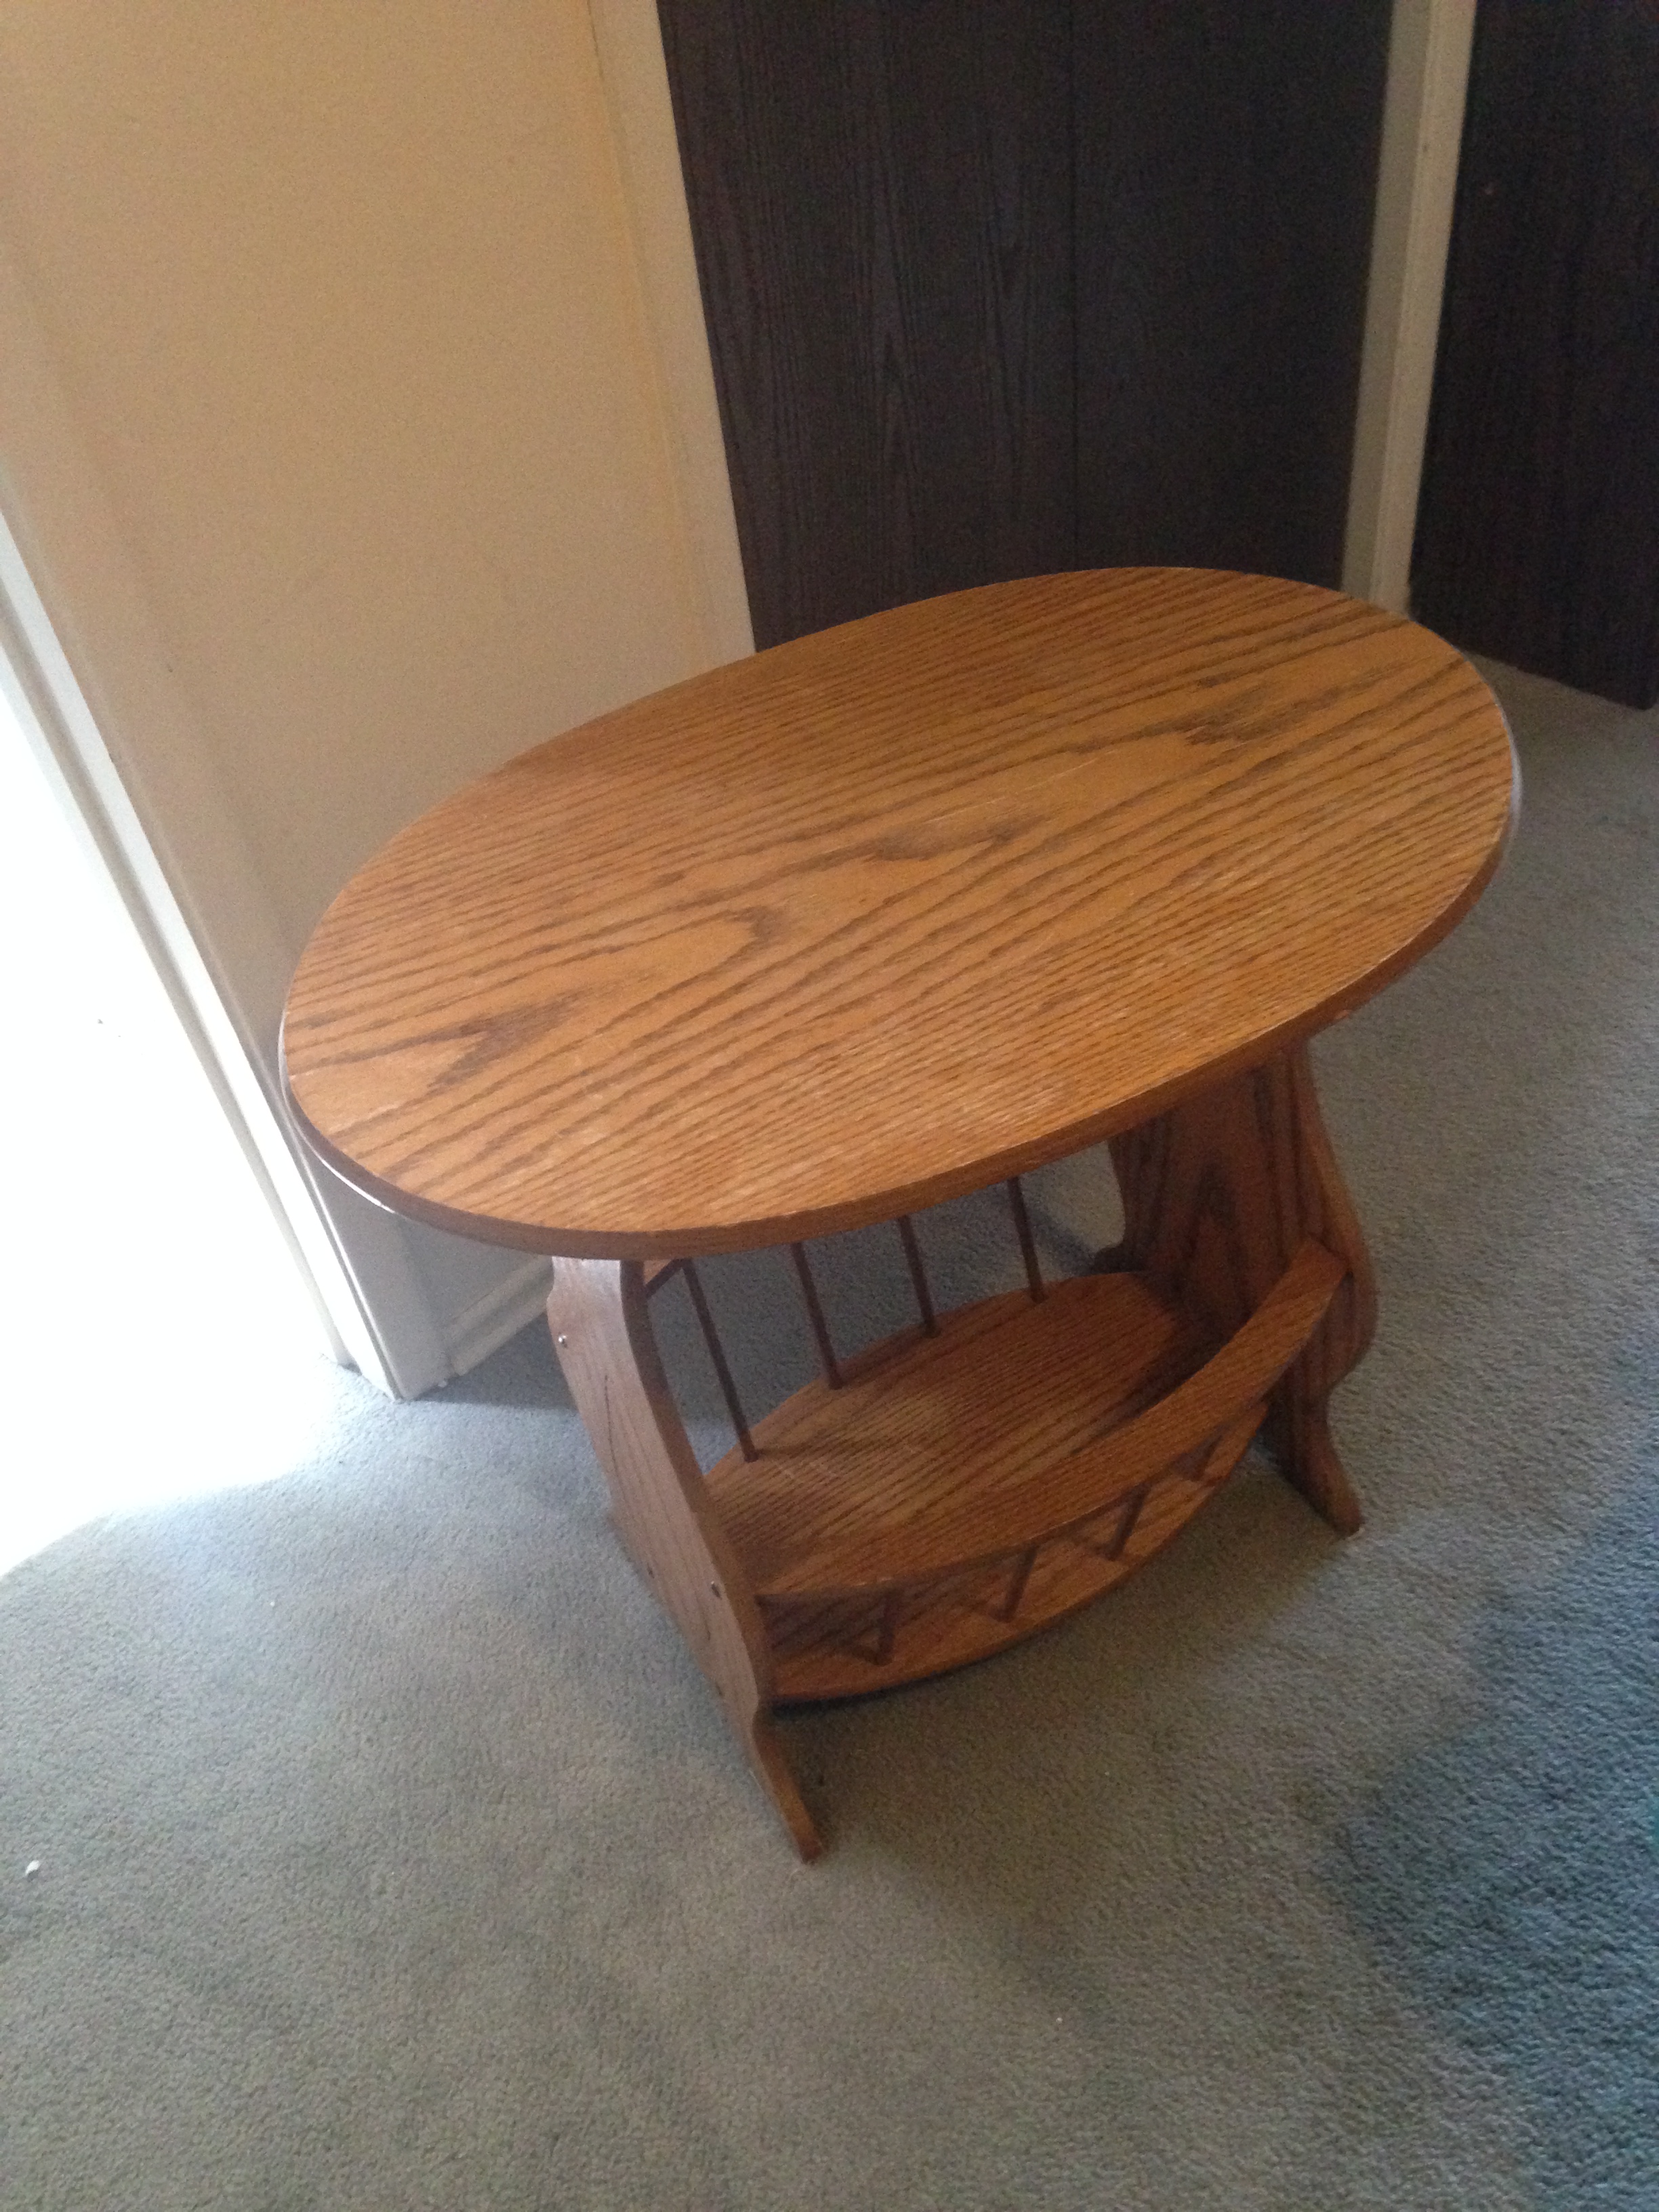
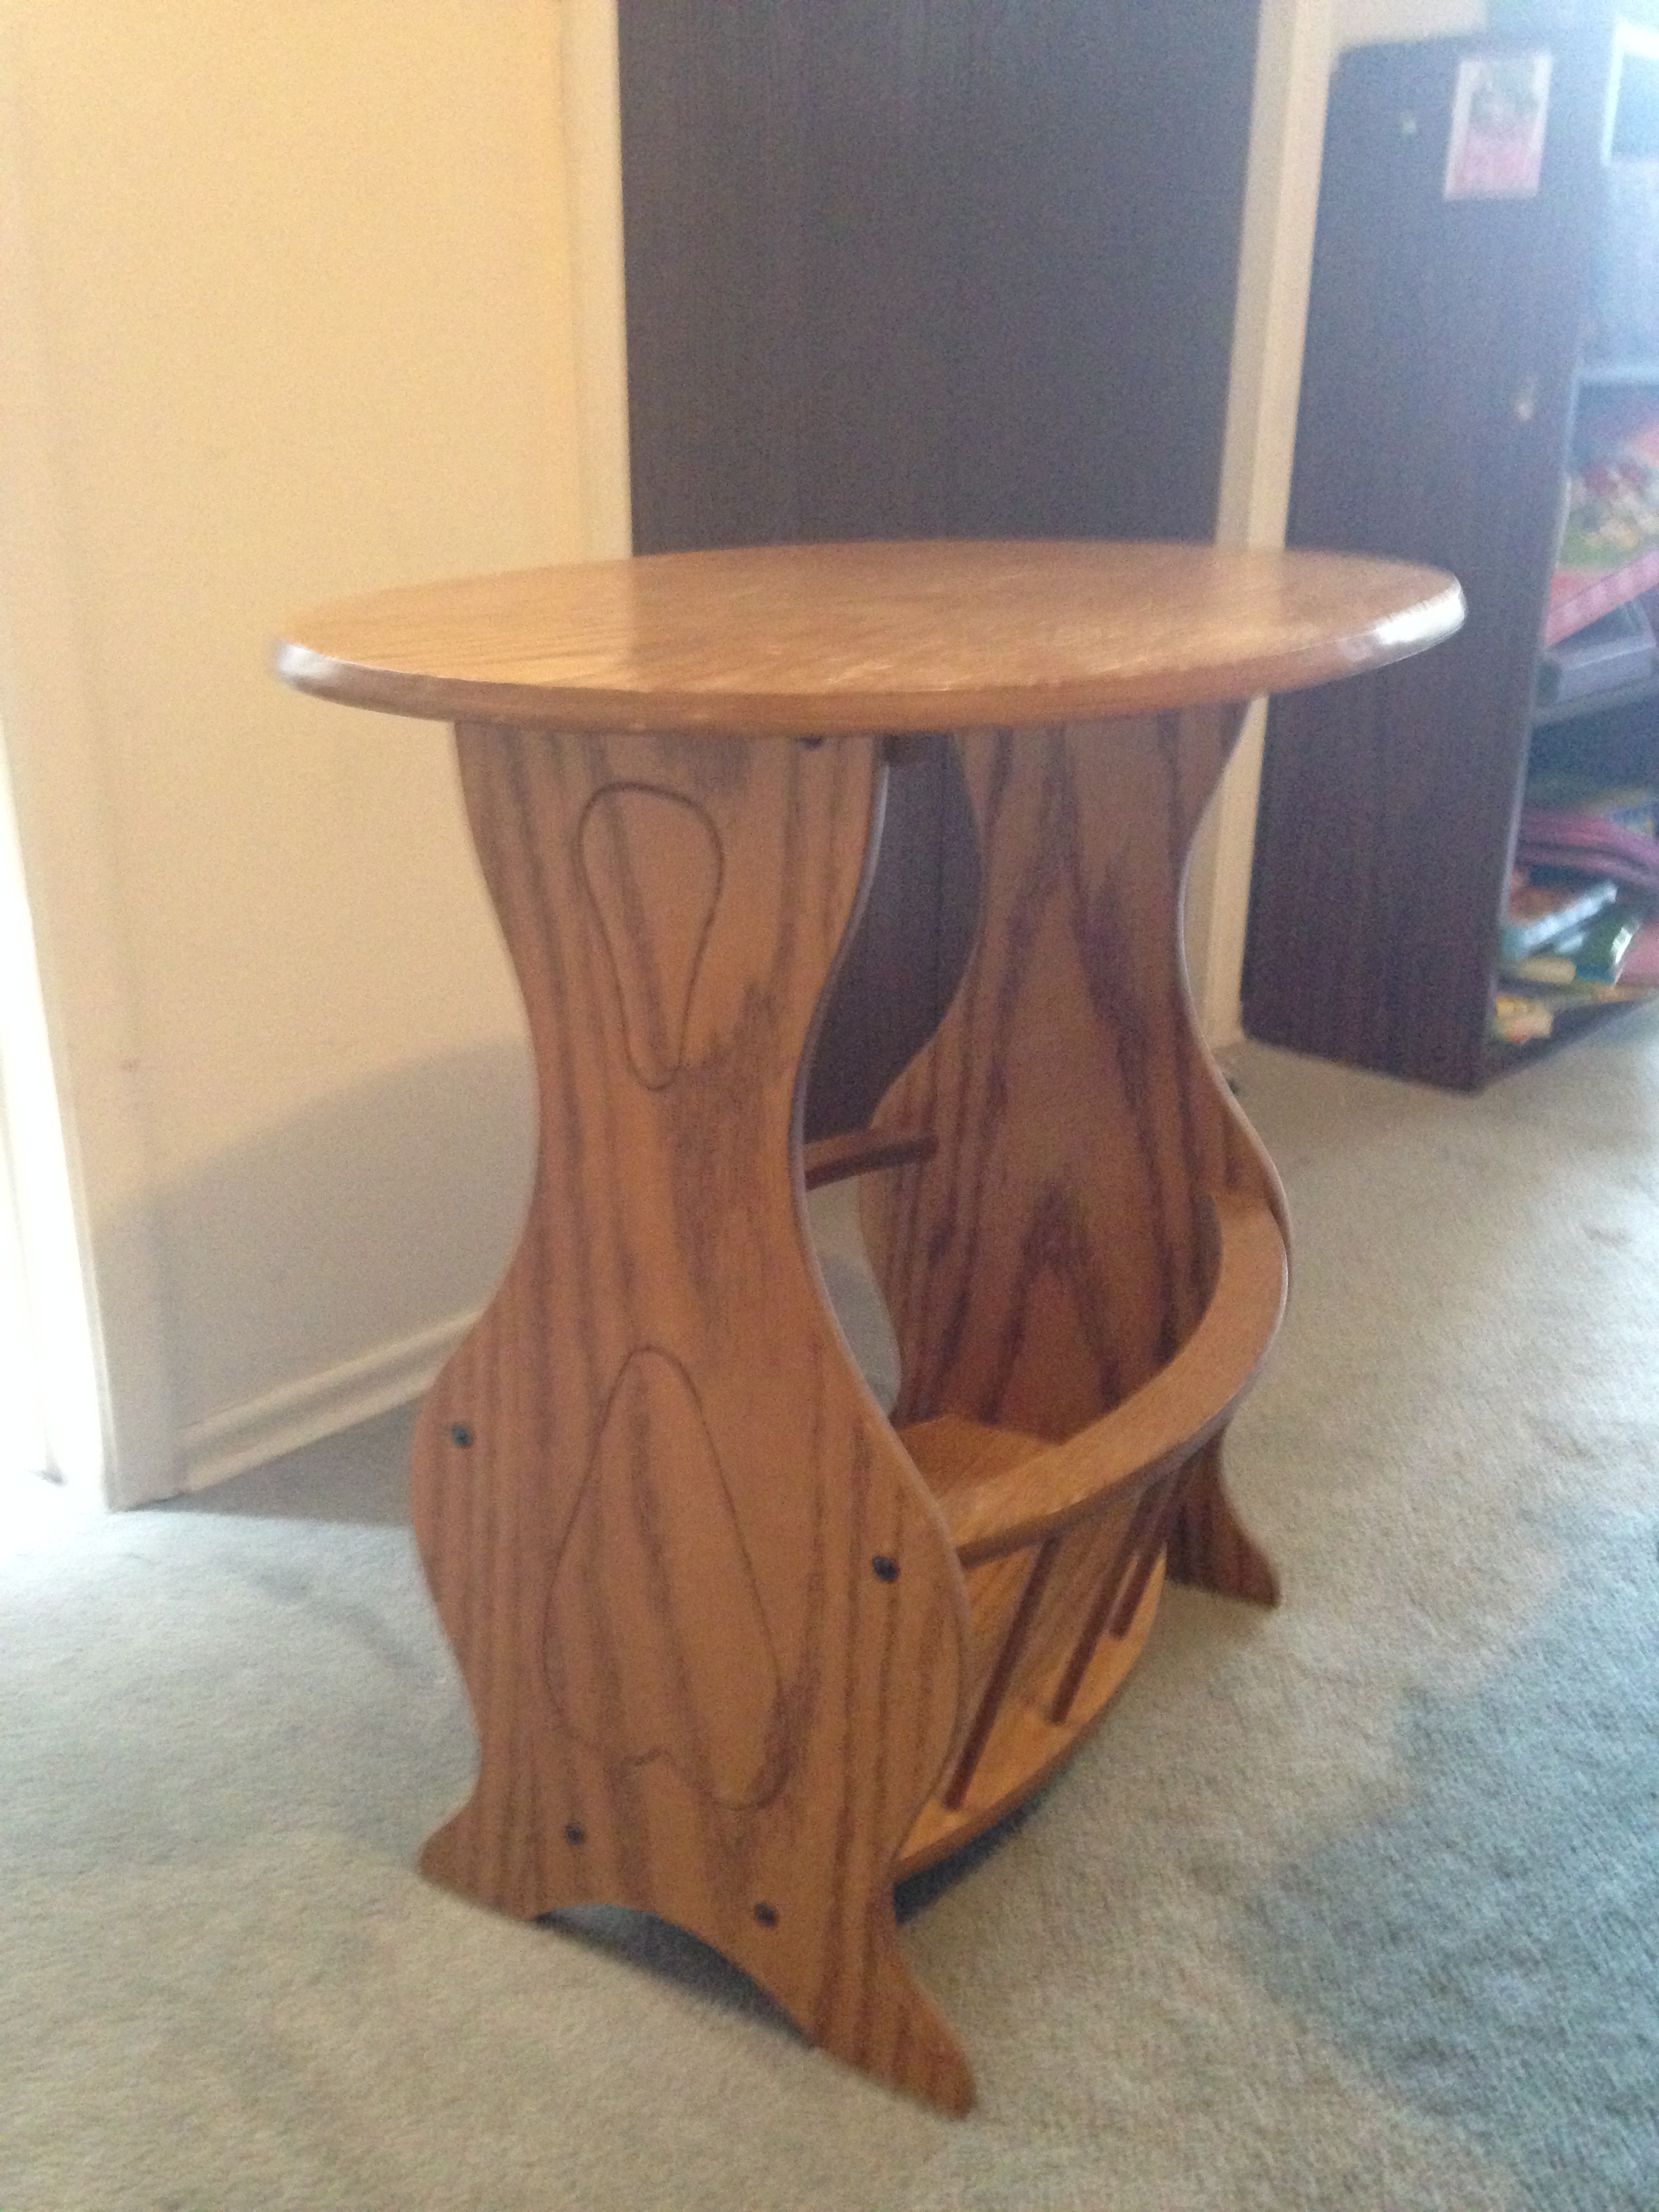
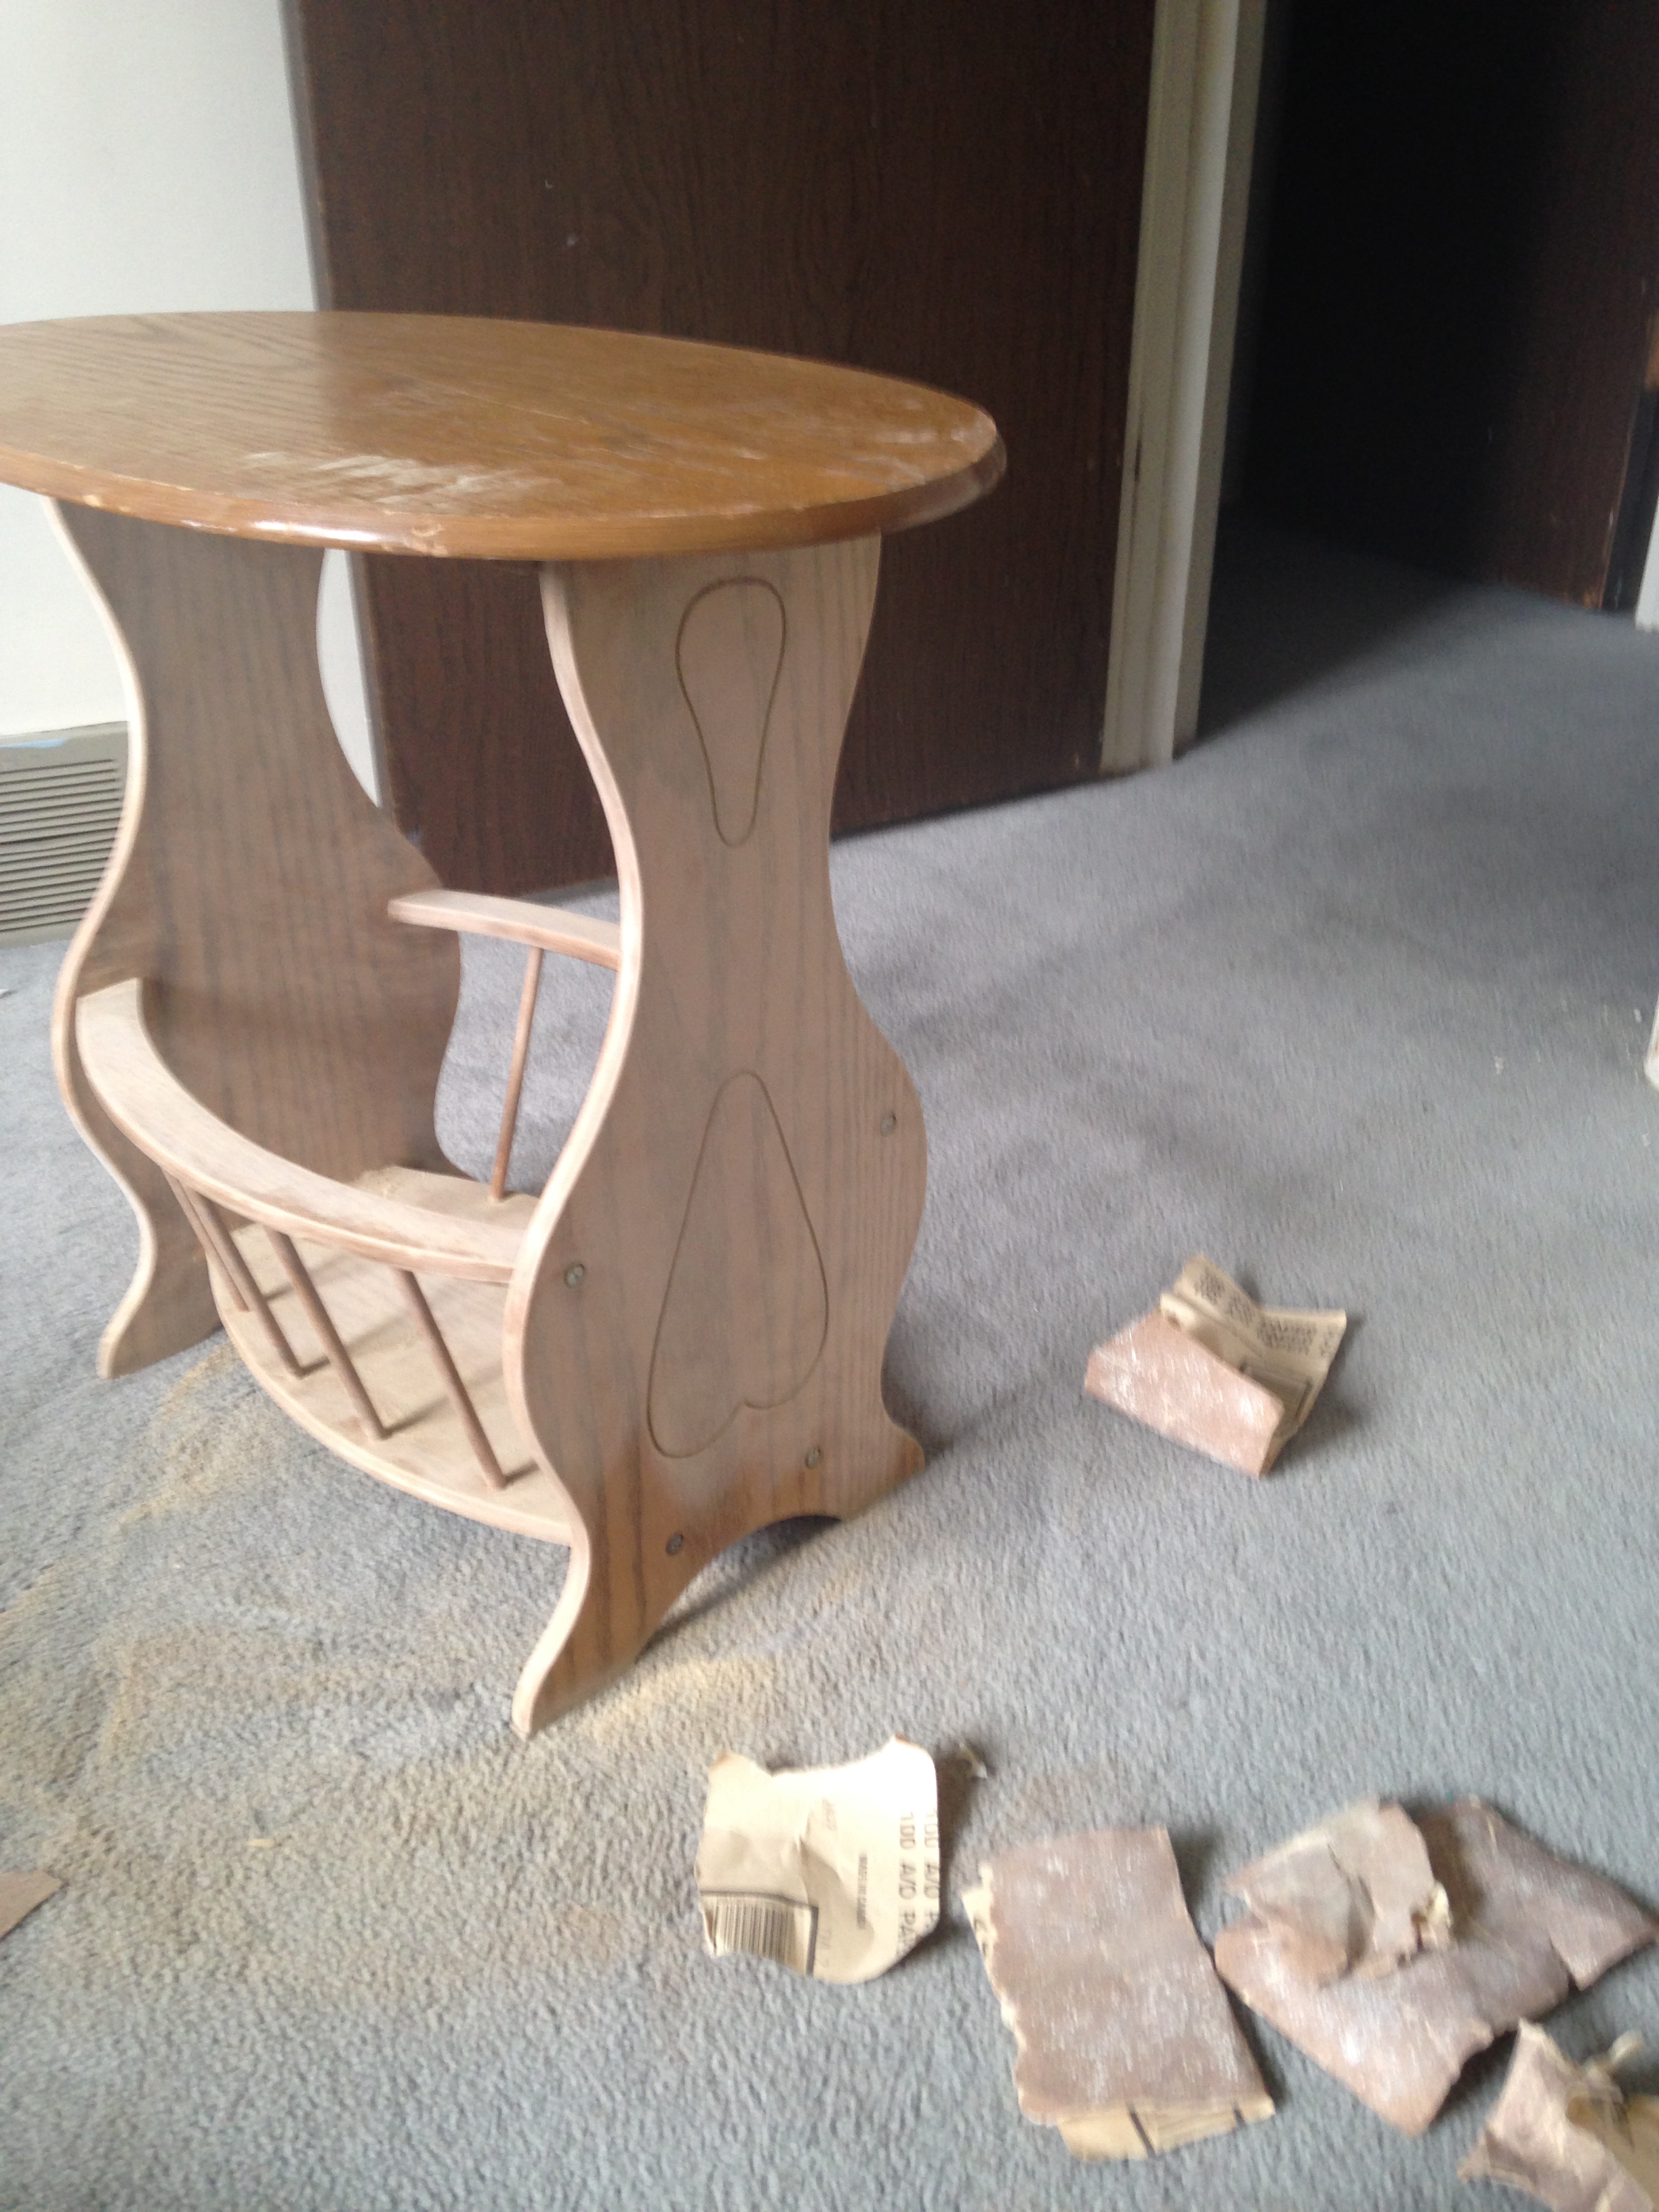
The furniture I found at garage sales or salvaged from her room and gave new life. It was a lot of work and took a lot of time, but I love the result:


and now…..
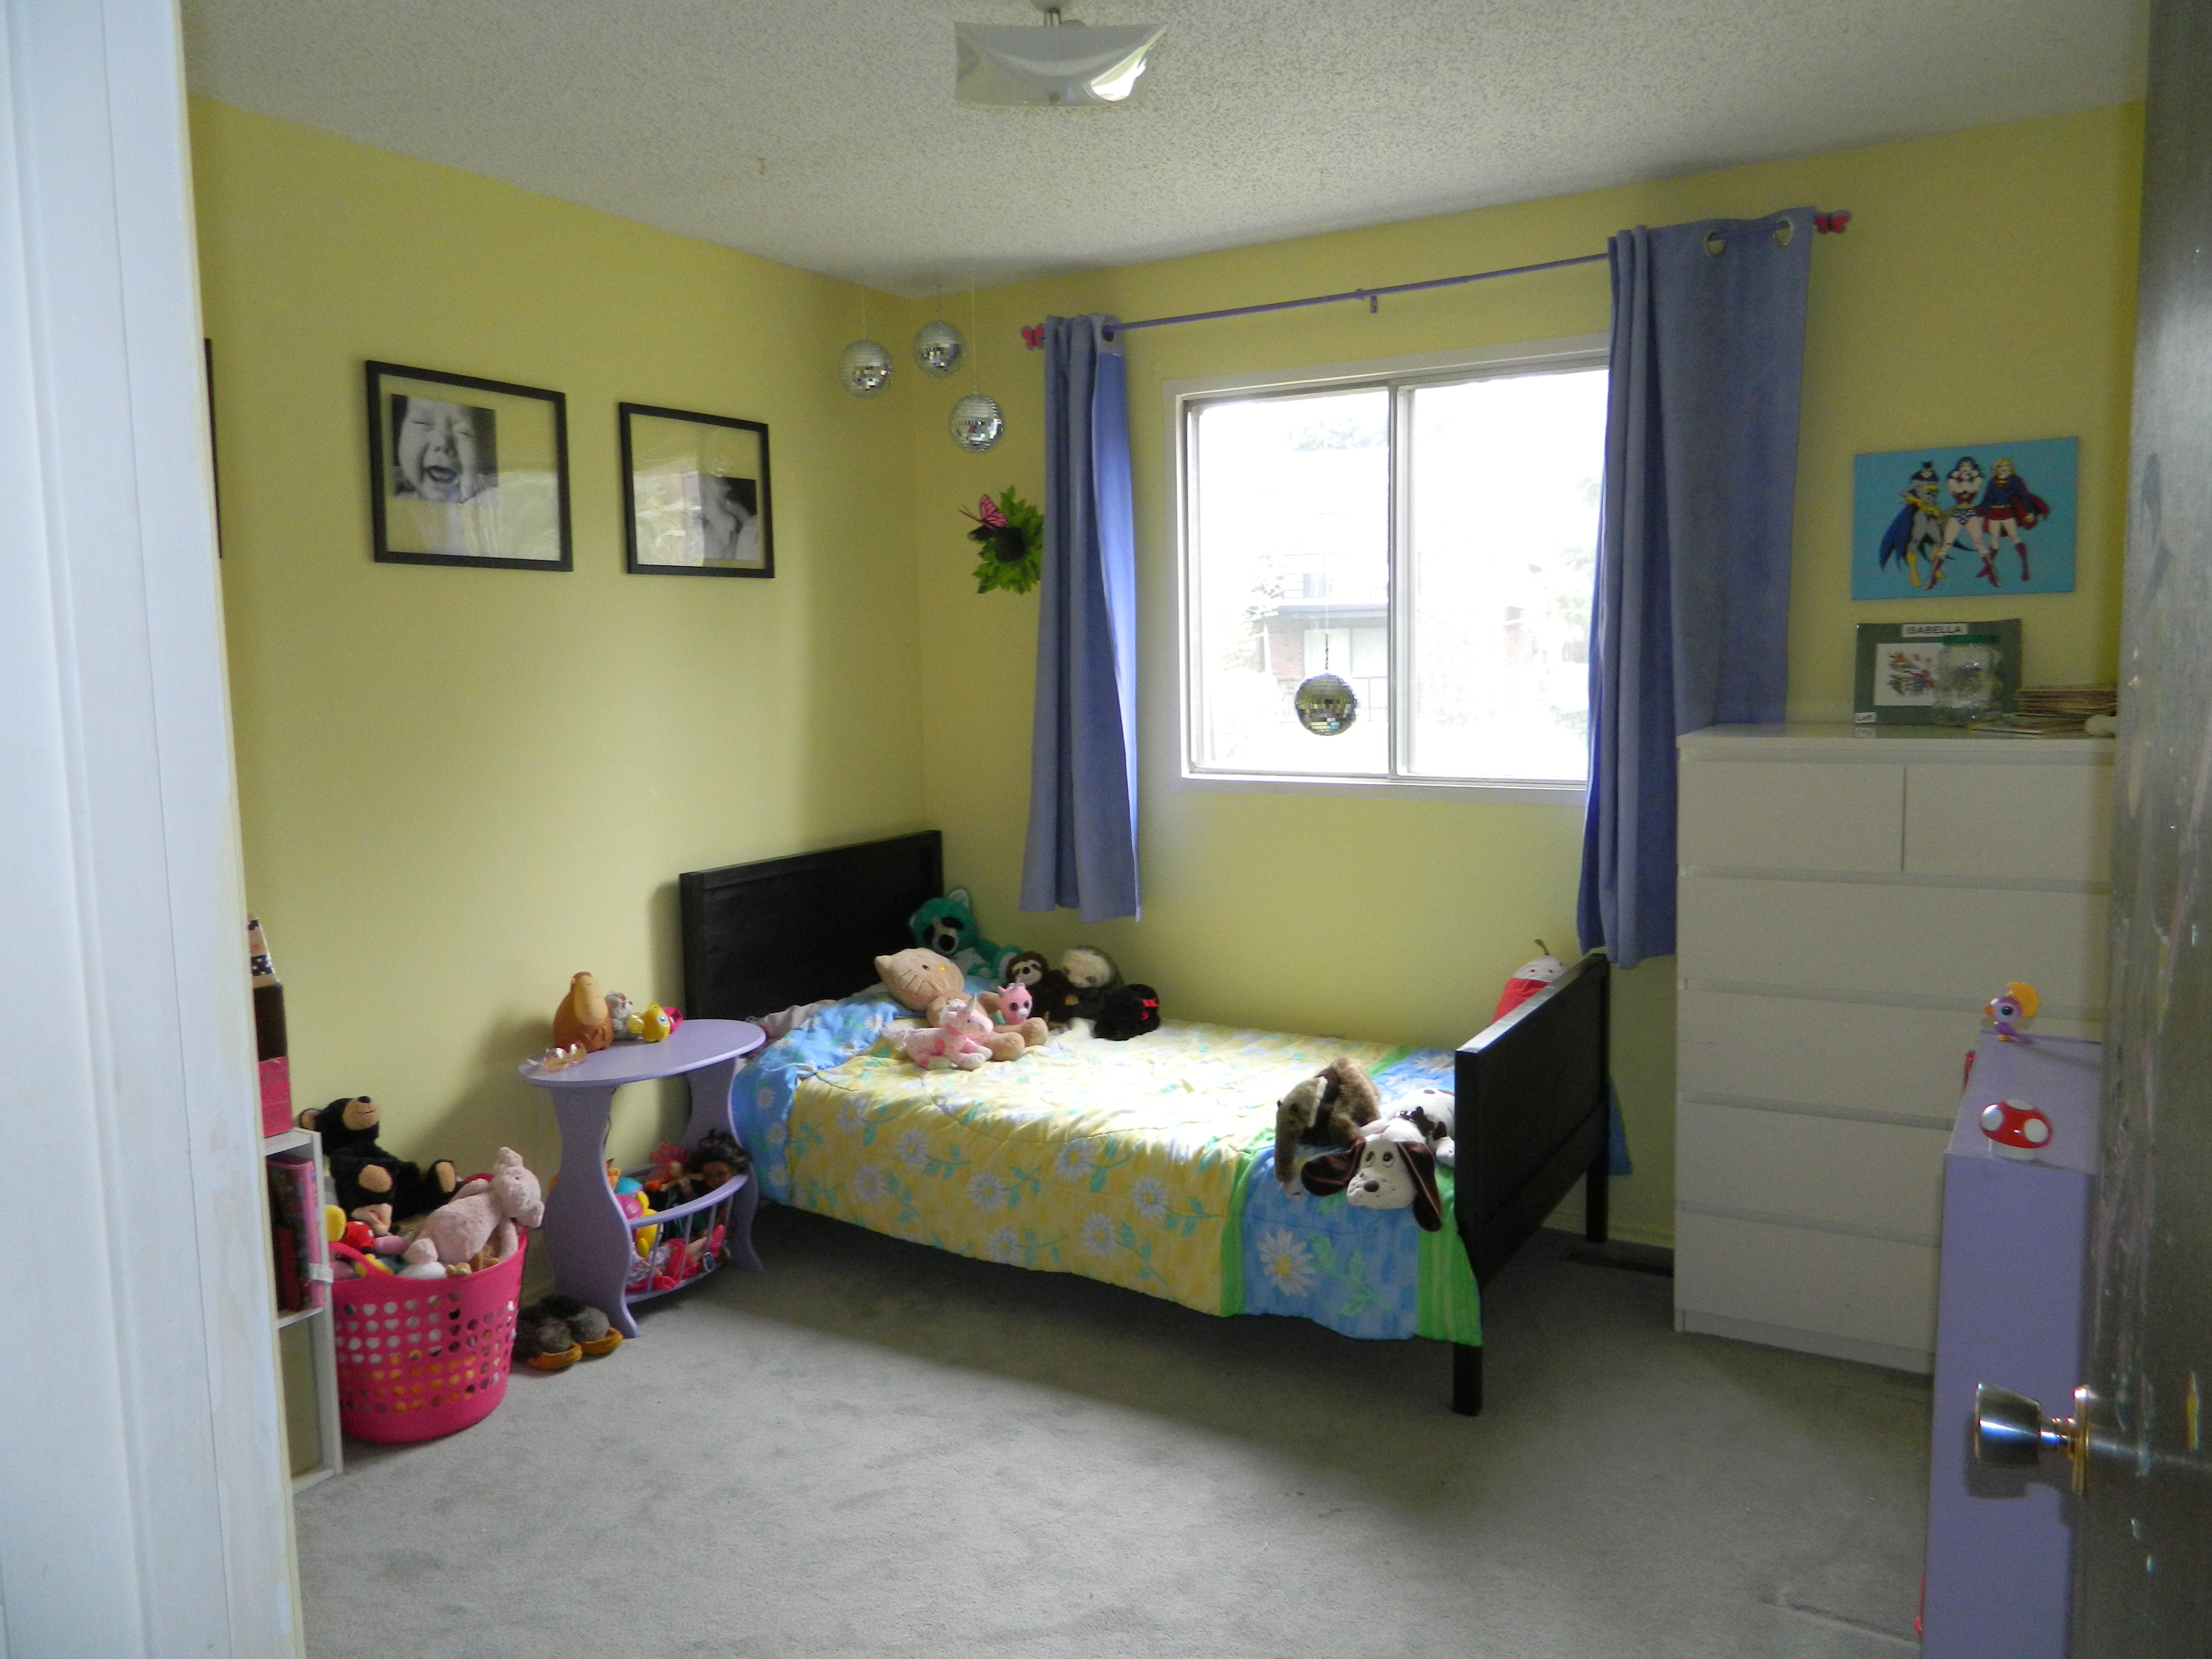


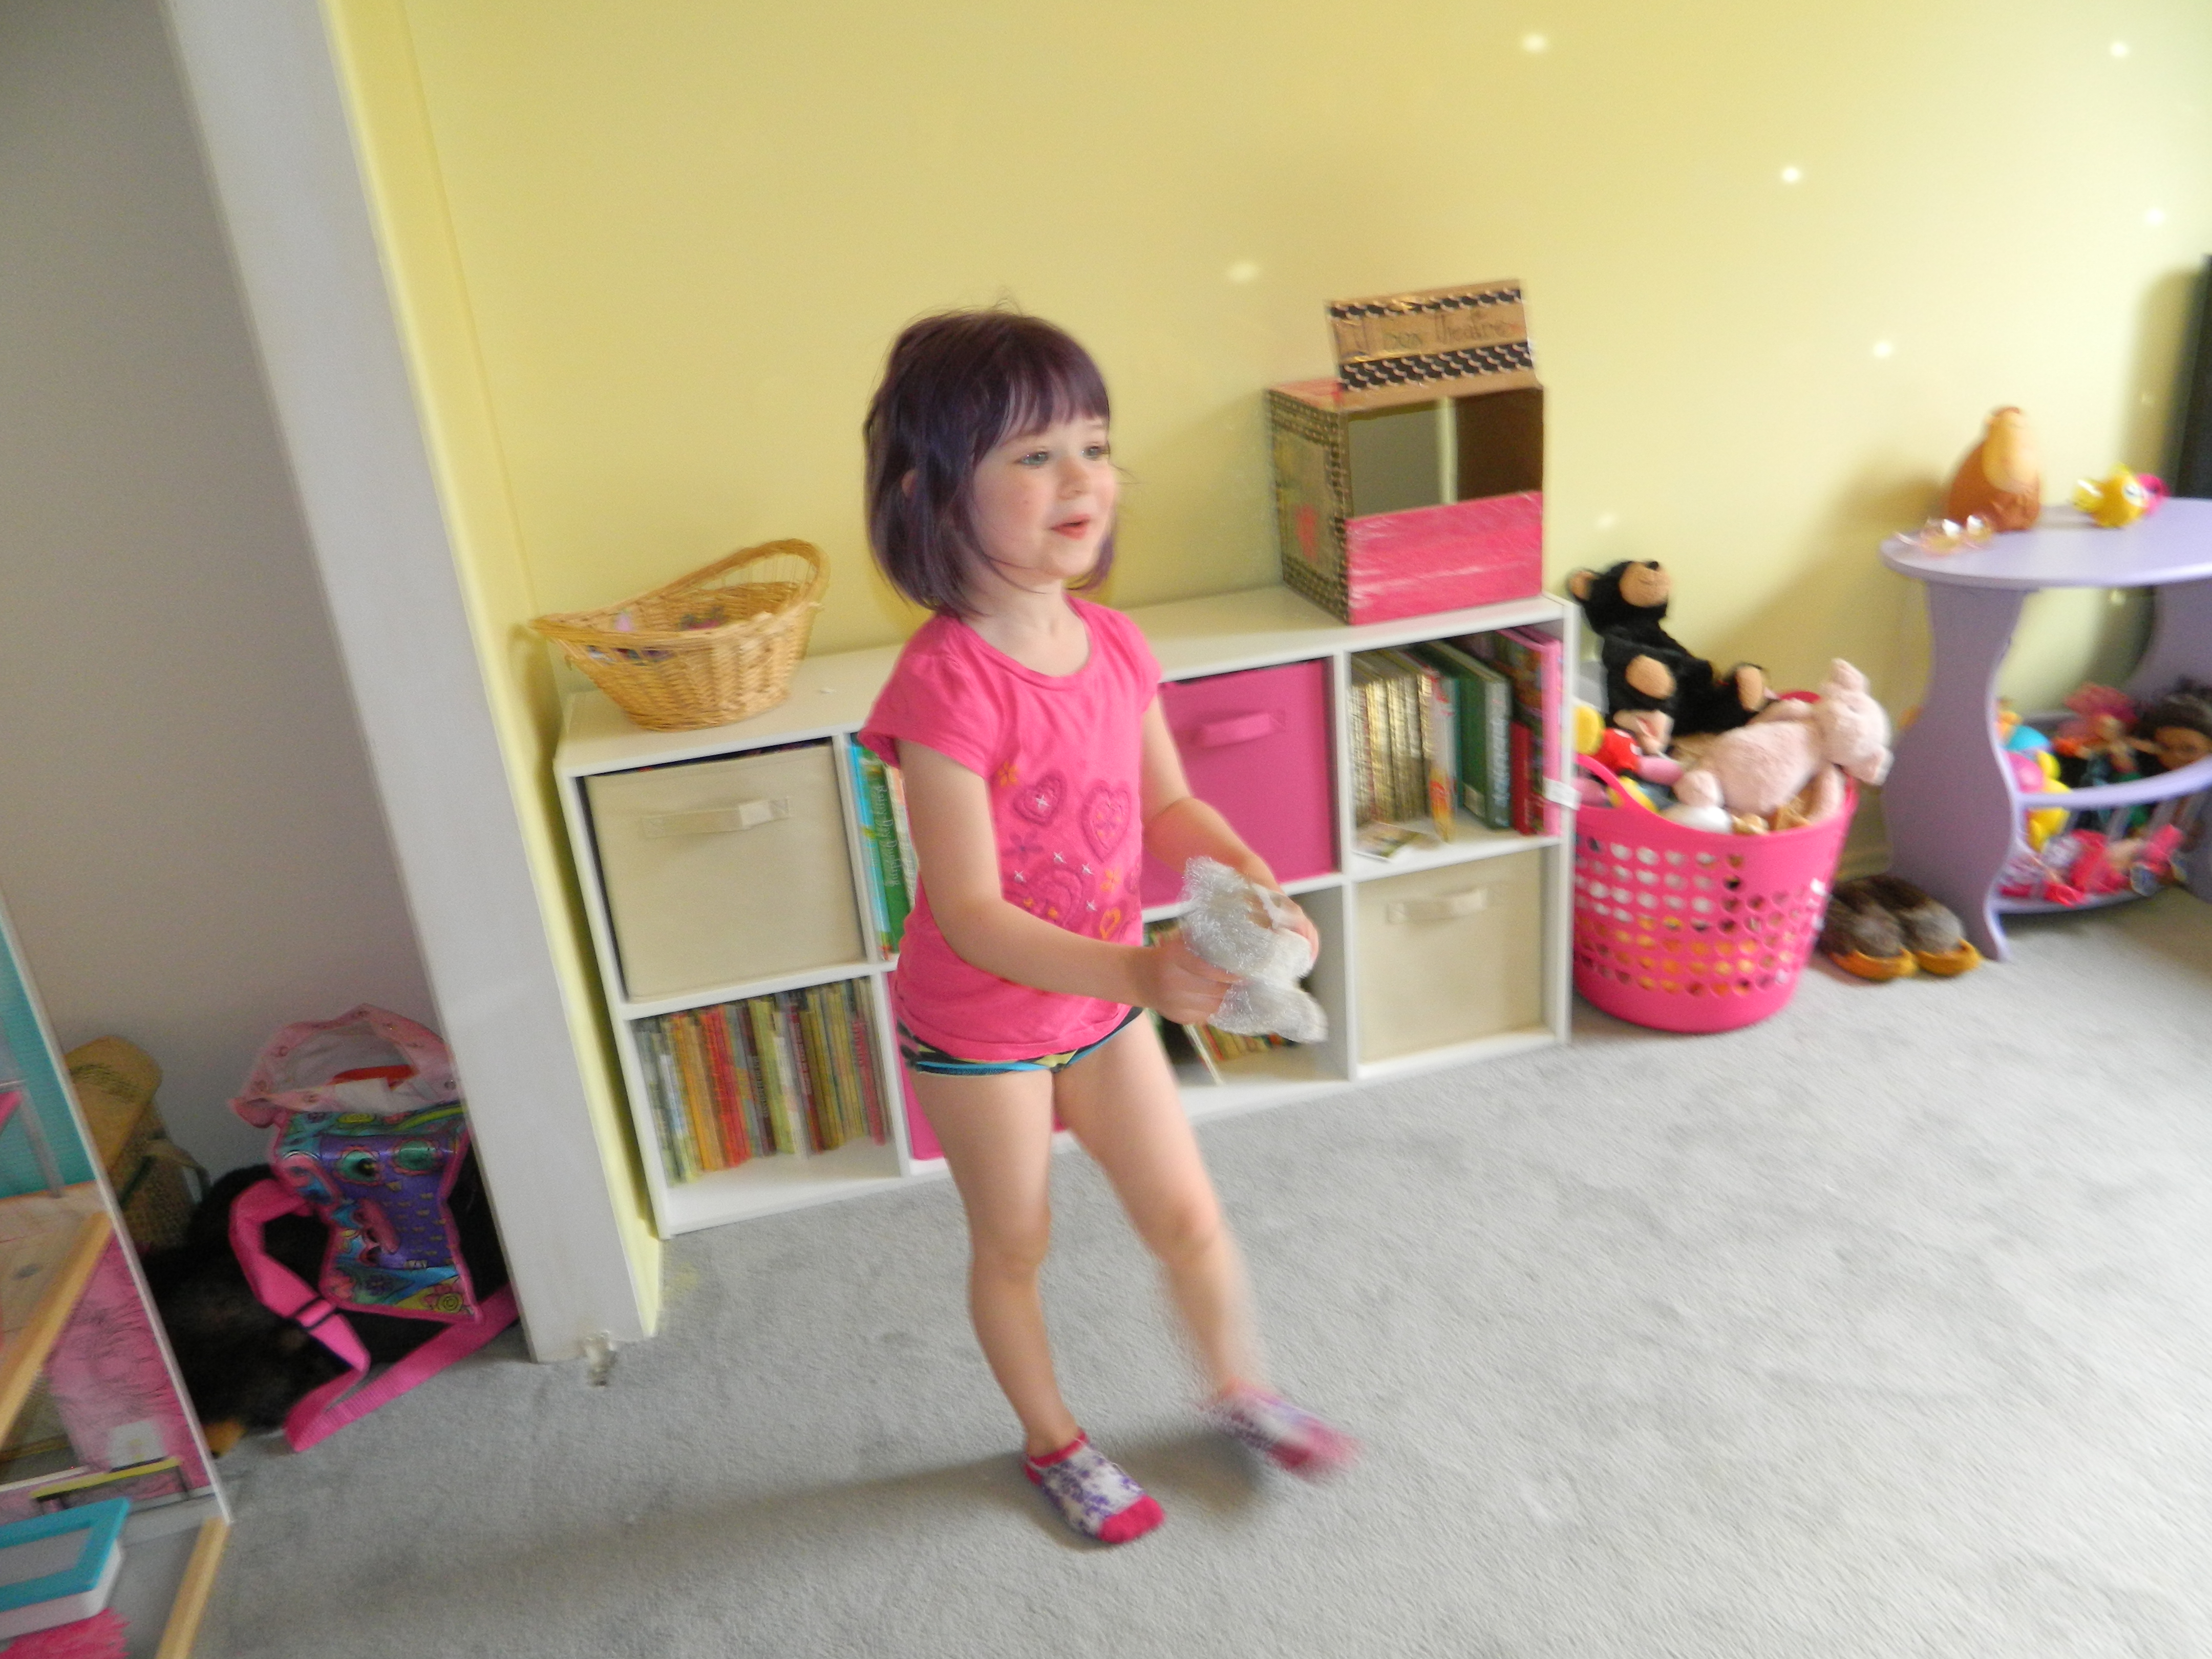
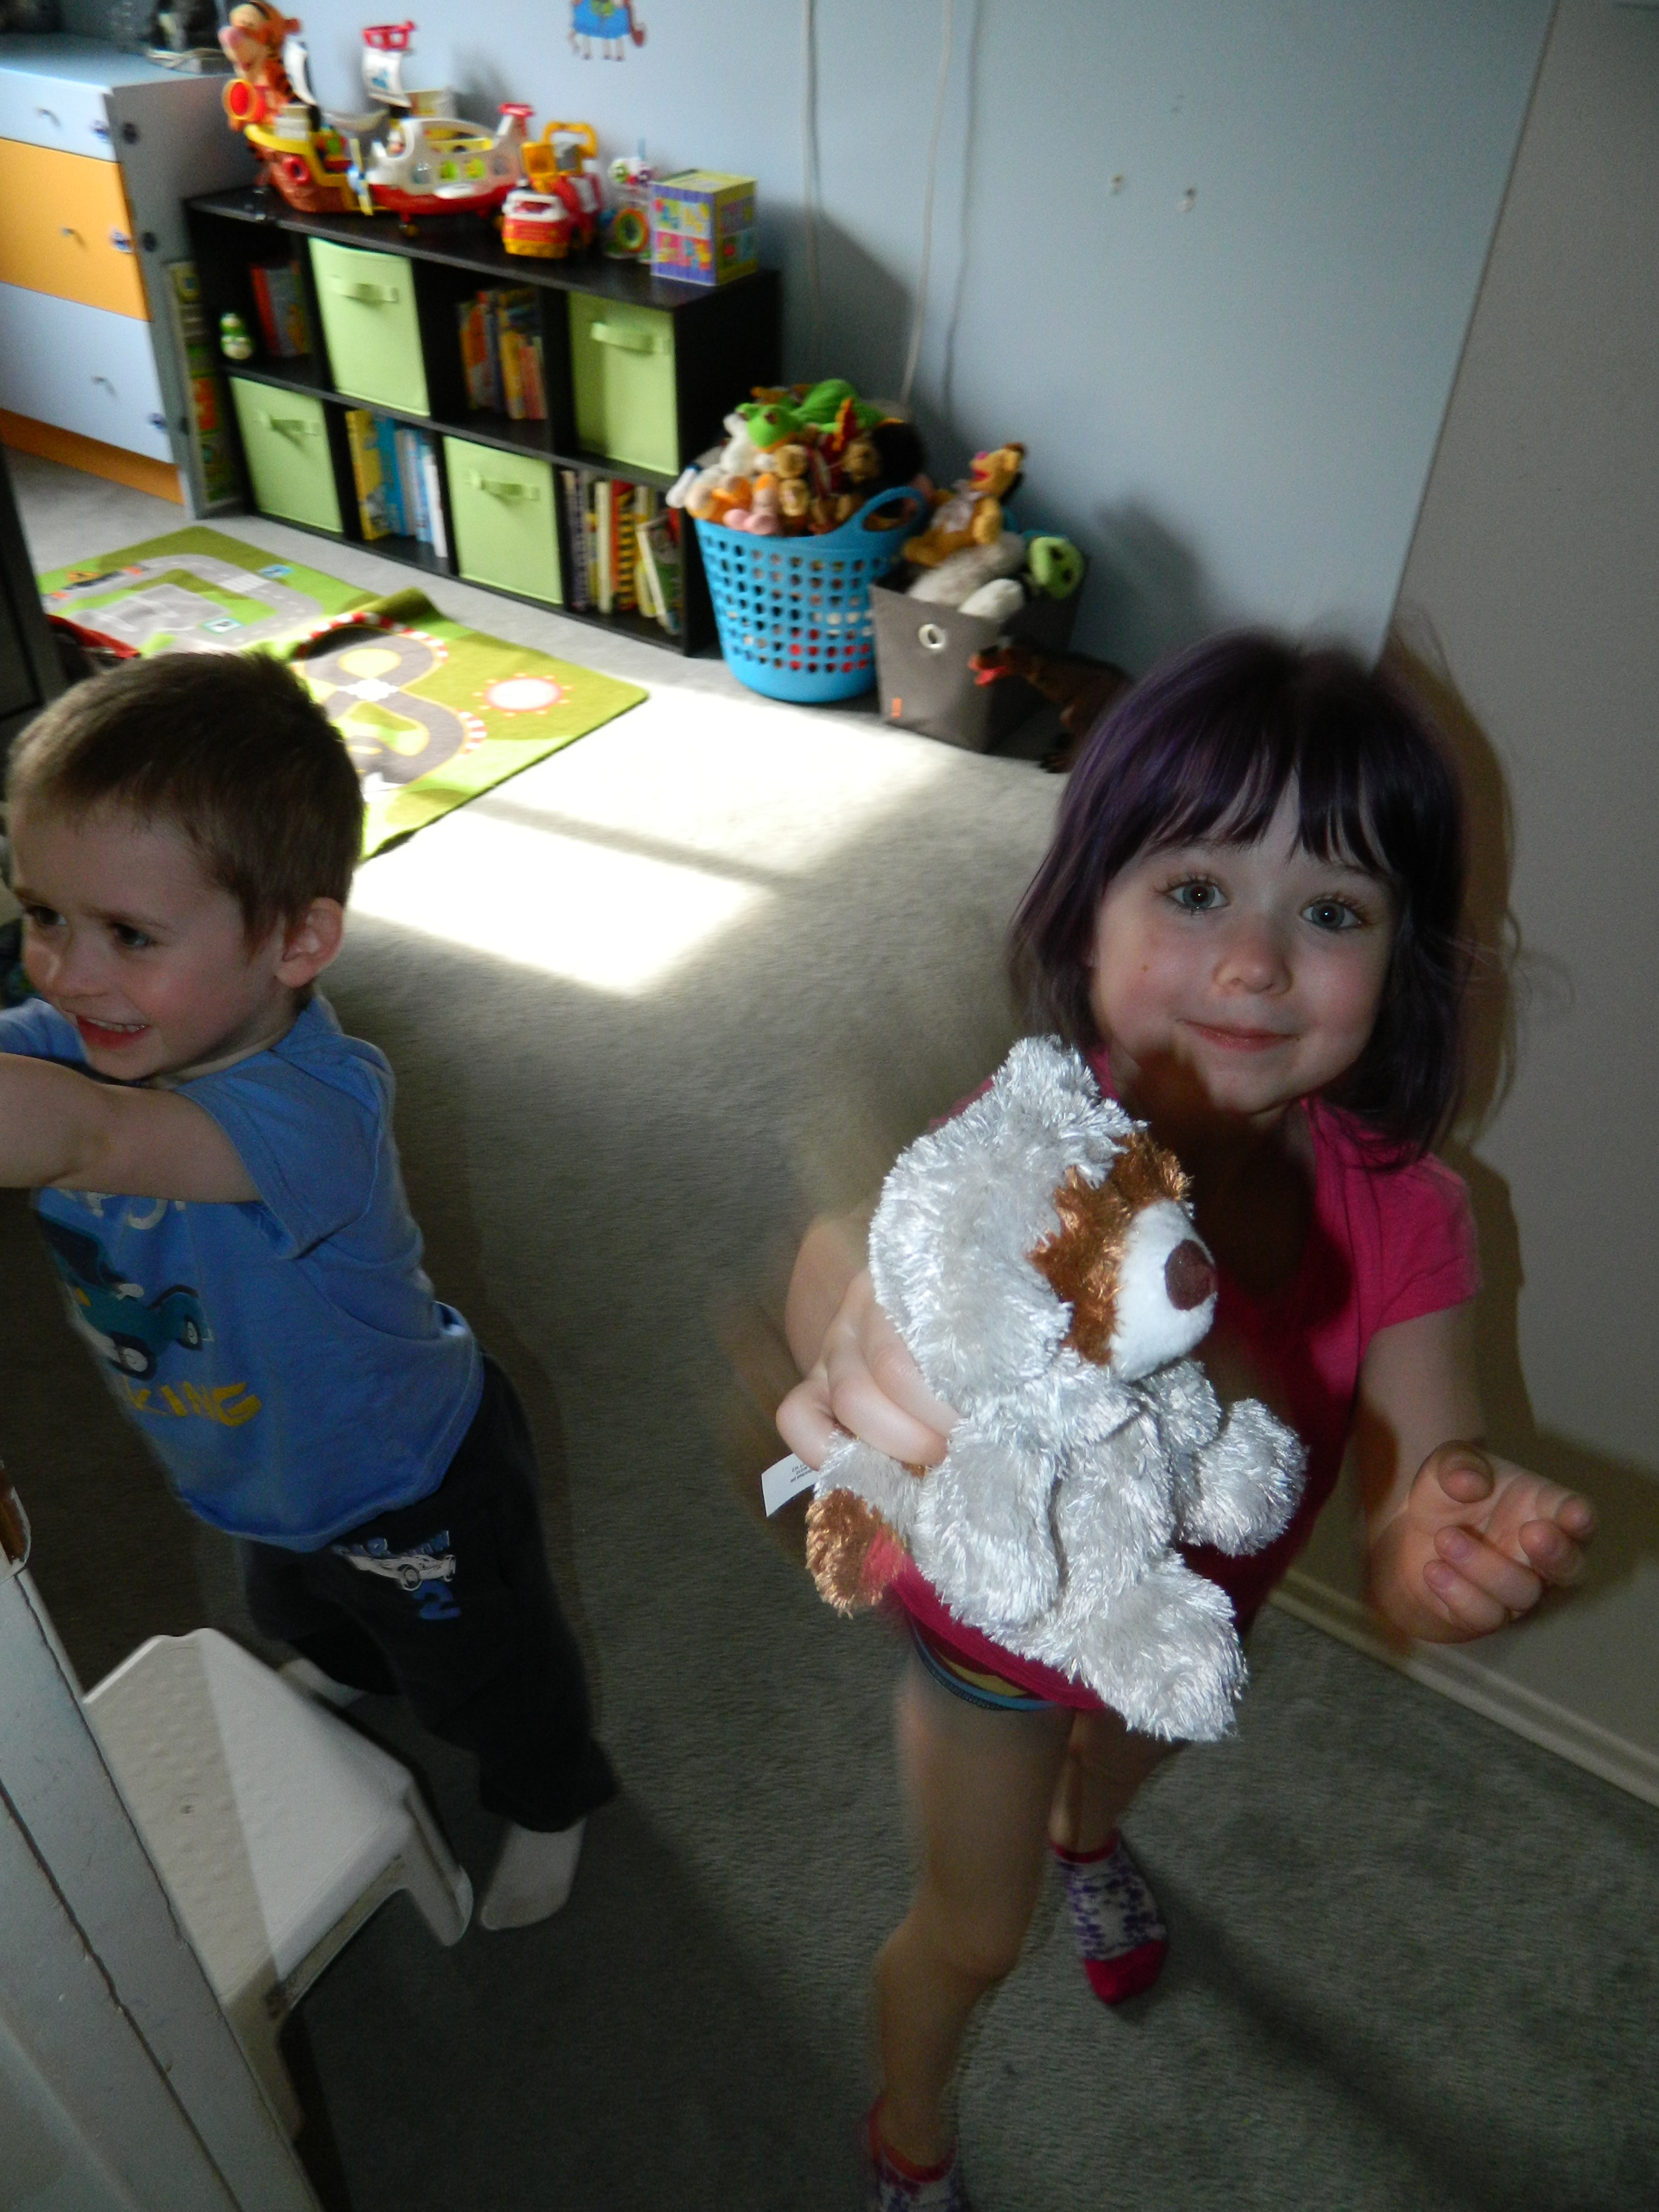
Revealing it to Izzy was fun:

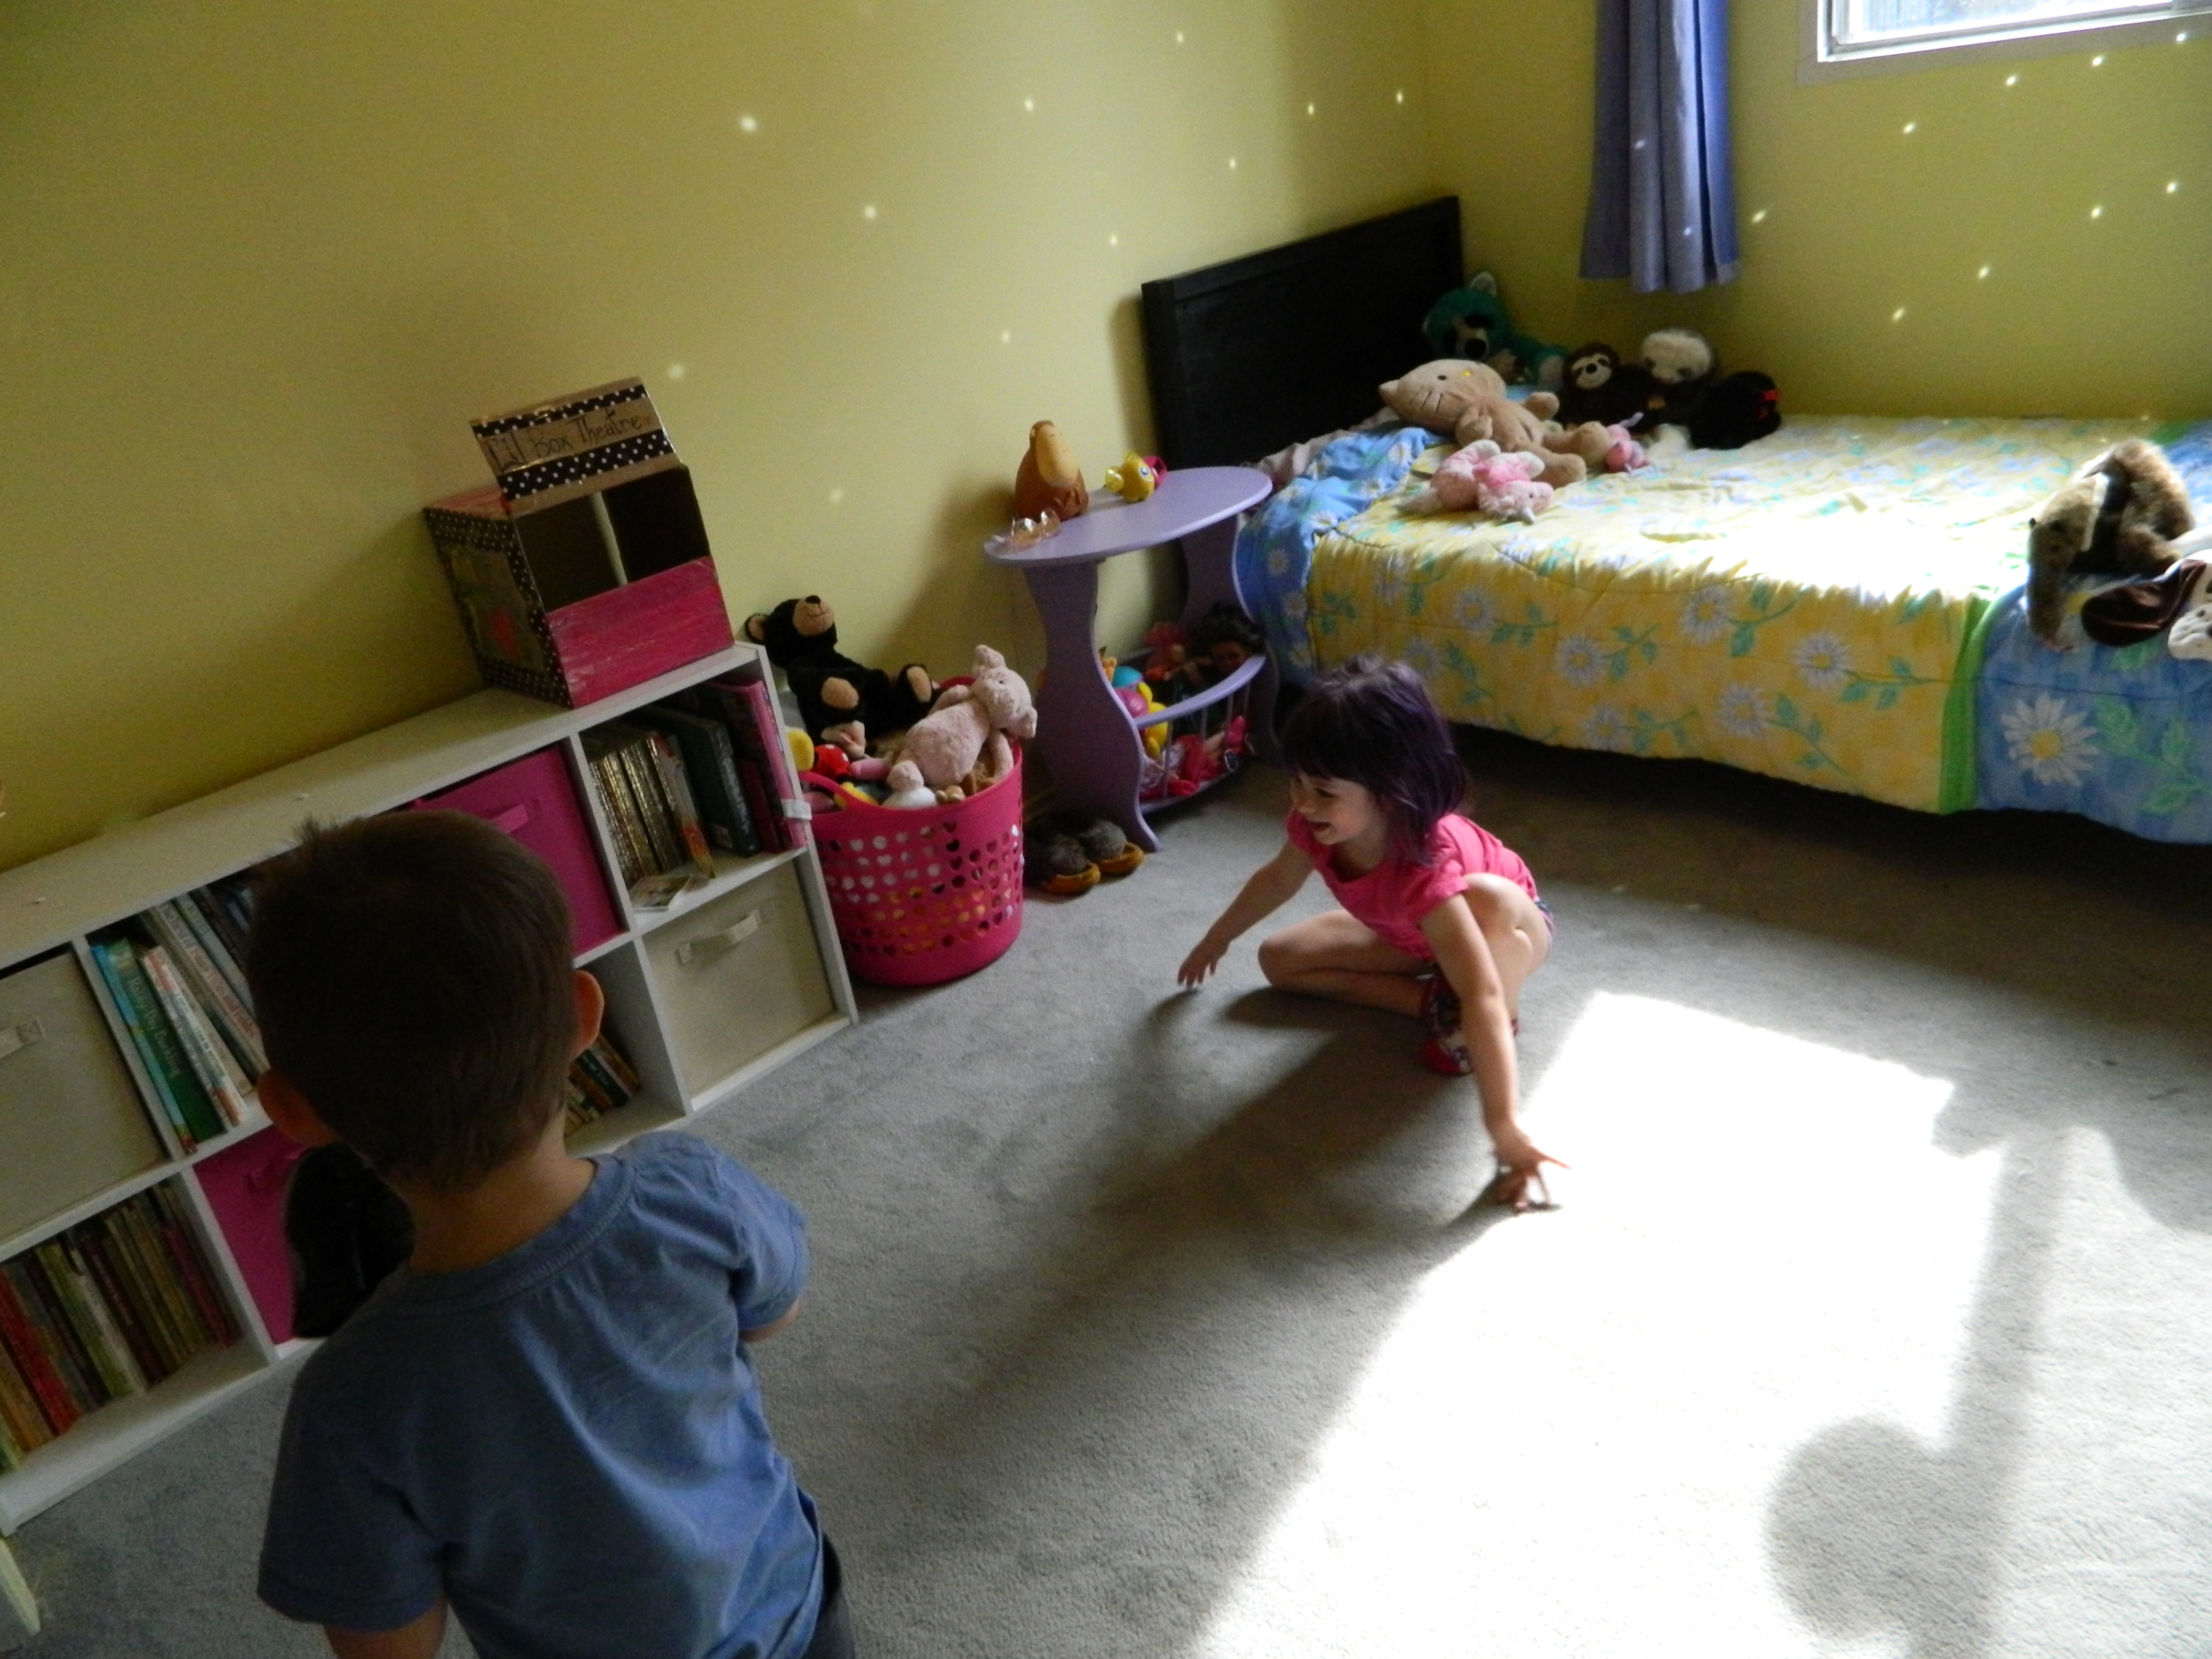
It’s hard to believe the breakneck pace this took for 5 days to get it all done. The painting was a breeze after prepping, sanding and priming the walls. Then came the massive organization it took to get the storage set up and all of the toys and games placed in all of the bins after being gathered up from around the house. A lot of running up and down flights of stairs, (our townhouse being a fourth floor walk up, meaning stairs between every floor or room) but it was all definitely worth it.
Okay, the cost. I was not as diligent as I could have been keeping all of the receipts. When the costs are approximate I will be clear that they are. 🙂
The money was mainly made selling things we no longer needed on kijiji.
Costs:
-The storage cubes with the fabric baskets in both of the kid’s rooms plus the large wicker basket beside the TV in the basement is all from Target. That total cost was exactly $150.92.
– Paint, plus most of the painting and prep supplies was from Dulux Paints (on 14th St NW in Calgary). They were incredibly helpful and knowledgeable. Plus, even their cheap paint is high quality. Total cost was exactly $103.10.
– We spent approximately $10 on more prepping supplies at Canadian Tire.
– Izzy’s new nightstand was a garage sale find for $5. It was ugly but once I sanded and repainted it fit in the room perfectly and provides extra doll storage.
– Any other little things I needed: such as wall clings, another paint roller, more drop cloths, the lining for the back of her bookcase, the picture clips… all of those were from the dollar store. I am particularly proud of the wooden bird I painted purple and hot glued painted clothespins to for photos and colouring pages she wants to display. This way her walls won’t be a mess of holes or tape. I considered a magnet board but then there are magnets to lose, and I considered a clipboard but then the pins seem dangerous for a 5-year-old. So this is the solution. I may buy one more to paint and put up in her room but I haven’t decided yet. This cost was approximately $20- $30 once all was said and done.
So for 3 rooms it cost approximately $300.00
The work was definitely worth it and keeping most of the furniture but upgrading it kept costs extremely low.
🙂
[…] Isabella’s Room Redecoration […]
[…] Isabella’s Room Redecoration […]
[…] Isabella’s Room Redecoration […]